Showing posts with label Grilling. Show all posts

Sunday, May 29, 2011

Grilled Cornell Chicken - My Way

(Printable R

1 pkg. of 10-12 chicken legs
2 cups apple cider vinegar
1 egg
1 stick of butter, softened
1/2 cup of EVOO
1 tbsp. poultry seasoning
3 tablespoons Kosher salt
1 tsp. pepper
paper towels

Dab each chicken leg with a paper towel or two.  Set aside.

As they come to room temperature, the chicken pieces will be "sweating" so keep dabbing with a dry paper towel.

In the meantime, in a medium size mixing bowl, mix the butter and the oil.

Add the apple cider and the egg and mix thoroughly

add the secret ingredient, uh-ehr the dry poultry seasoning.

Stir thoroughly.  Add salt & pepper to taste.

Add enough of the sauce to cover the bottom of a marinating tray.  Notice how this container has a multitude of raised peaks in order to let the sauce to get under the meat, even as it sets for hours.  If you don't have one......get one!  (I've had this one for decades(?) - I bought if from Tupperware and I'd be lost without it.

Add the chicken and then use enough sauce to almost cover the chicken legs.

Look at my lovely babies marinating in the sauce and soaking up so much deliciousness.  The neat trick about this container is that I can flip it upside down as the inside of the top also contains the little raised peaks. Let marinate for an hour (do not refrigerate) or marinate in the refrigerator over night (bring to room temp. before you grill them though) flipping several times.
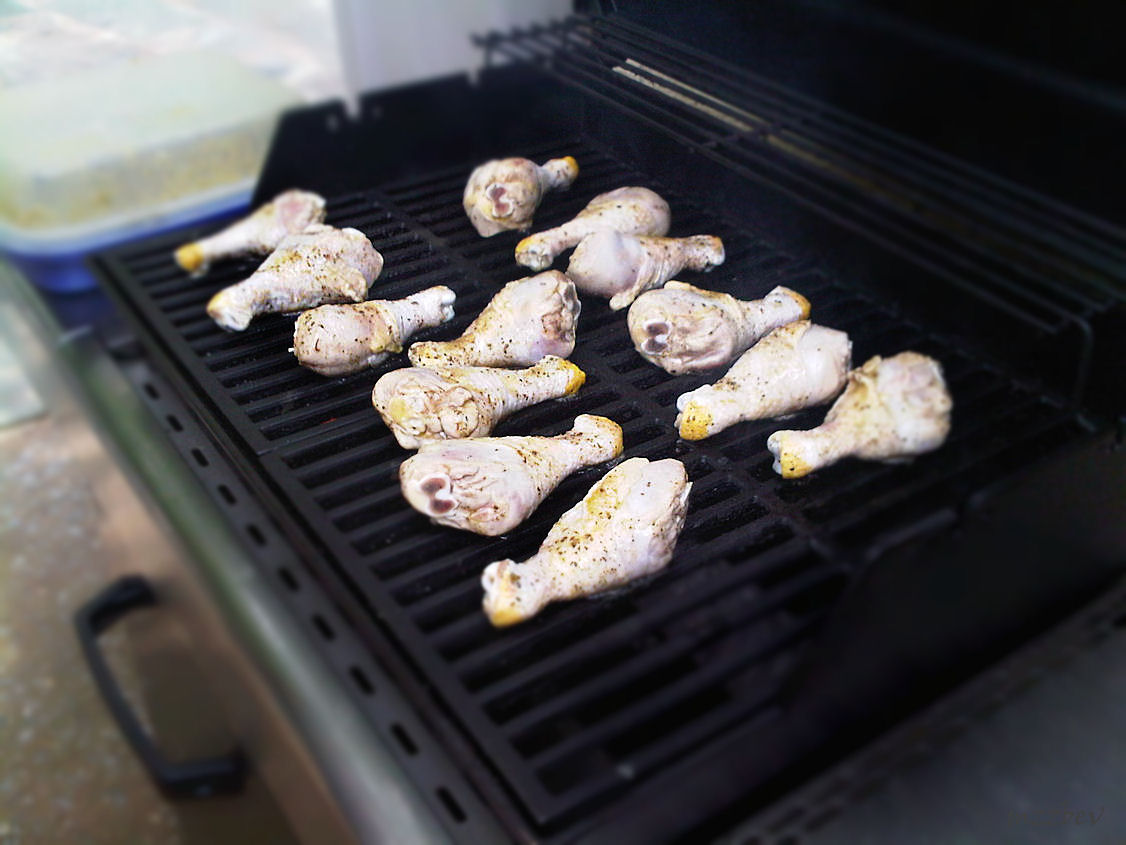
When ready to grill, place on a hot grill, turned down to med heat.  Use marinating sauce to baste often.  Cook low and slow, I know that's hard, at least at my house it is, Hubby starts getting ravenous about this time.

Flip only once - I learned that tip on "Grilling Week" on the Martha Stewart radio show on Sirius.  I learned lots of grilling tips this past week.

I have been eating Cornell Chicken since the first Summer I spent in upstate New York, which was almost 30 years ago.  My hubby and I were still newlyweds and we spent our vacation with family just below Ithaca, NY - where Cornell Univ., is located.   At first I thought that those gringos in upstate New York forgot to put the Hunts BBQ sauce on their barbecue but then when I tasted the pale - plain looking chicken it was quite the opposite!  I never experienced all the flavors that were roaming around in my mouth.  I couldn't get enough of it, it was sooooo good.  A couple of years later, my mother-in-law sent us the recipe, I'm not sure how she found it but we've been using it ever since.  So, please, I beg of you, try this sauce at least once this Summer and let me know how it faired.  Regarding the ingredients, the original sauce asked for a cup of oil and through the years I always thought it was a bit too "watery" so, this time I only added 1/2 cup of oil but I also added a stick of butter knowing it would help all the flavors stick to the meat instead of roll off.  Well.....drum roll please......IT WORKED!!!  WOW!!  I'm convinced it enhanced the flavors!  So amazing that  I'm keeping this recipe, that's why I added "My Way" to the end of the title.  Happy grilling!!!


I partied at:

and

Miz Helen’s Country Cottage


Pineapple Teriyaki Burgers


2 lbs. hamburger meat
1 can of crushed pineapples
1 egg
1/4-1/2 cup of dry bread crumbs
1 tsp. dry garlic
Salt & pepper
1 bottle of your favorite Teriyaki sauce (I'm using Wegmans brand)

Pour the can of crushed pineapples into a medium saucepan under medium heat.  Let simmer.

In the meantime, combine the meat, egg, dry garlic, bread crumbs, and  the salt and pepper.  I don't usually like to use my hands when combining burger meat but in this case, I just had to.  It's the only way to combine the ingredients thoroughly and completely.

As most of the liquid in the pineapples evaporates, add half a bottle of the Teriyaki sauce.  Stir and simmer once again until most of the liquid has evaporated once again.  Move away from heat and let set to cool.

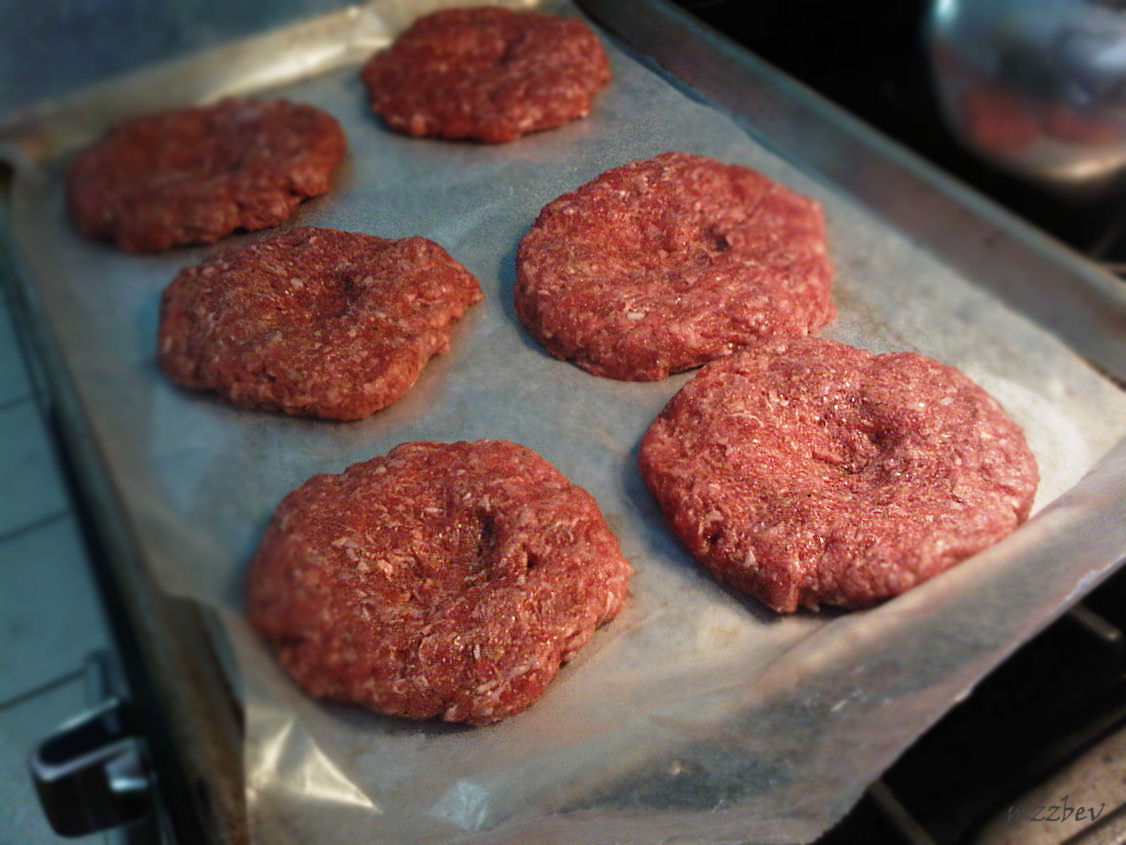
Add a 1/4 cup of the Teriyaki sauce to the meat and once again, mix thoroughly and completely.  Then make six patties.

Place patties on a wax paper covered cookie sheet.  Make an indention in the middle of each patty.  The indention allows the patties to cook evenly - yes that's right, even Guy Fieri says so.....and if Guy does it, you can't go wrong!

Plus the indention serves as a reservoir for a scoop of the pineapple teriyaki sauce.

Take the patties to the grill.  Lay patties meat side down first, grill for about 7-10 minutes.  Turn patties over and dollop some more of the pineapple teriyaki sauce on top of each patty.  

Dab each patty with some of the leftover teriyaki sauce from the bottle.  Cook patties for another 7-10 minutes.

After you're done admiring these lovely patties......DIG IN!!!!

I got this idea a couple of weeks ago when my husband and I went to Red Robin for lunch.  It was such a good burger - the best I'd ever eaten so I knew I would have to go home and try to make it myself.  Not to brag, but they came out very good!  I might want to add a little less garlic powder next time as I felt if was a little to garlicky but other than that the garlic fit in with the Asian flavor from the teriyaki sauce.  I would have put in some fresh ginger if I had it but I didn't.  I'm still curious how that will taste with the ginger, so I'm going to have to make sure I have some on hand next time I make these burgers.  My hubby and grandma enjoyed  the burgers as I did too.


Grilled Corn on the Cob


6 fresh ears of corn - not husked
1 stick of butter - softten
Hot grill

Take your fresh ears of corn

Trim loose husk ends and cut off the end (this is my hubby helping me :)  )

Place all  the ear corns in a microwave (I added two more and piled them on after I took this picture) - yes, I said microwave.  Cook on high for 12-15 minutes.  Leaving the husks on will steam these ear corns better than any other kind of cover.  Why not use the natural, skin these ear corns were born with?  The husks envelop, fit over the corn like a glove.

When you take the ear corns out of the microwave be careful because they're steaming hot!  But notice how easily the husks come off - almost as smooth as silk!

Use a sharp knife to cut off the end

Cut each corn cob in 1/2 or 1/3 pieces - we like them short so you don't have to cut them if you'd rather not

Transport corn cobs to the hot grill (on medium heat).  In the meantime, put the softened the butter in a serving bowl (large enough to hold all the corn).  Grill about 15 minutes, turning often.

Roll each piece in the softened butter, one at a time until all are smothered.  Keep covered until ready to serve.

I'm not sure where I learned to cook corn on the cob like this but we've been doing it like this for years.  It's one of our favorite Summer treats as I'm sure it's a favorite for every other American in the country.  Try it and see how easy it is to husk the corn and see how delicious it is.  You won't be disappointed.


Related Posts Plugin for WordPress, Blogger...