Mesh Christmas Wreath
So, this is my first attempt at making a wreath with mesh ribbon. I finally found it at A.C. Moores. Michaels didn't have it and I never checked at JoAnns. I'm a little skeptical of it and am so afraid that I didn't make it right. I was inspired to make one of these by Liz at Savvy Seasons by Liz. She is an amazing home decorator and oh what a beautiful job she does with every season. Go take a look at her blog, click here.
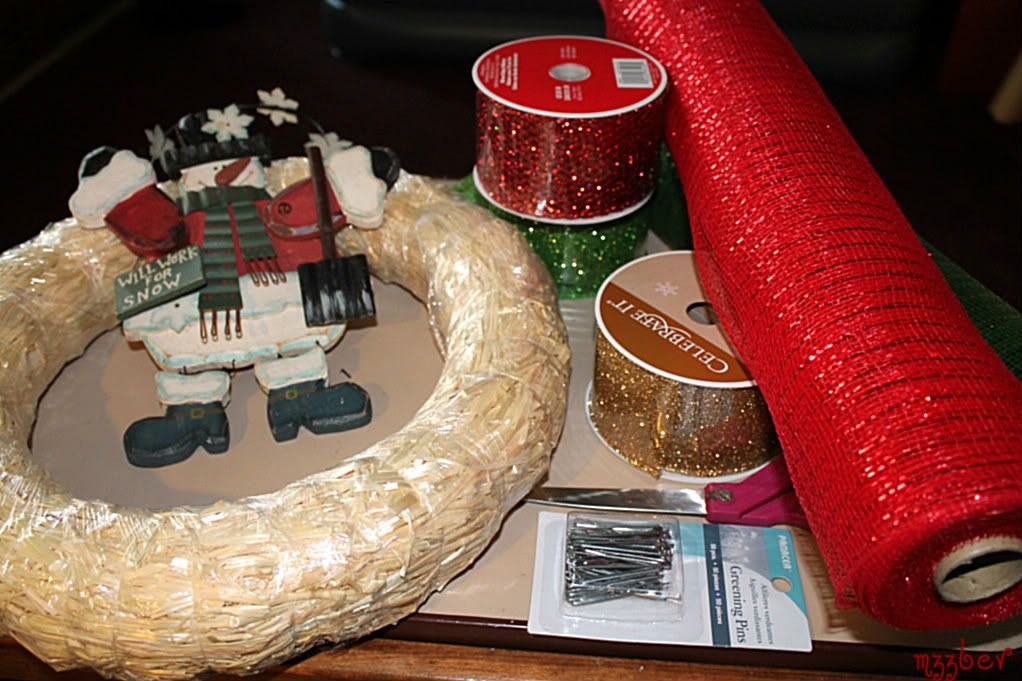
Cast of Characters
1 wreath ring ( I couldn't find the foam ones Liz suggested so this is all the stores had but it worked out great)
2 rolls of decorative ribbon, different colors/pattern, 3-5" wide
2 different color metallic mesh fabric (21" x 10')
1 box greenery pins (U shape)
Scissors
1 decoration for the center of wreath
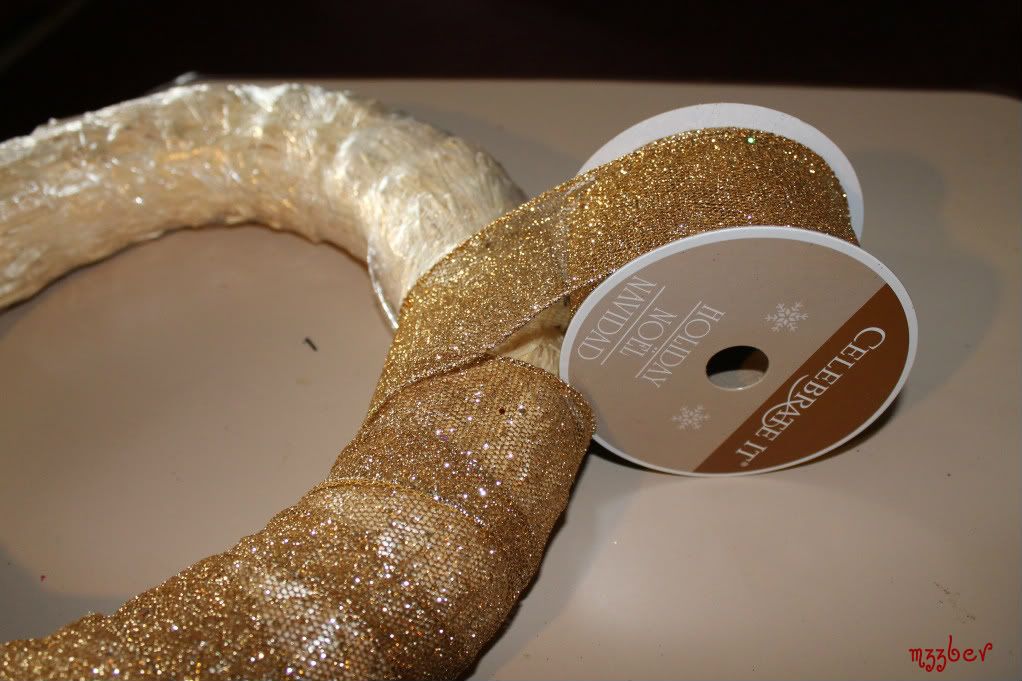
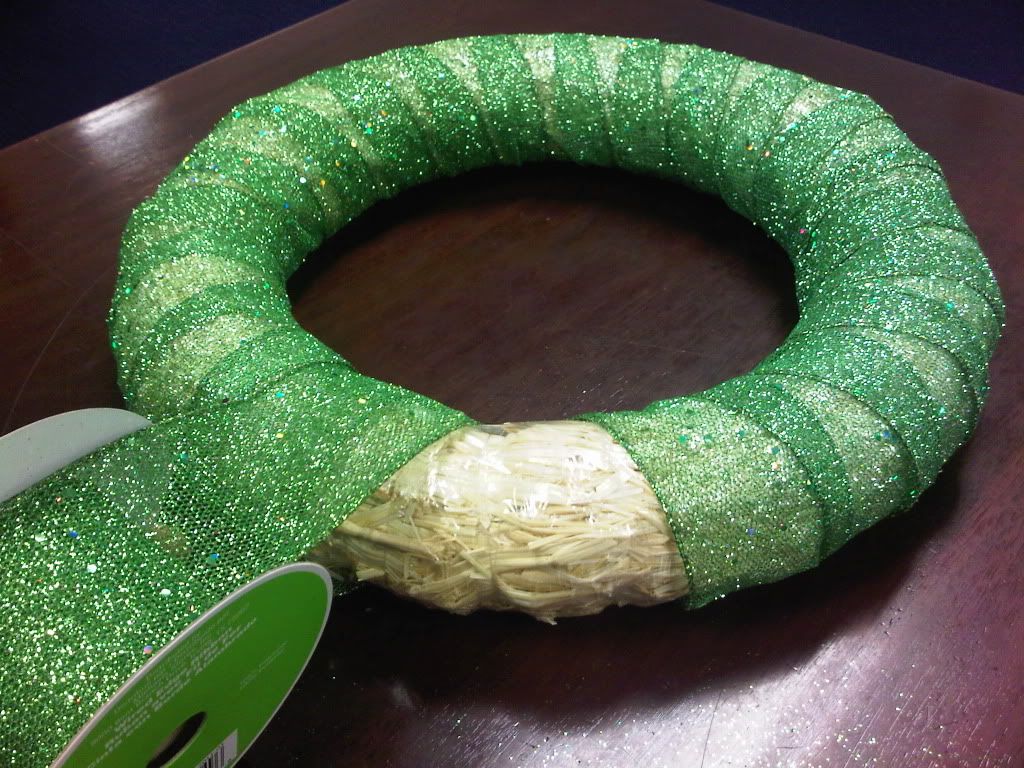
Take one of the 3" rolls of decorative ribbon and roll it around the wreath. Note: I did not take the plastic wrap off the wreath, I just went ahead and kept it on only because I knew the if I had, the straw would be prickly and get in the way of the ribbon and those two just wouldn't get a long and would make life miserable. Keeping the plastic on made life smooth and easy and it wasn't at all in the way.

All wrapped up. It's so much prettier in person, I was almost tempted just to leave it as is.
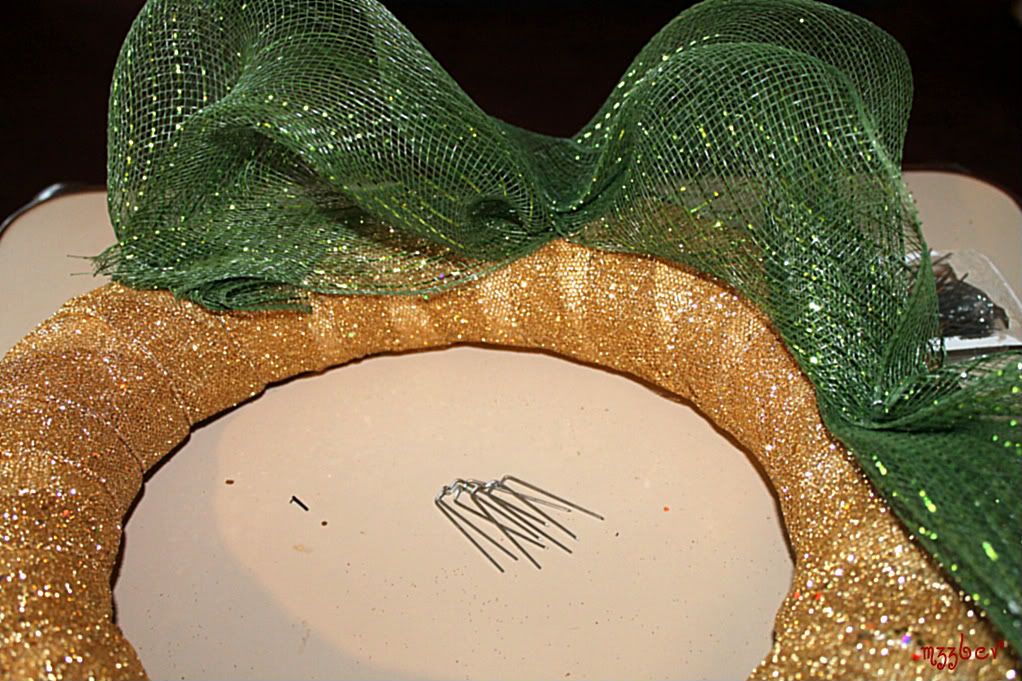
This part made me very nervous. I just didn't know what I was doing so I studied Liz' tutorial very, very close and hard. This mesh stuff tends to be stubborn and has a mind of it's own. It's very stiff yet pliable, and once it was pinned, it wasn't going anywhere, like a beehive hairdo. So anyway, I bunched the end altogether, folded it over one time and pinned it! Voila! That was it. Proceeded to do the same every 4" inches.
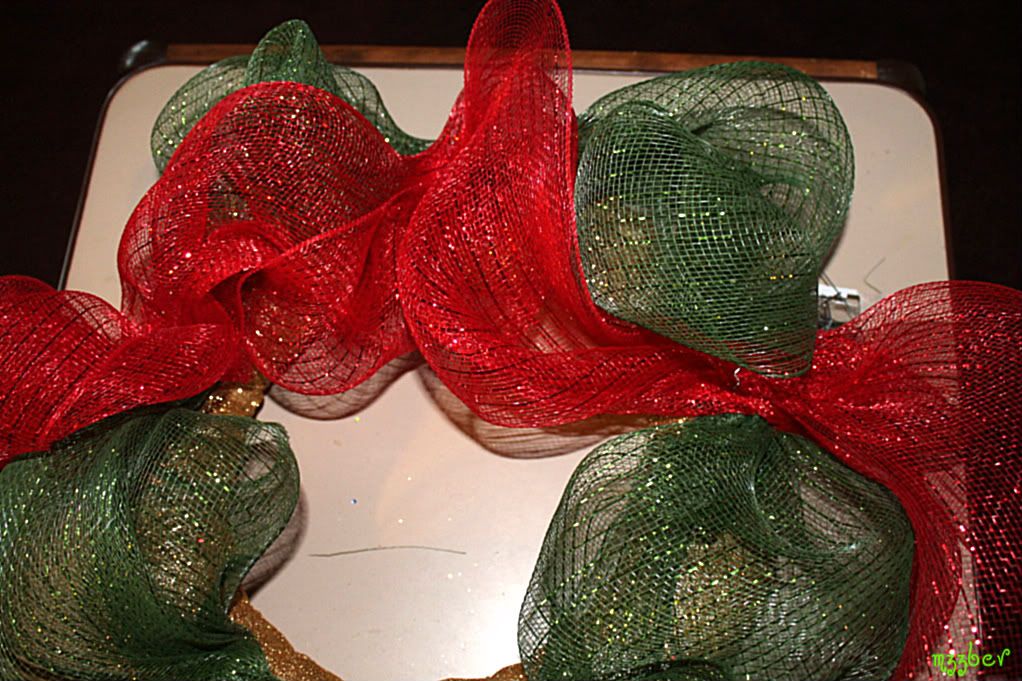
I then took the other mesh ribbon roll and did the same. Once again I was a little apprehensive as to where to start and where to pin but this project seriously ended up being a "can't fail" project. So easy.

Continue with the second ribbon until it looks something like this.
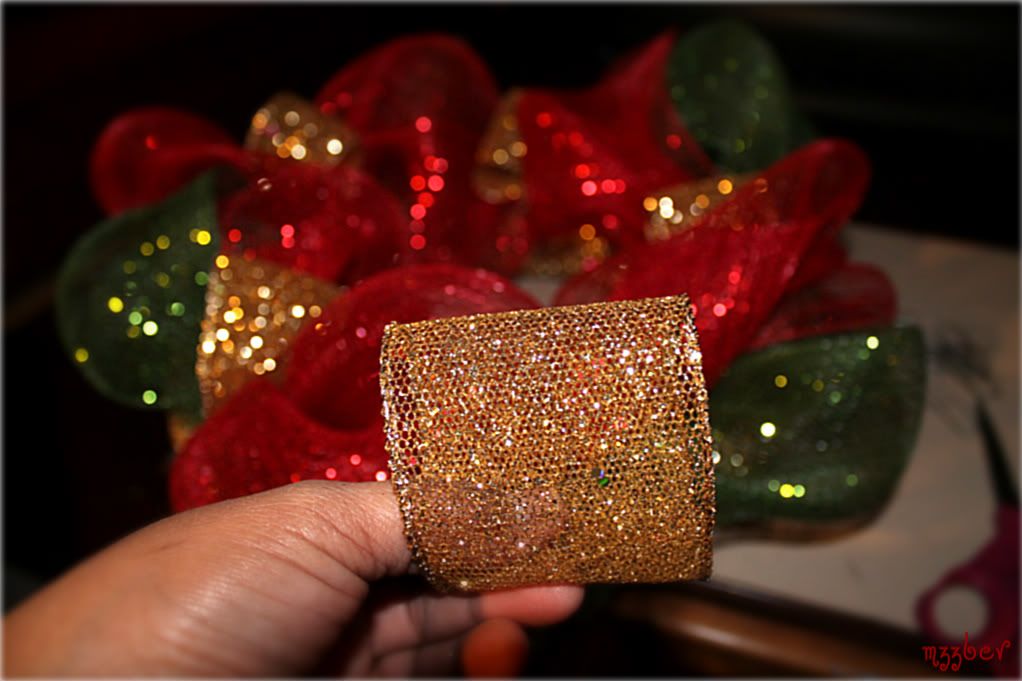
I took the original ribbon I used to wrap the wreath at first and cut a couple of 6"inch strips, folded it over like so and pin it to the wreath to use as not only as an added decoration but also a filler.
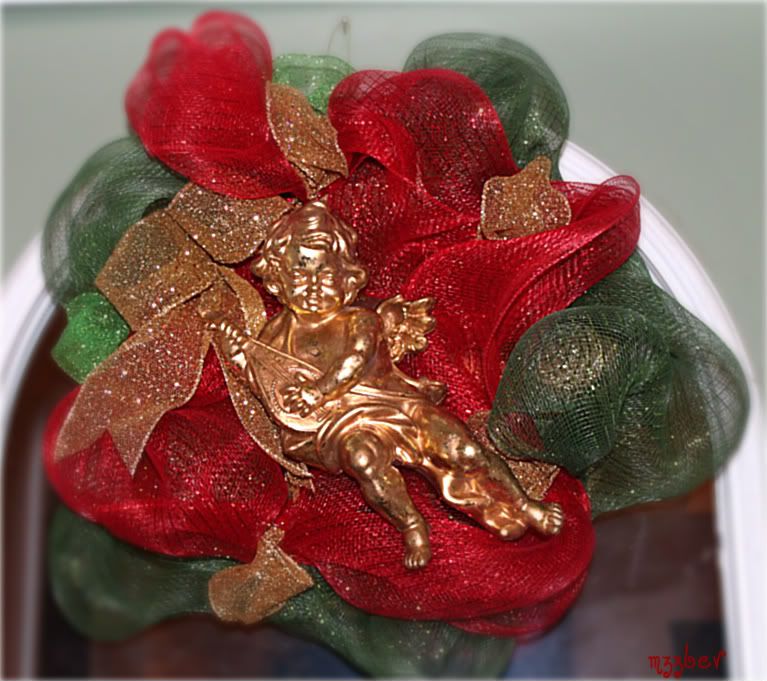
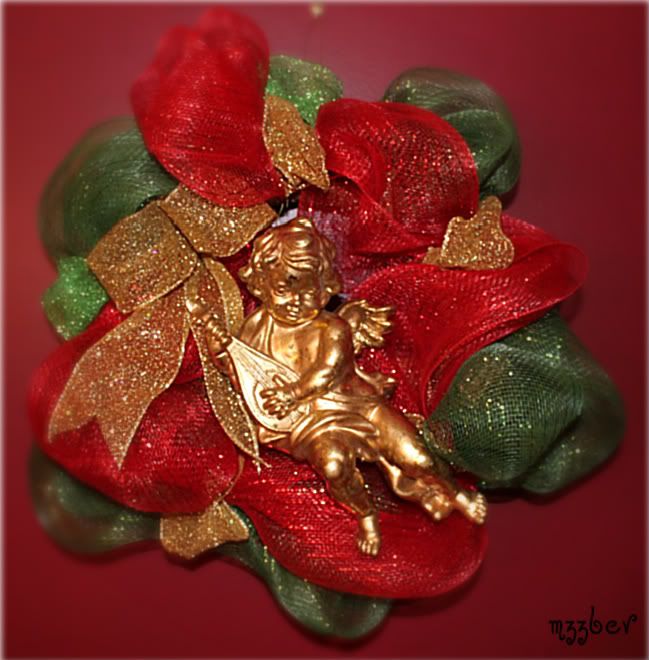
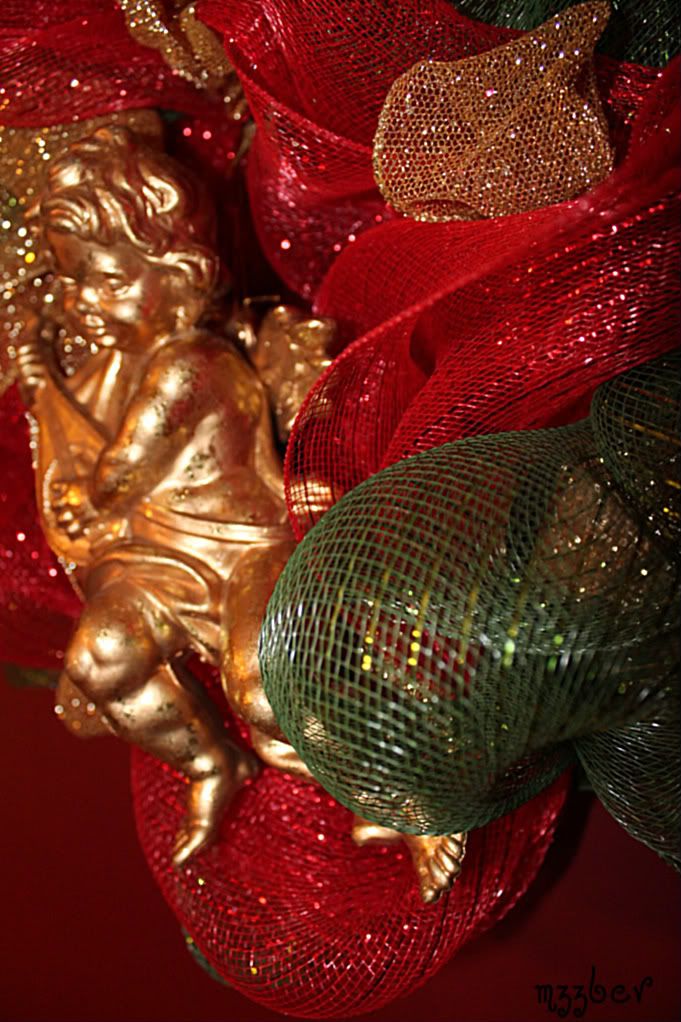
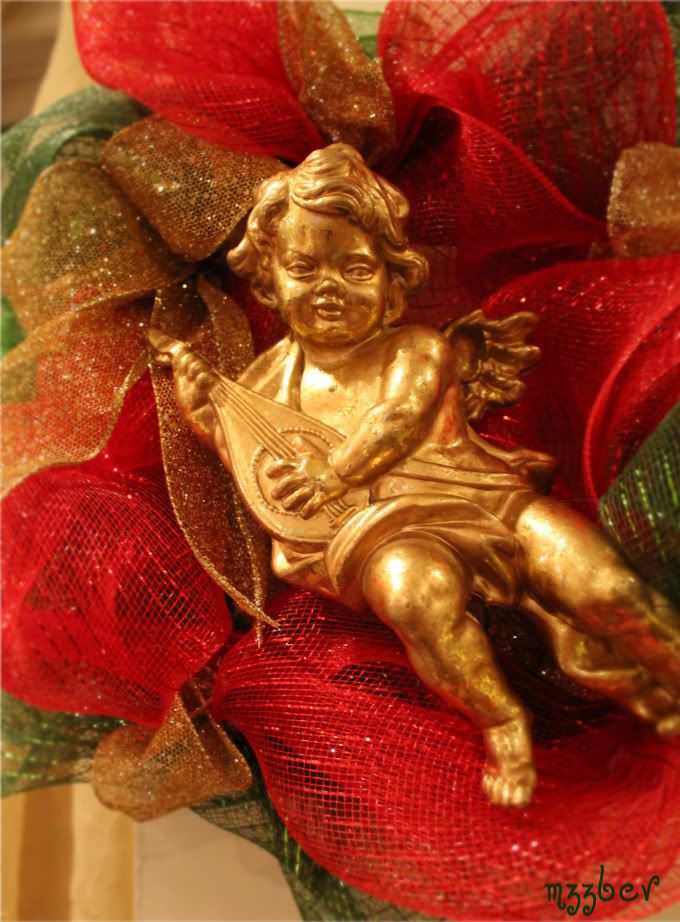
This angel has seen many a Christmas but on a different wreath. What great timing to pull it out and place it on a new wreath, in our new home
I moved it to my sunroom, by this time it was already dark outside so I had to turn the lights on inside and whaddya know? a different kind of lighting effect!
This wreath was so much fun to make and it took no time. Best of all, no glue, no mess involved (except glitter). I have plenty of ribbons left and can probably make at least two more wreaths. I think I will for gifts. I love these wreaths, great idea and thanks for the inspiration Liz, you're truly gifted and amazing!
**UPDATE**
11/15/11
I made this one today (at work during my lunch hour) as I had a friend ask if I could make one for her group who will be putting them up for auction and funds benefit local non profit organizations. It will be on display/auction at the River Ridge Mall in Lynchburg, VA so any of you locals, go support this festive and worthy cause.
I used green metallic ribbon this time. Not as pretty as the gold but still pretty.
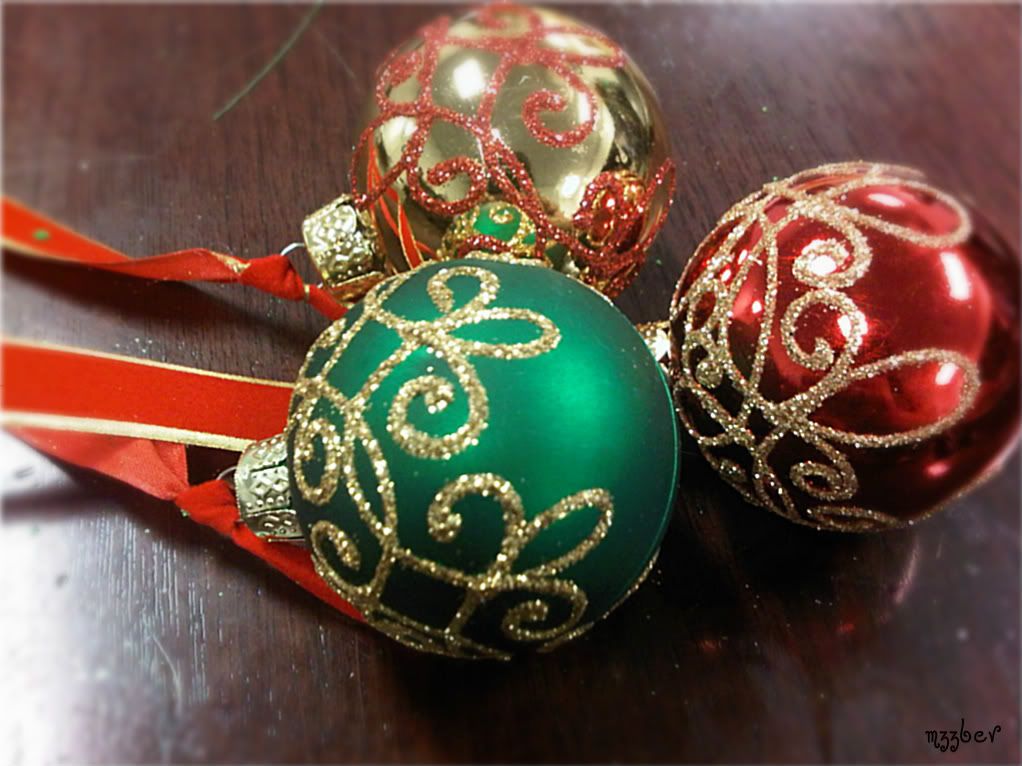
I took three small ornaments and tied a ribbon of different lengths, to fit in the center of the wreath.
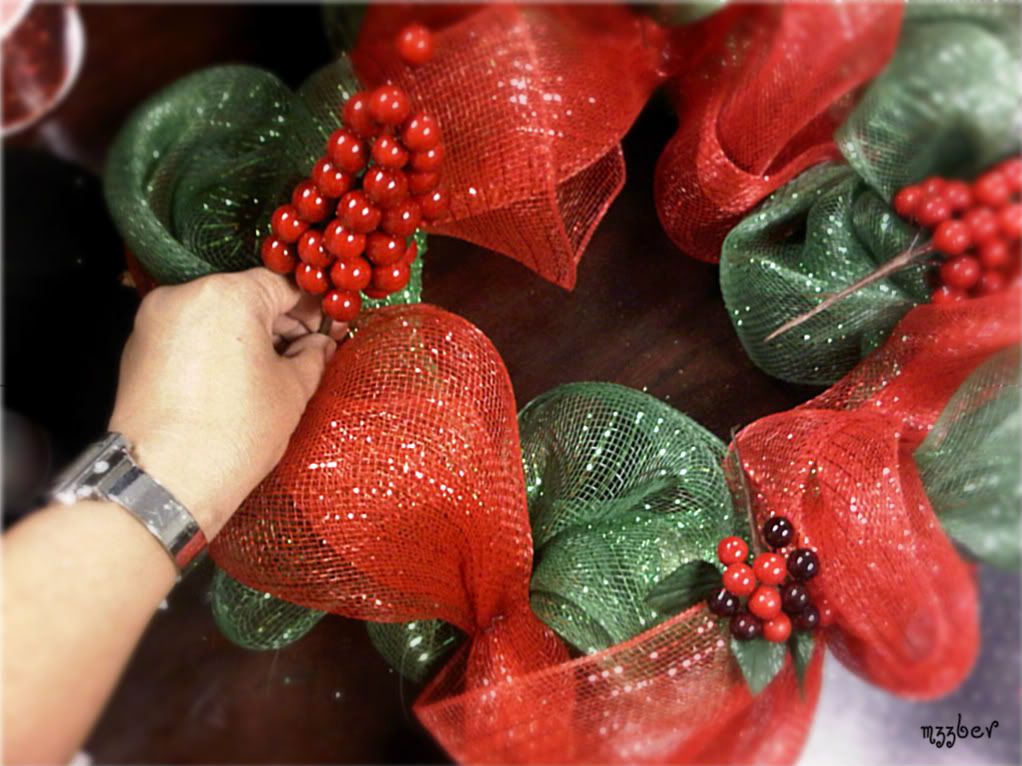
After I added the both color mesh fabrics, I added some embellishments, berries in this case.
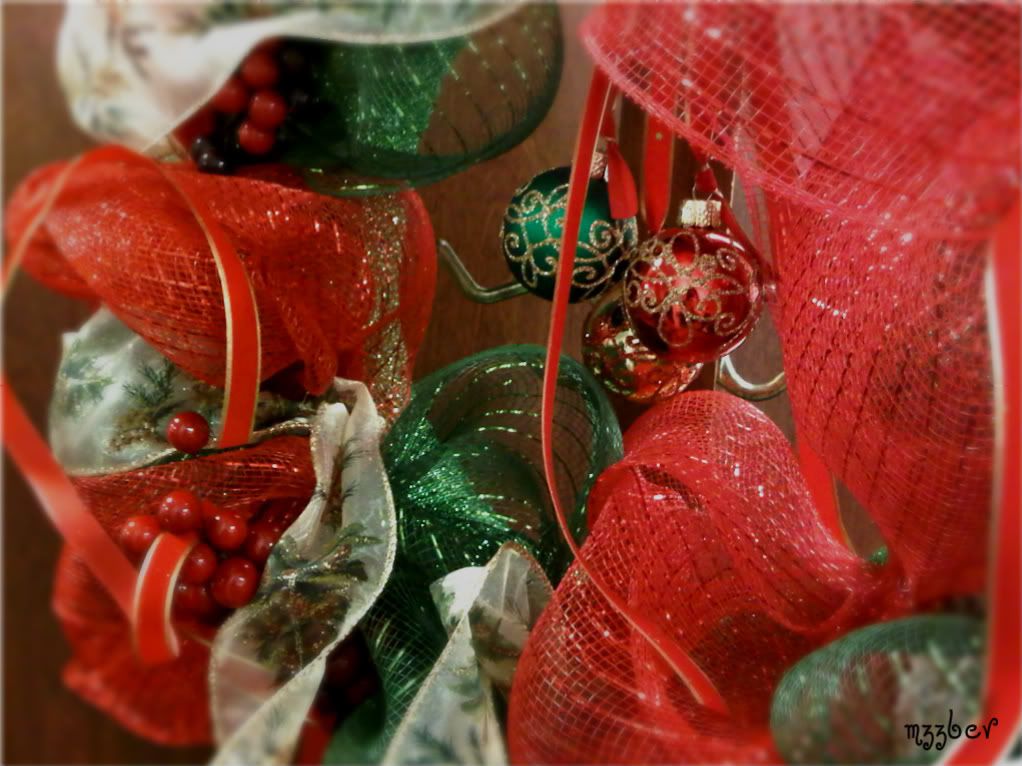
I then added a thin ribbon, a decorative thicker ribbon, some green mesh ribbon in the back and then the ornaments in the center
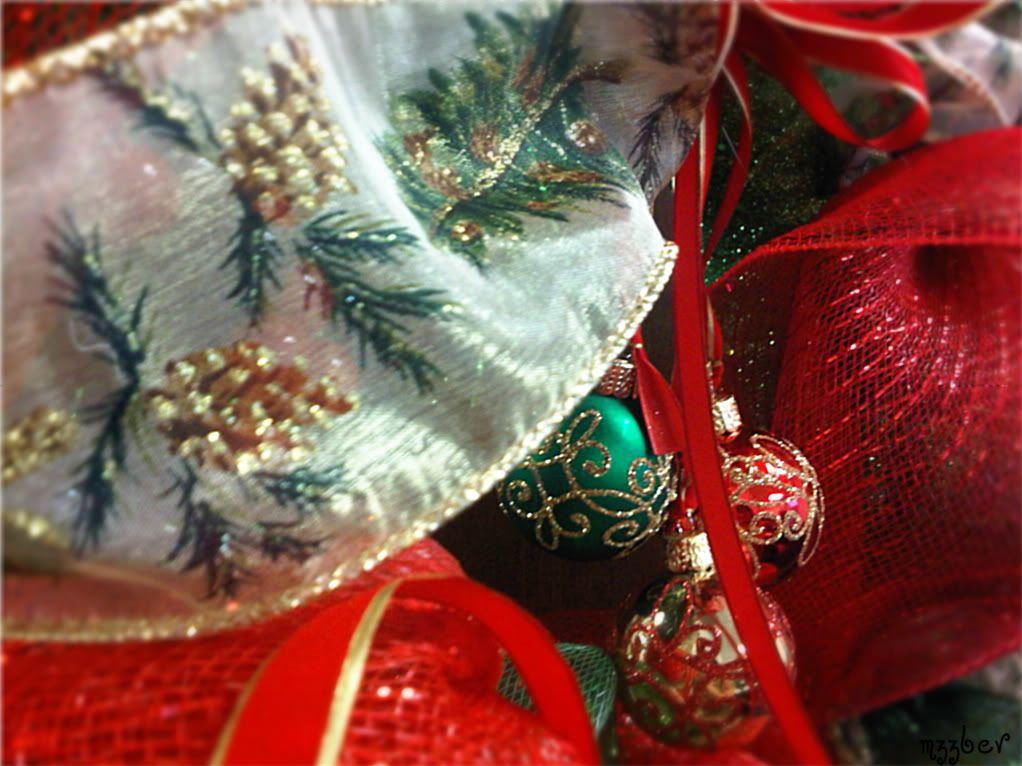
A closer view of the thicker, decorative ribbon


It's still nowhere close to the way Liz makes them but I guess practice makes perfect.
**UPDATE 11/19/11**
My Rustic Wreath

My third "mesh" wreath and once again, I still have the same mesh fabric leftover, probably enough to make a fourth wreath. This will be going on our front door on Sunday.

I shared this with:


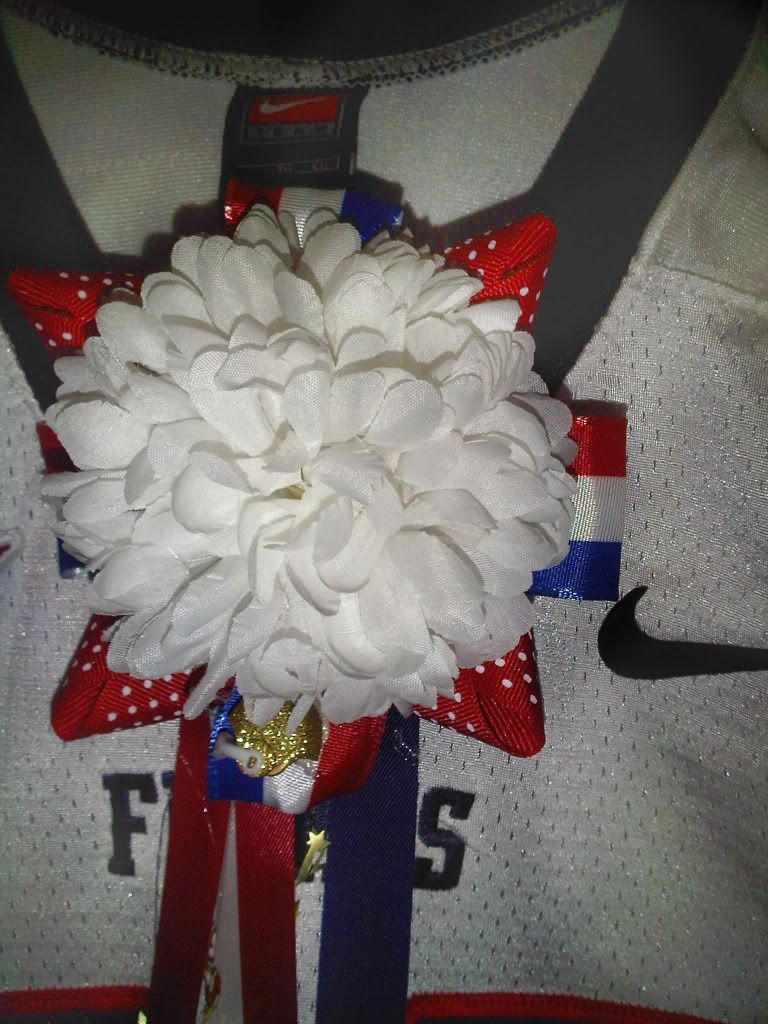
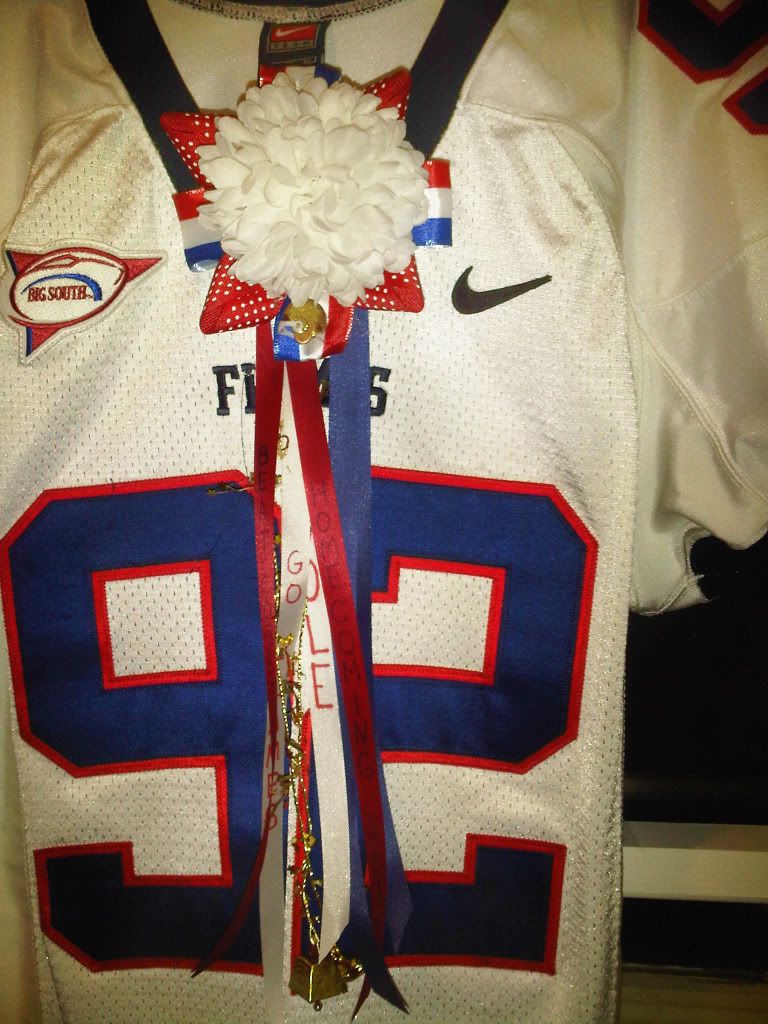
HOMECOMING MINI-MUM

3 3" circles
1 4" white mum
4 3" long ribbon strips (1" wide) (all ribbons and strings should be according to your school colors)
4 4" long ribbon strips (3/4" wide)
2 10-12" long ribbon - red (5/8" wide)
2 10-12" long ribbon - white (5/8" wide)
2 10-12" long ribbon - blue (5/8" wide)
Hot glue gun & glue sticks
Plier stapler
1 12" pipe cleaner - blue
24" star wire strand folded in half
Embellishments such as a mini helmet, mini cowbell, mini football
Blue and Red fabric markers
Corsage pins
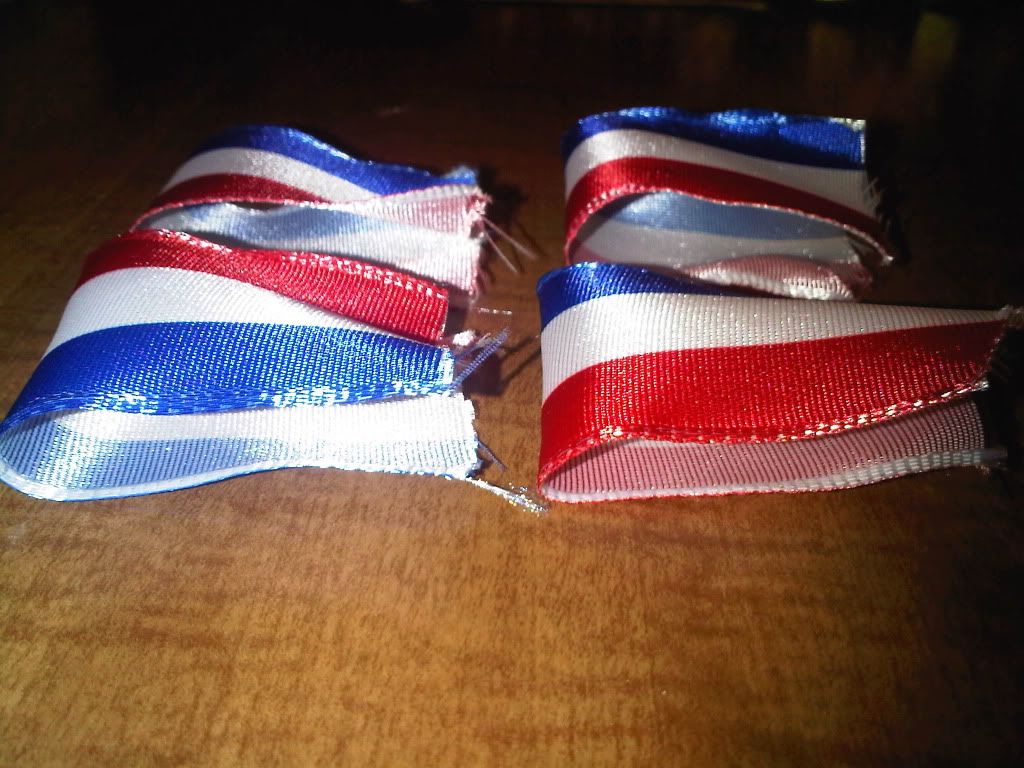
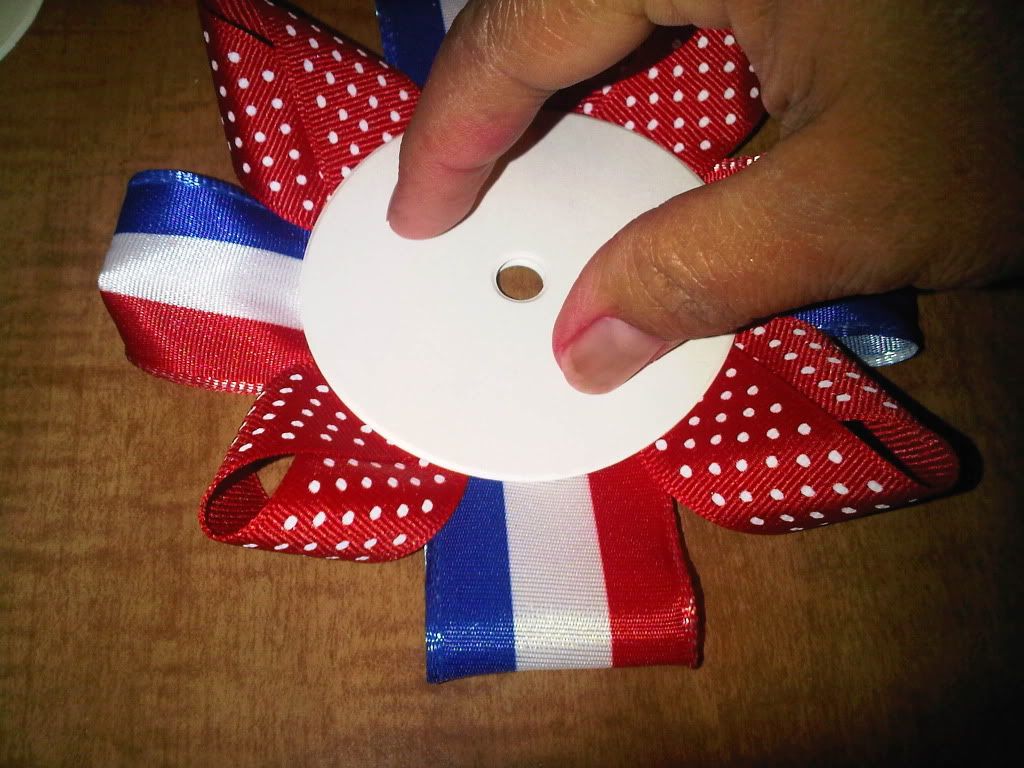
Take the four 3" ribbons (1" wide) and fold in half - fortunately these had wire in the edges so they were easy to keep folded
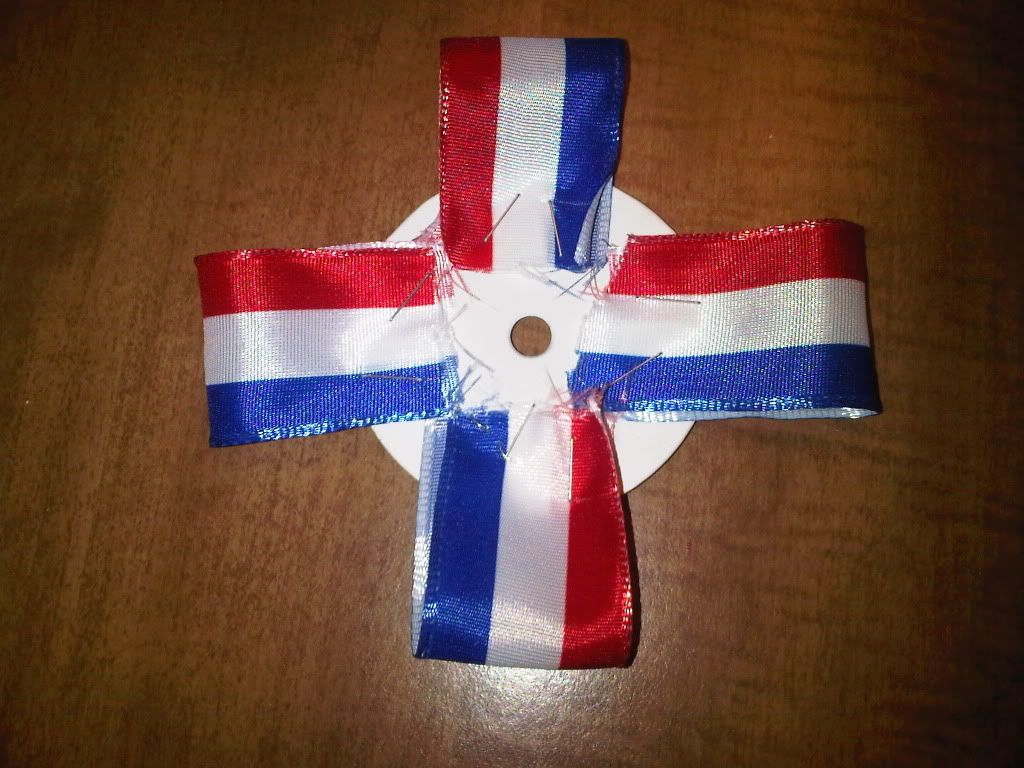
Staple them to one of the white circles like so
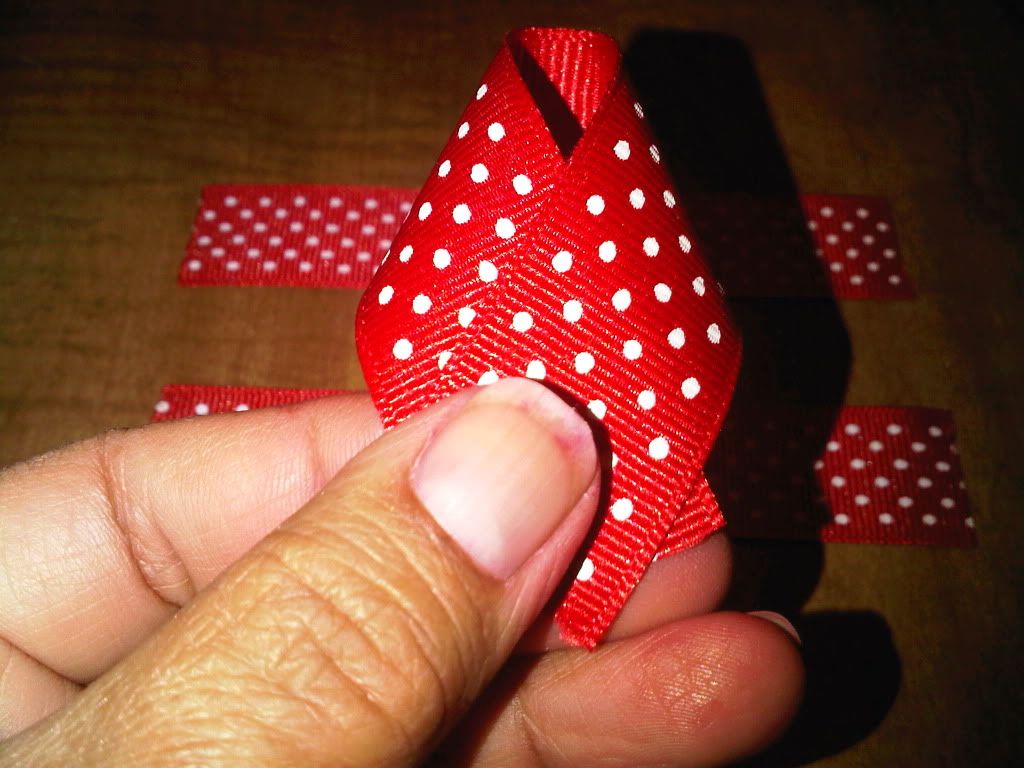
Now take the 4" inch ribbons (3/4" wide) and fold like so, then....
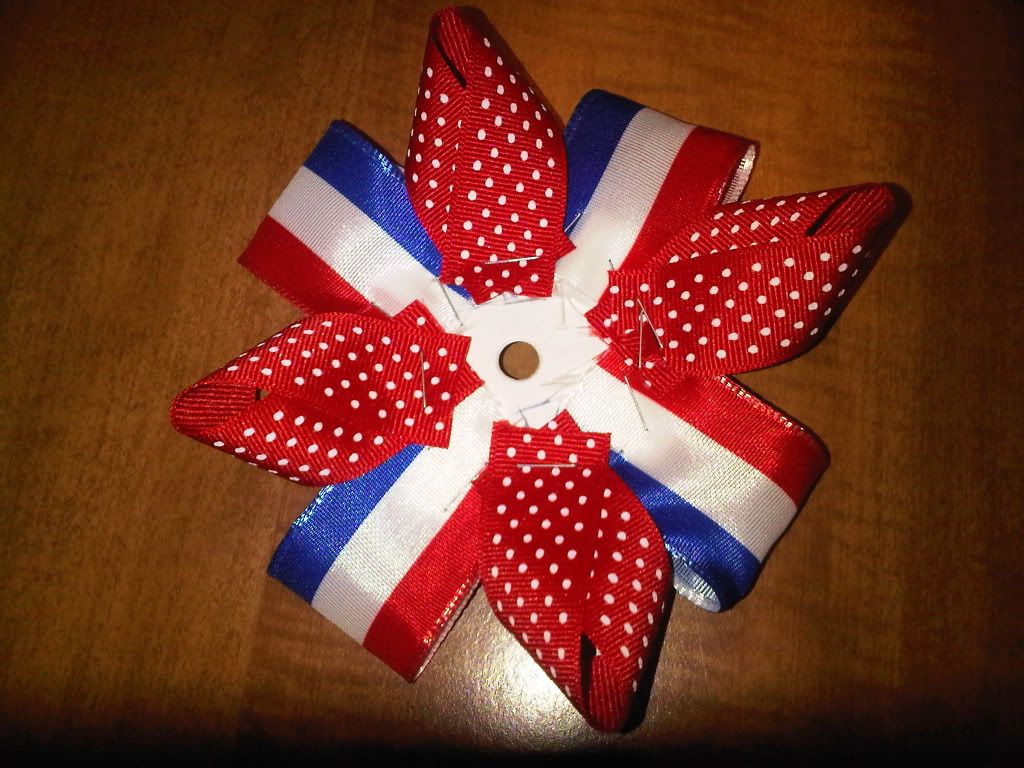
staple them in between the other ribbons. You may be thinking that all the staples and rough edges are making this look very tacky - don't worry - we're going to fix that later

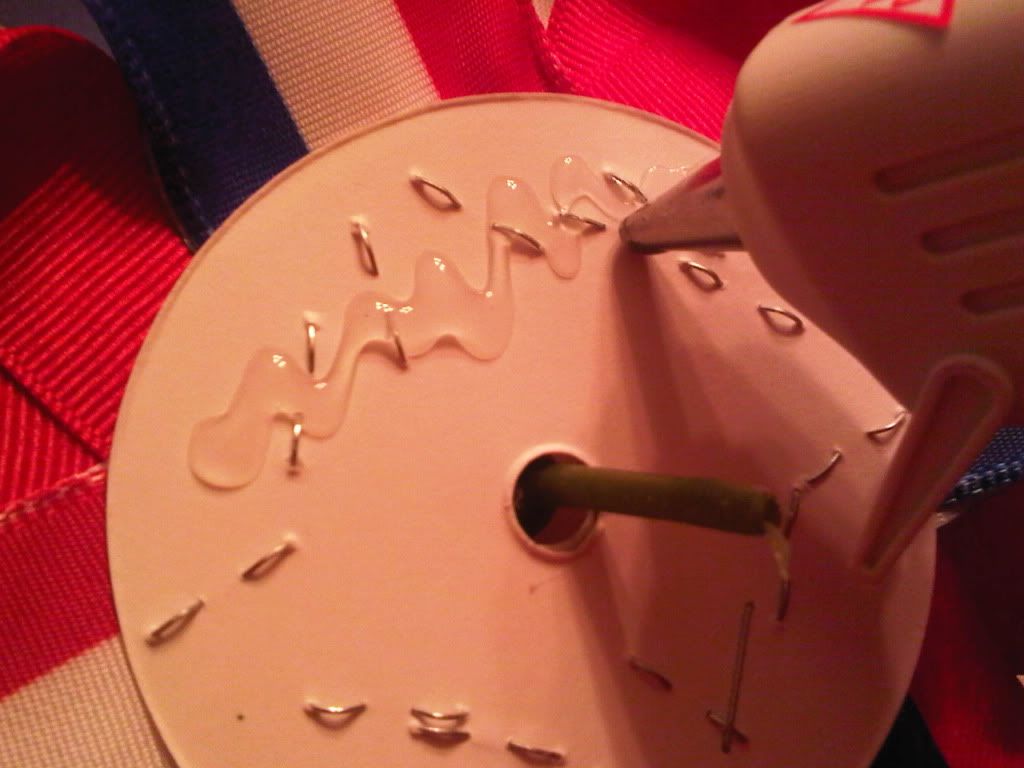
Take the hot glue gun and put some glue around the center hole and around the ribbon edges. Don't be shy, pump that glue out!
Take another circle and put it on the hot glue, press down firmly to make it stick well.

Cover the new circle with a lot of glue

Next, take the flower mum, poke the stem through the center hole and carefully glue the mum to the circle. Press firmly being careful not to burn yourself with the hot glue. Set aside.

Get the 12" ribbons ready (2 red, 2 white and 2 blue)
Take the mum and turn it around to show the backing. Run a strip of hot glue across the top.
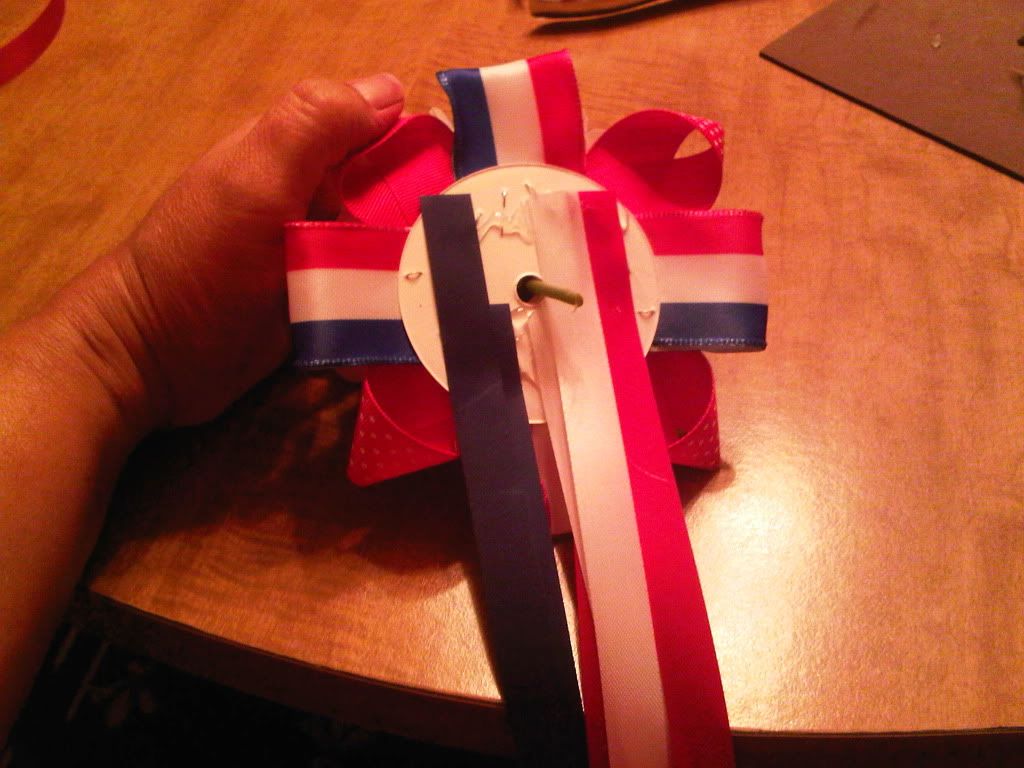
Take each color strip and stick to the glue. Run another strip of glue at the bottom of the circle and stick the rest of the ribbons there. So now, to tell you the truth, the bottom ribbons should of been done before the top ones. Oh well, I worked it out even though it was a little awkward but do-able.
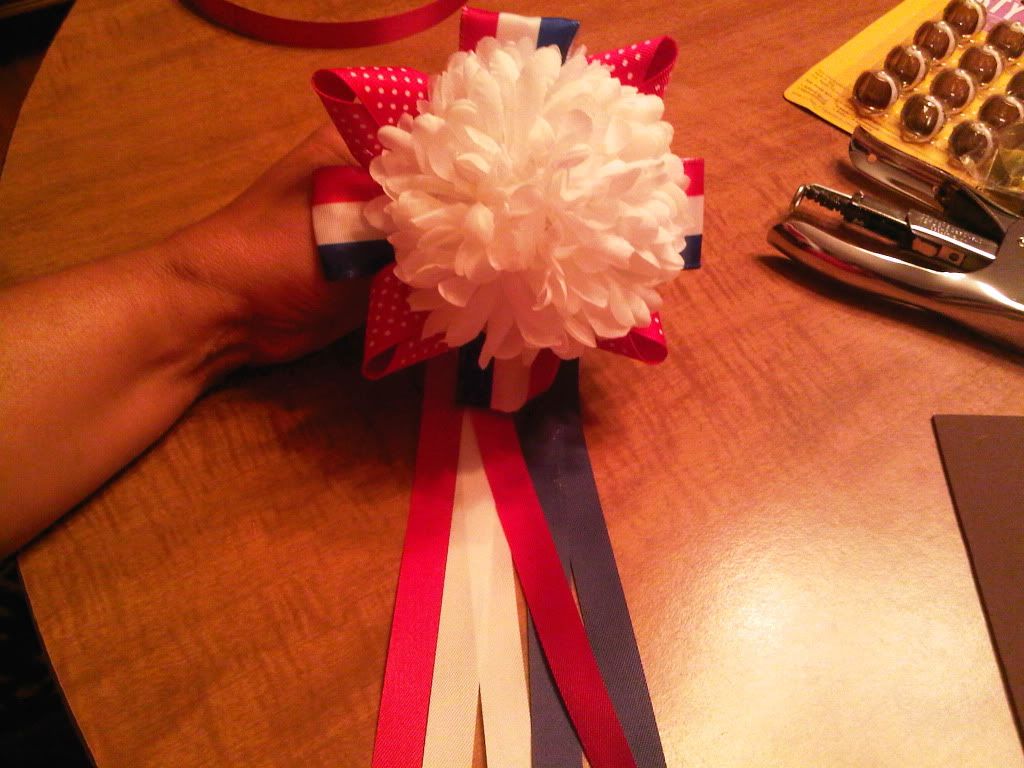
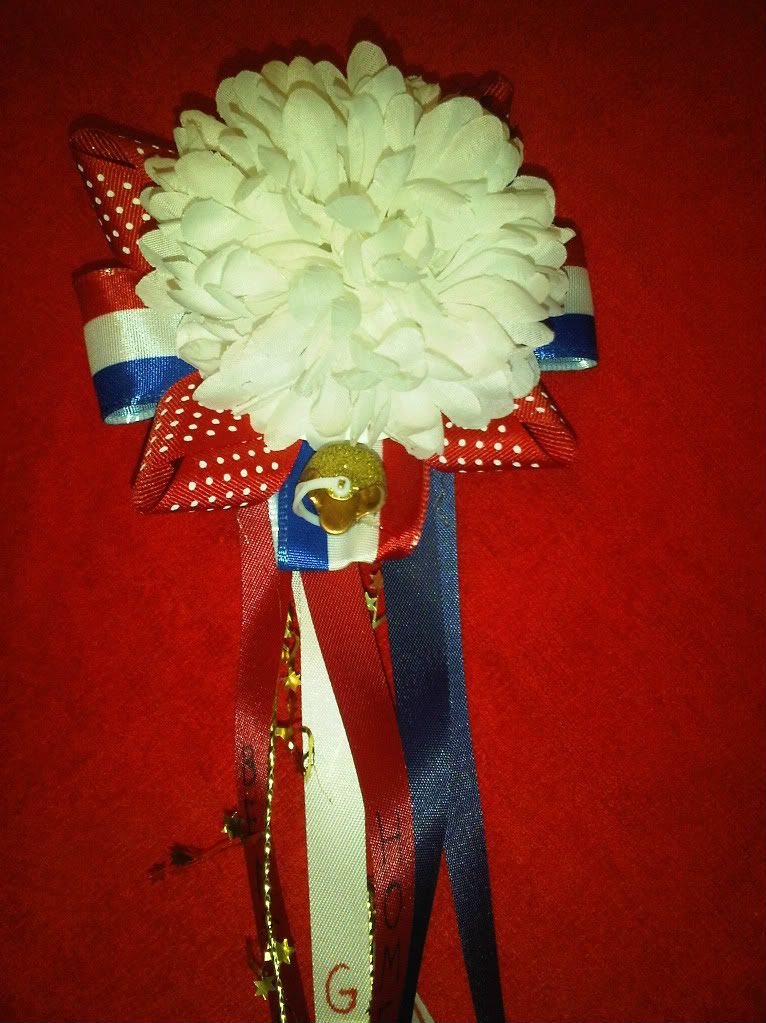
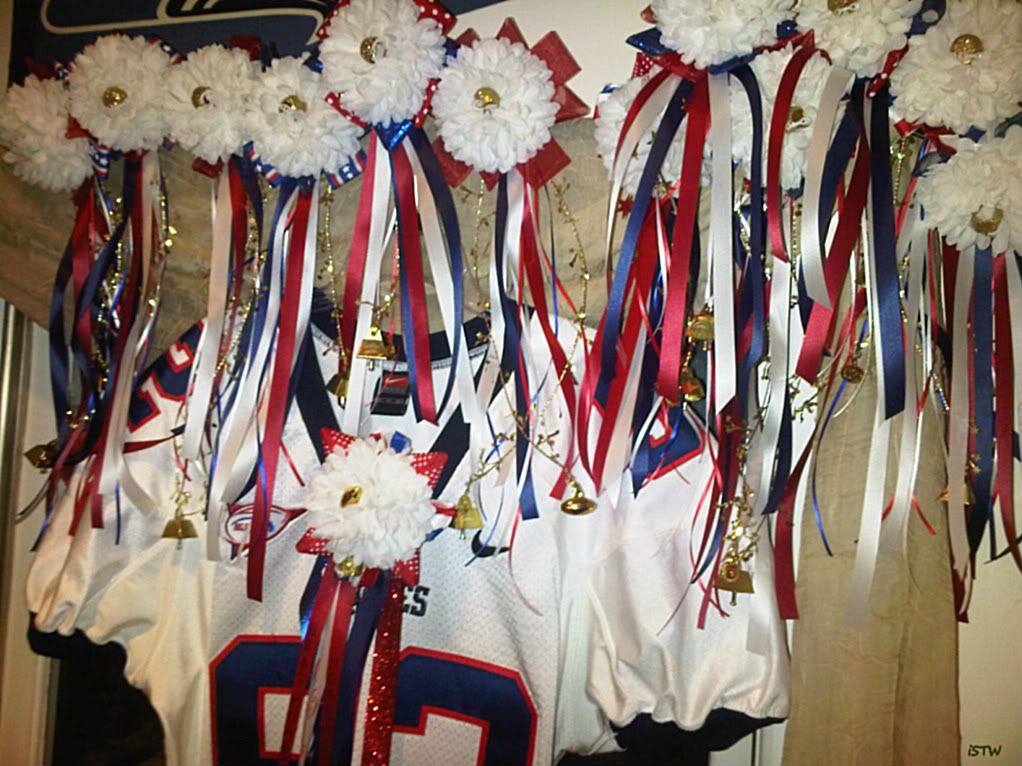
Turn it around and it should look like this!! Yay, more than half way done :) I'm soooo excited!! 49 more to go!!! :)
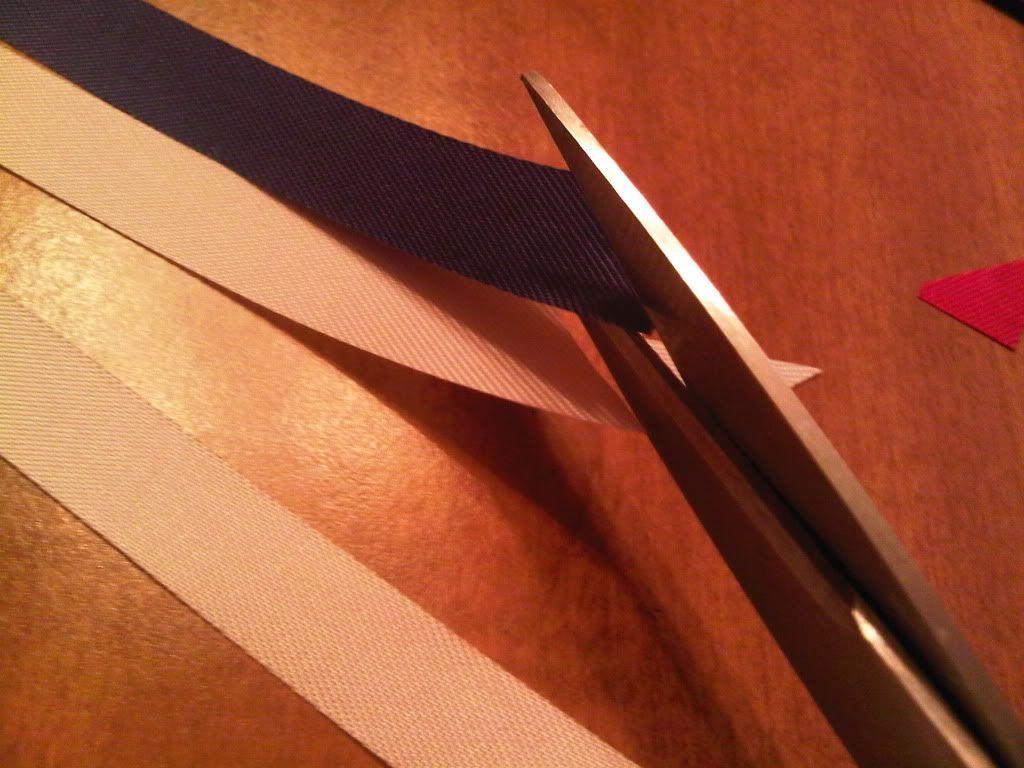
Trim the end of each ribbon at a slant

Now, take one pipe cleaner, fold it in half. Take the folded end and wind it around the stem of the mum that's poking out the back. Keep winding the pipe cleaner until it's one stem. Take some hot glue and glue the base of the pipe cleaner. Don't be afraid to douse it with glue. Fold the pipe cleaner down. This will be used to help pin it to your attire with the corsage pin.
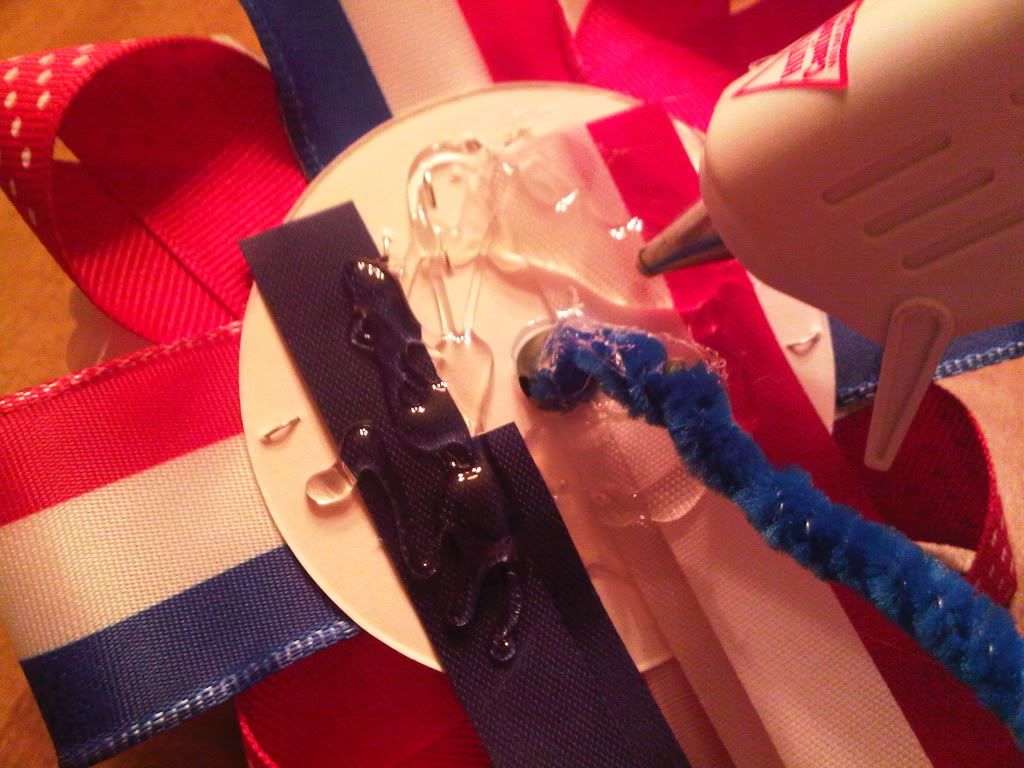
Once again, douse the whole backing with hot glue

Run the 3rd and last circle through the pipe cleaner then over the hot glue, be careful not to burn yourself. Press firmly
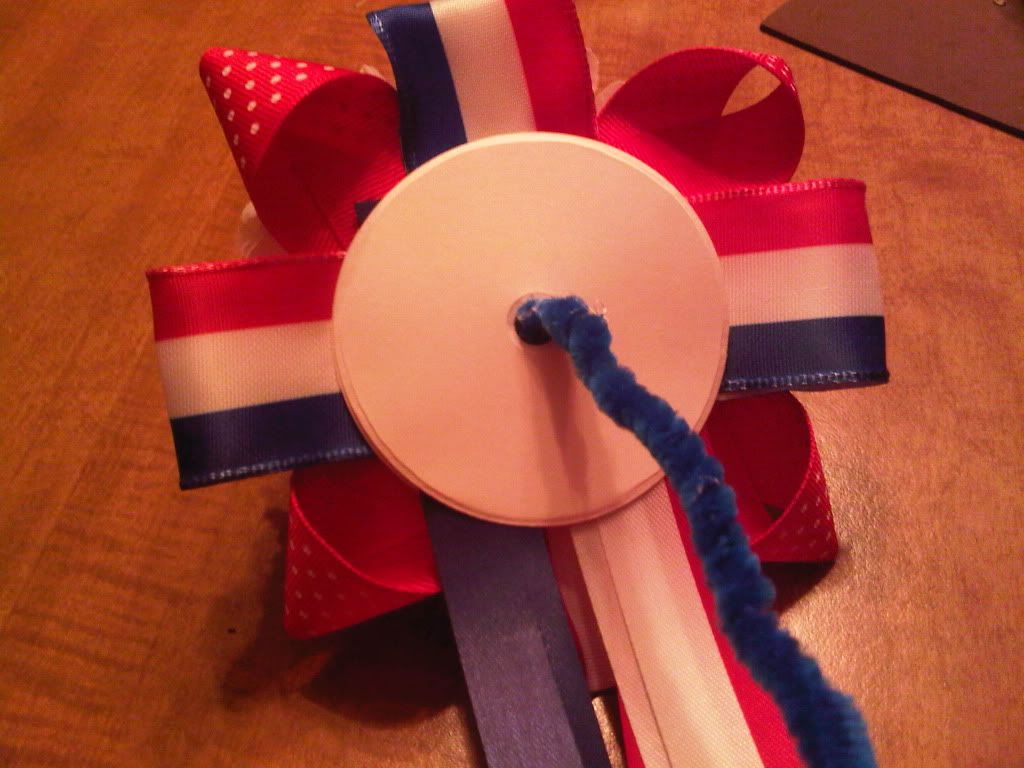
Now all that ugly mess is hidden
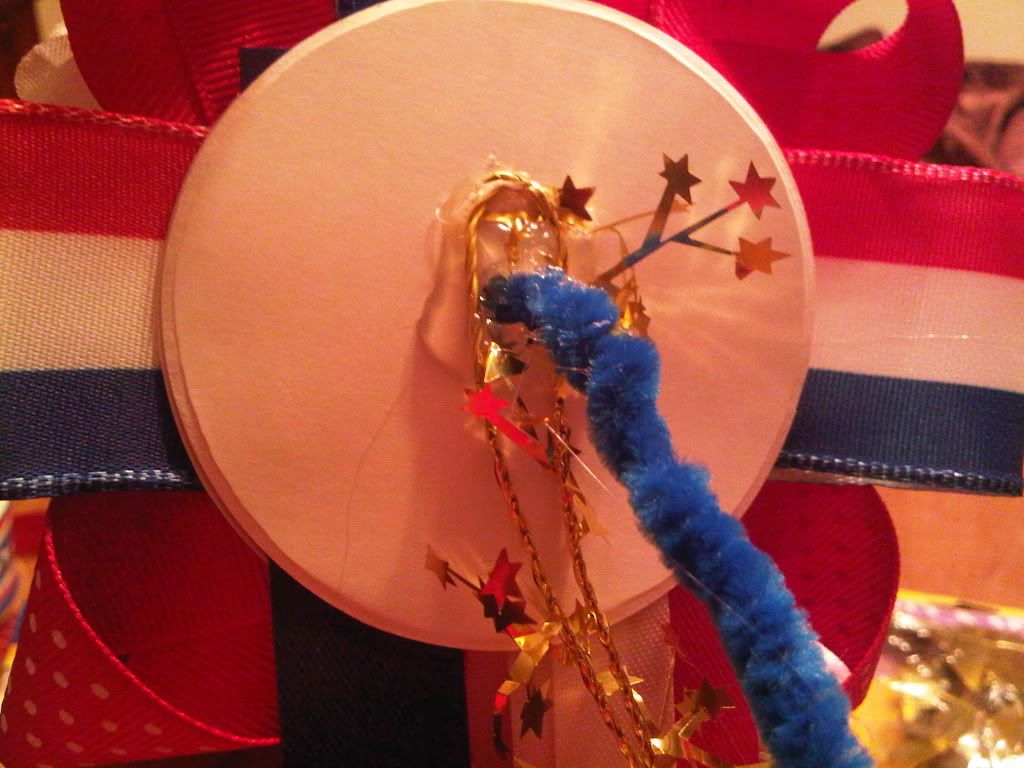
Have you ever heard that saying, "Don't do as I do but do as I say"?? Well, this is where I tell you that. I really should've done this step before I put the final circle on. I'll remember to do that with the next 49 mums. Anyway let's pretend, we haven't glued the last circle just yet. Take the 24" strand of starry wire, fold in half and glue the folded edge to the backing. Make sure to use a lot of glue to make it stick, let set and dry before the next step.

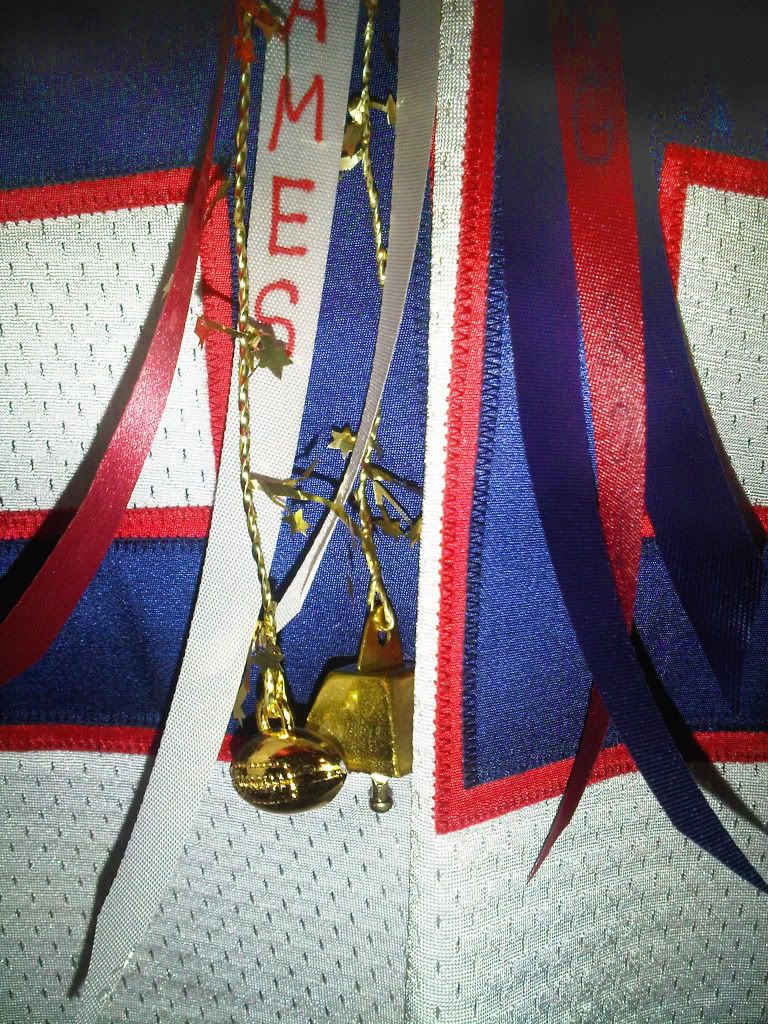
Take what embellishments you may have. Here I have a mini helmet, mini cowbell and a mini football. Aren't they adorable??
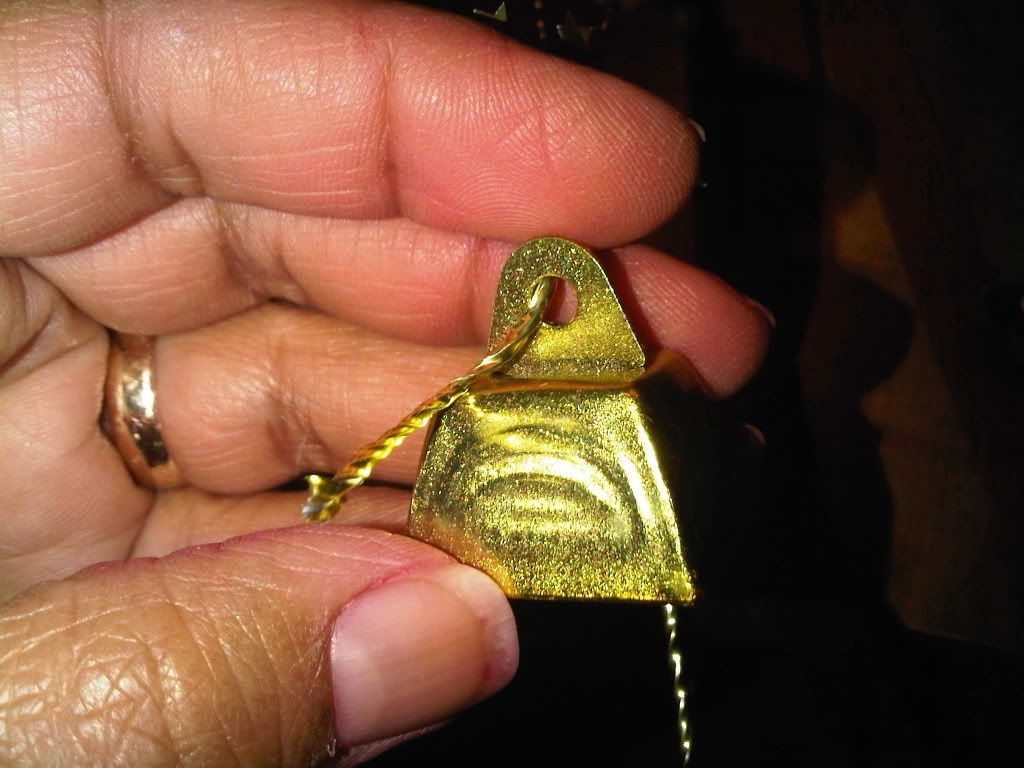
Take one of the starry wire ends, thread to mini cowbell, twist and secure. Repeat the same with the mini football
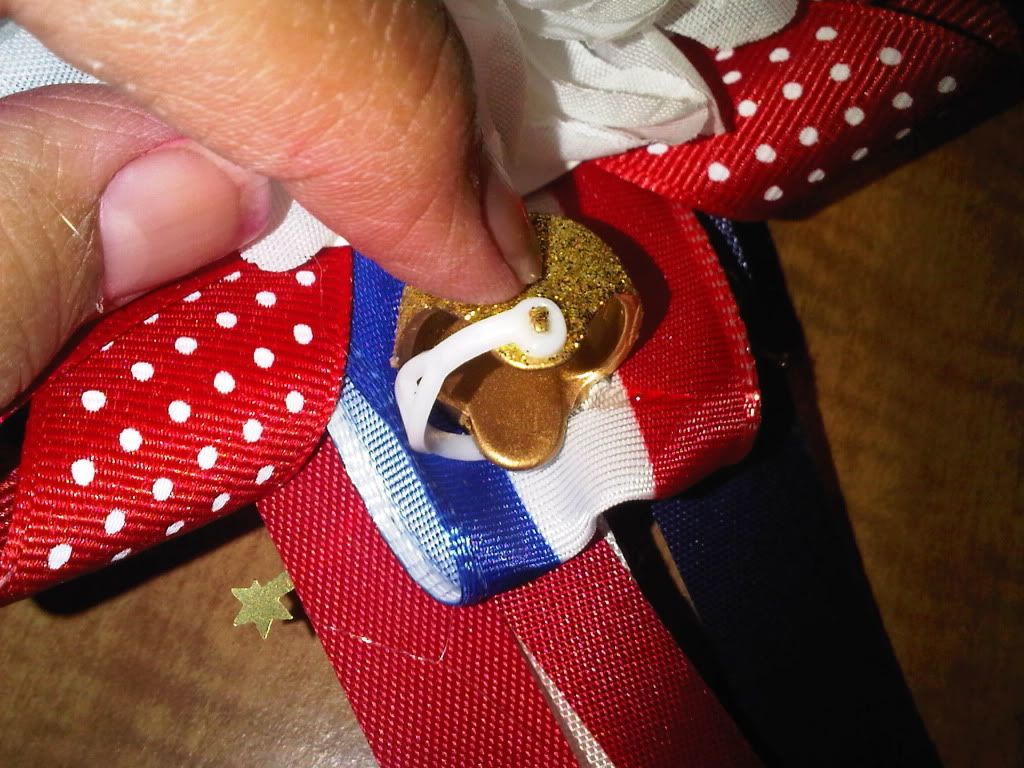
I glued the mini helmet to one of the folded ribbons off the mum. Use a lot of glue to make sure it's secure and doesn't fall off.
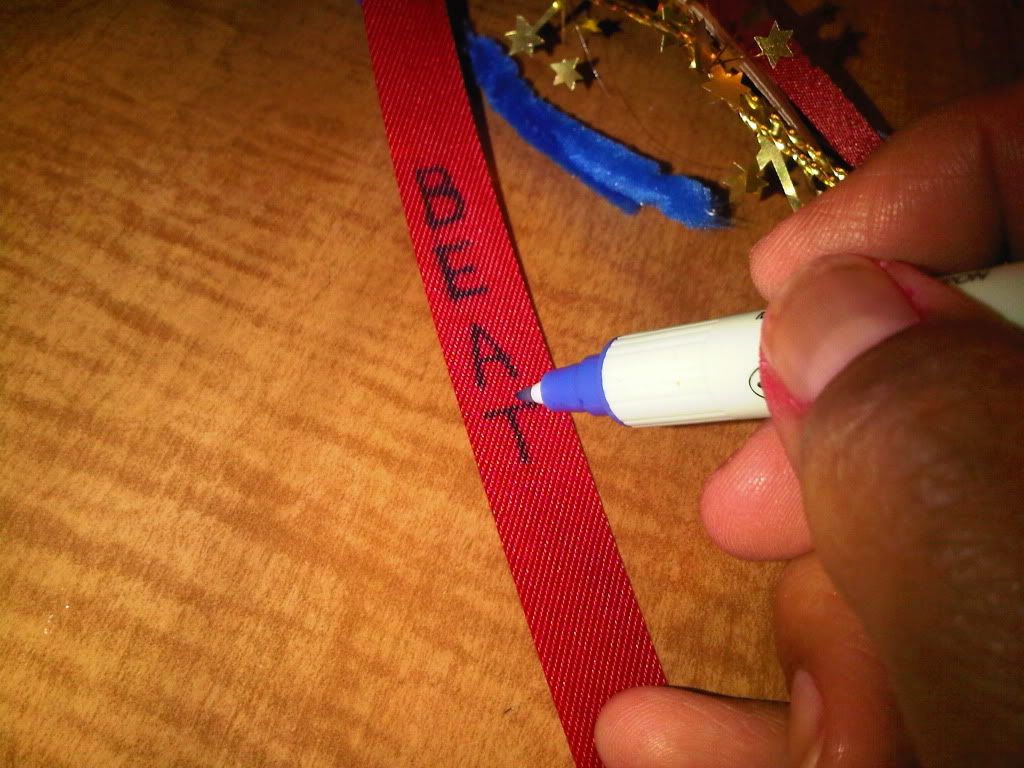
Write on the ribbons team spirit slogans, such as "BEAT COASTAL", "GO Flames" and on one of the ribbons, write your last name....., just because. It will make it easier for me when I make 49 more, easy to make sure everyone on my list gets one.
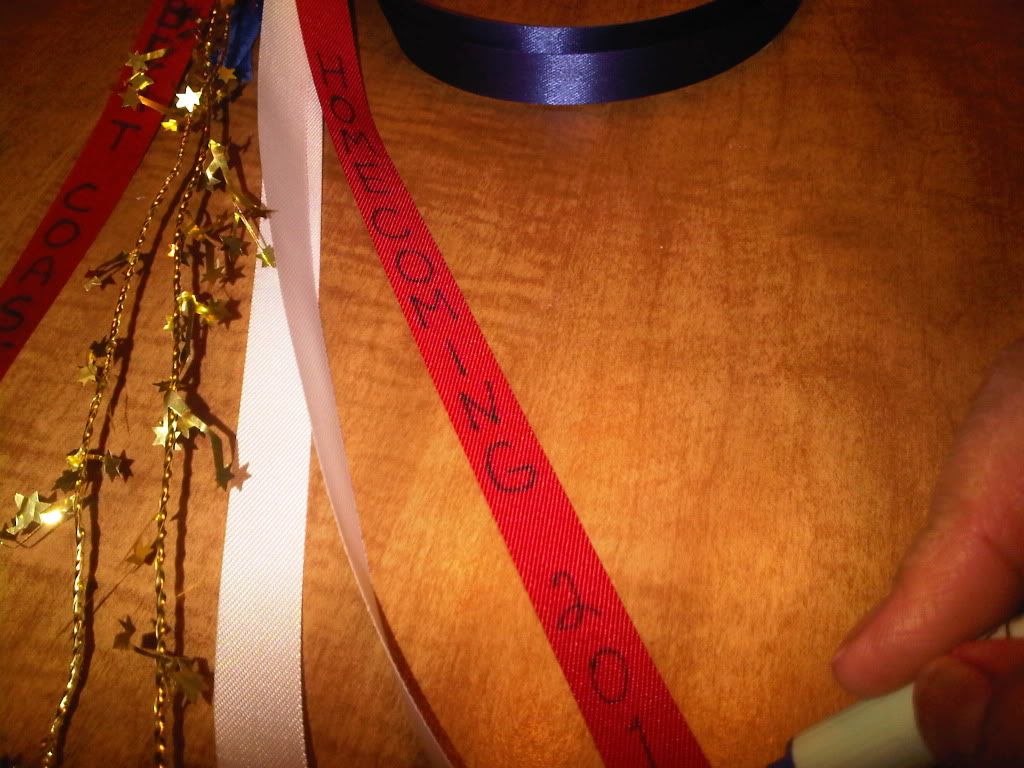
One of the ribbons must say, "HOMECOMING 2011"
Most all the materials shown were purchased through www.monsterspirit.com
If you're interested, I found this insightful article on Homecoming Mums in a 2004 Issue of Texas Co-op Power, titled Mum-a-Mia. Since 2004, the Homecoming mums have gotten more expensive and gaudier, if you can imagine that! Click here for article: Mum-a-Mia

FIVE DAYS LATER.......
This post was shared with:
Dittle Dattle's - Amaze Me Monday
**UPDATE** OCTOBER 12, 2011
9:43a
I completed putting all 40 mums together this past Monday evening (the Monday before Homecoming). I am now writing in all the names and such. Will wrap them in clear cellophane and then distribute them. Because the mums have been laying around, the ribbons will bend in any position so I've been busy "uncurling" them with a small hair straightener. That was just an added task I did not need during this very, very busy time :\ I will hardly be doing any blogging until next week some time due to the craziness of college Homecoming. I love this time of the football season!! :) ~iSTW
**OCTOBER 17, 2011**
IS THERE LIFE AFTER HOMECOMING??
I love reunions, no matter what kind. I love going to my high school reunions and catching up with former classmates, I love long lost parent-child reunions on tv, I get all sappy and happy at the same time. There's just something about connecting with someone from your past and catching up which is why I love homecoming at our university. So our homecoming has come and gone. We had a houseful of company, alumni's needing a place to stay. I was thrilled to offer them a place to stay in our new home as there's plenty of room compare to our previous place. I cooked a big breakfast on Saturday, fed a former football player who knows how to put it away - (saying that in love Stephen ;) ) but it was my pleasure too. I must say though, the week leading up to homecoming as well as the homecoming weekend totally wore me out. It's so sad, I'm not as young as I used to be!! The homecoming game was totally awesome, it was a very important conference game and let's just say we blew the opponent away not only because it was a conference game but because they beat us last year, so we were hungry for revenge. Anyways, here's a picture of some of the recipients of our homecoming mum. We received many, many compliments on them, everybody loved them! What fun it was making them and I look forward to it again next year!

Aren't they beautiful?!? I'll post a pic of me with my mum as soon as it gets sent to me.


No comments:
Post a Comment