Friday, September 30, 2011

Elise's Red Enchiladas


Click here for printable recipe:  Elise's Red Enchiladas

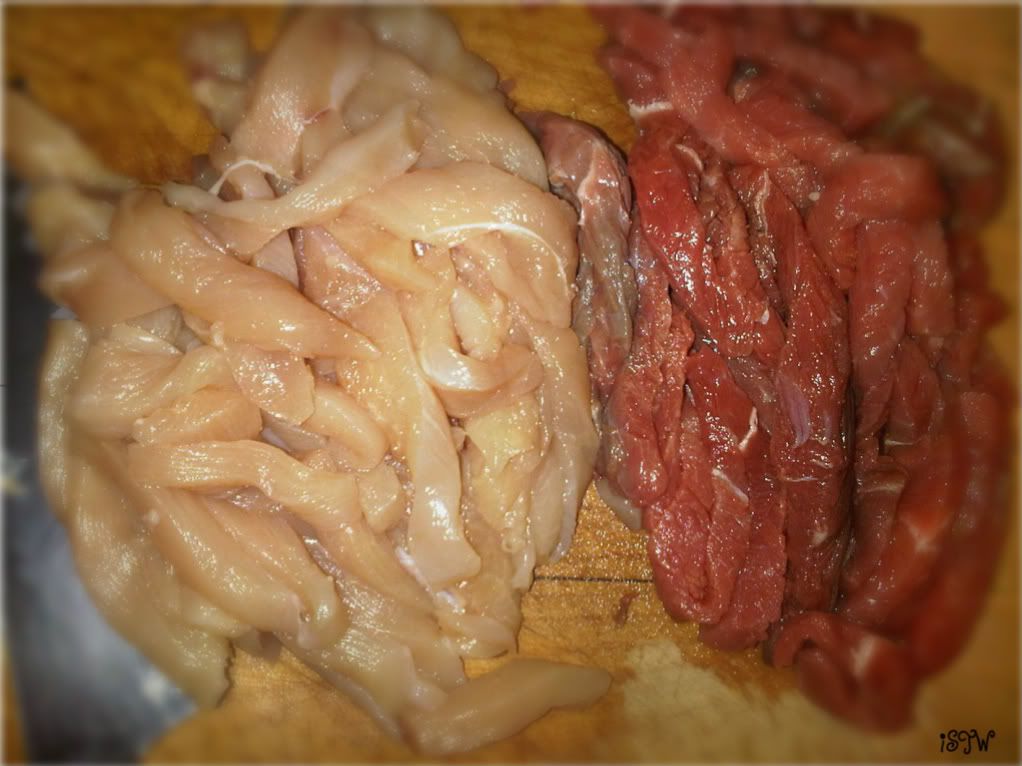
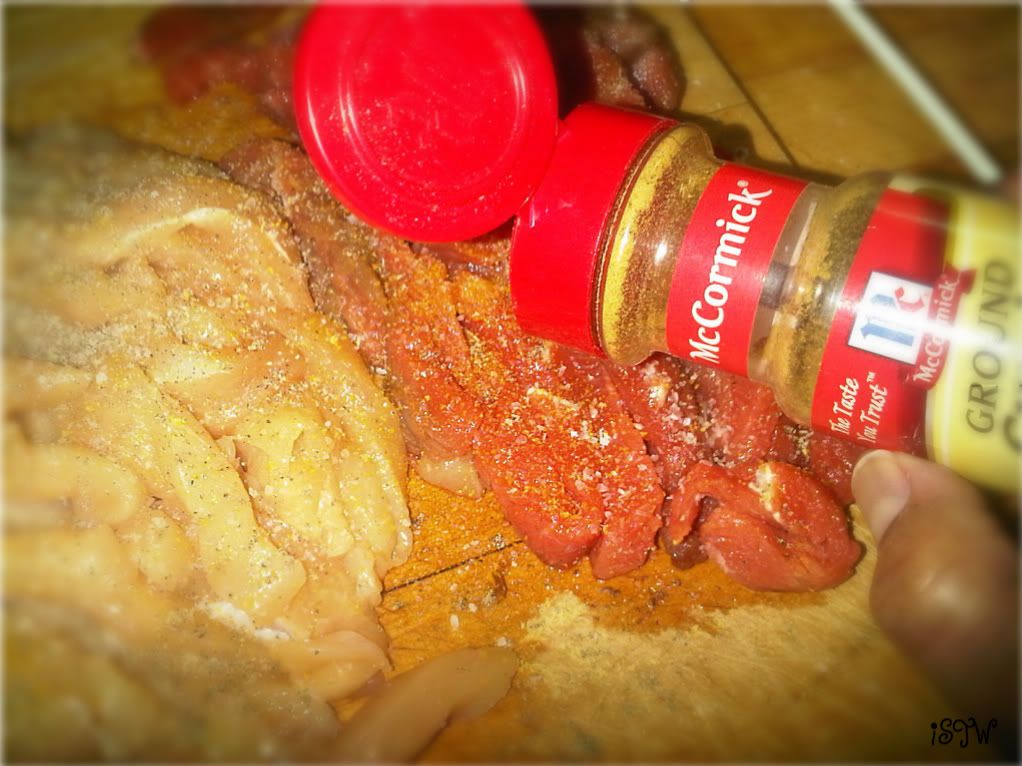
This chicken cooked all day in the crock pot.  Elise seasoned it really well which gave a great flavor for the enchiladas.

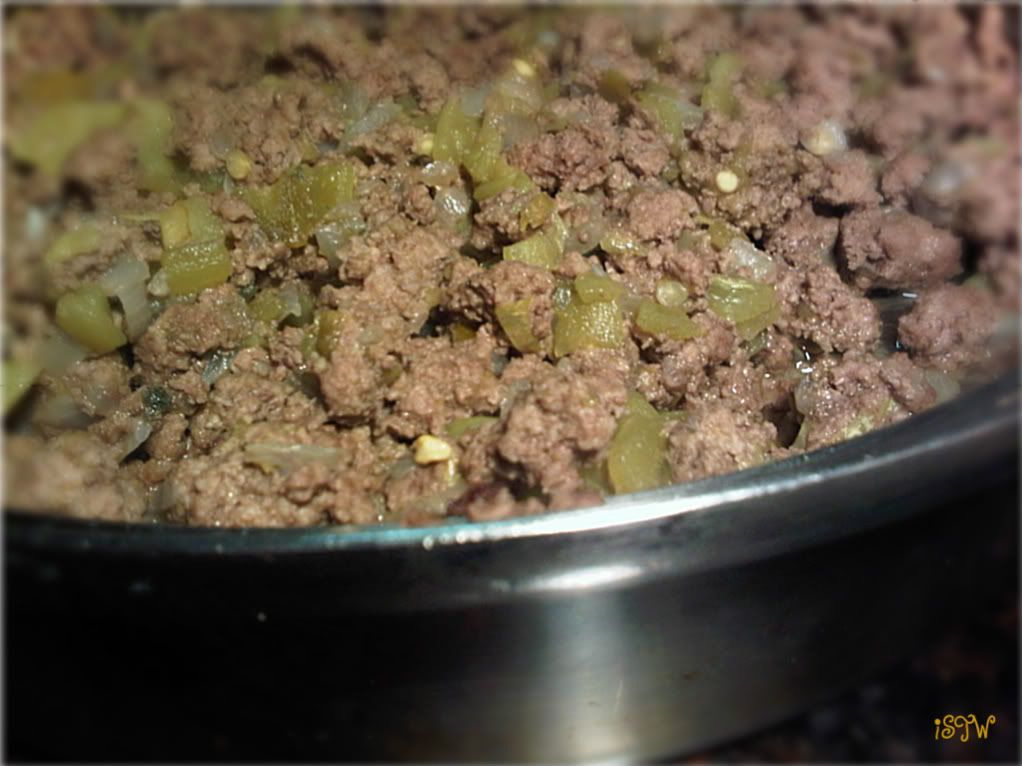
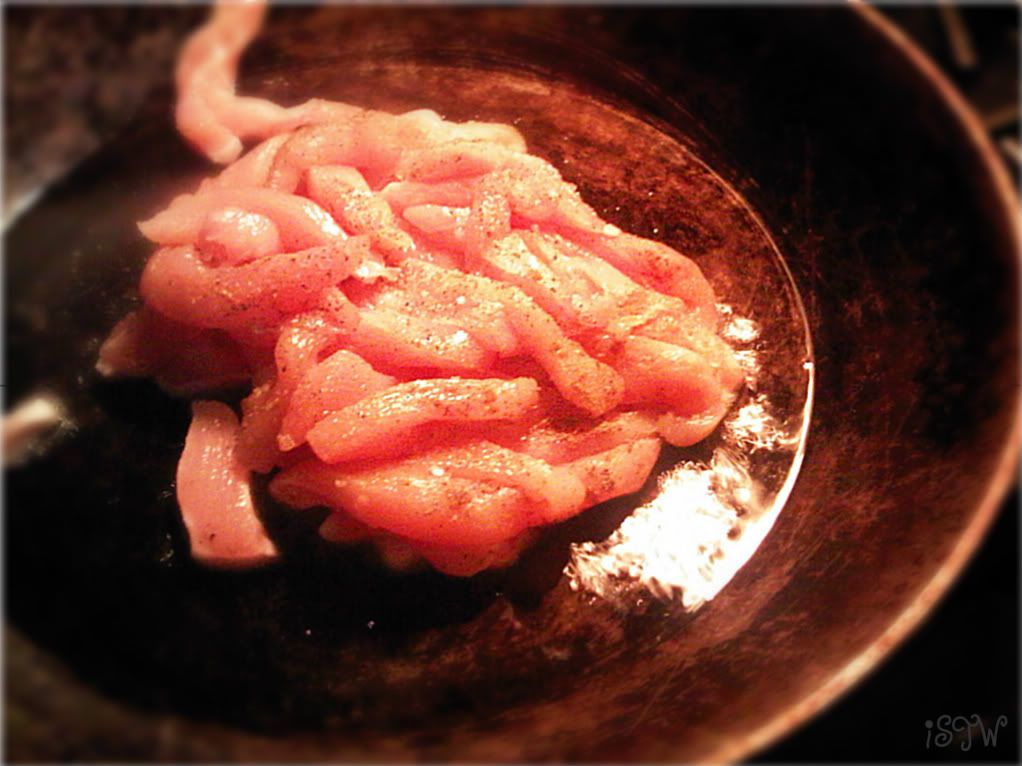
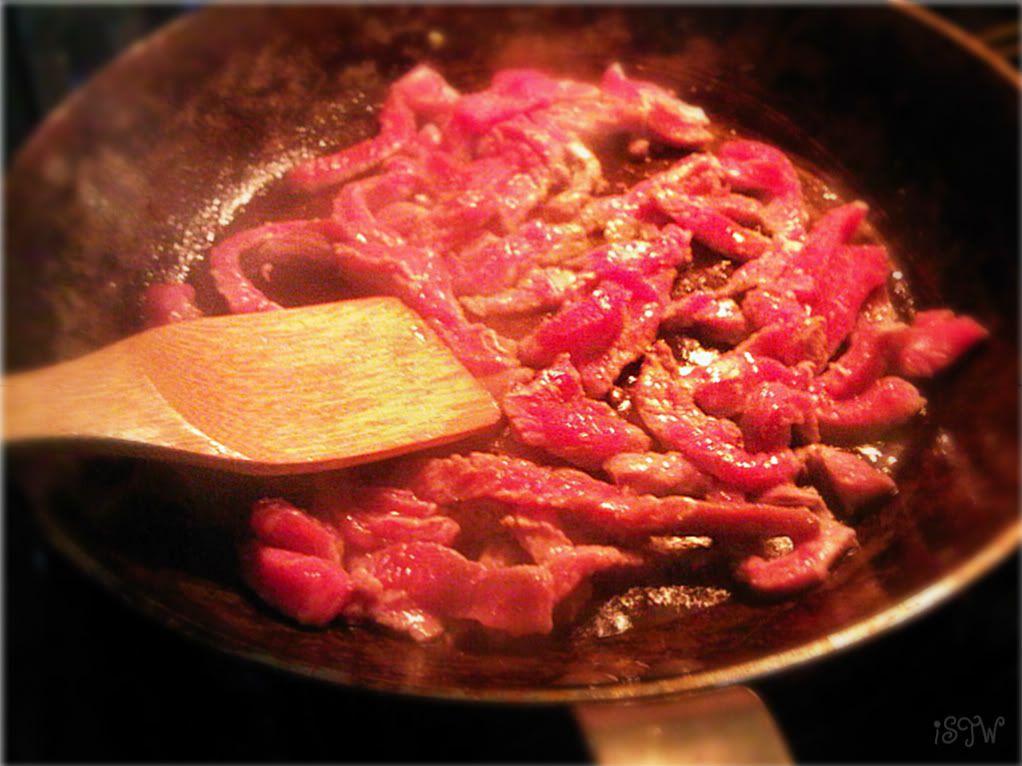
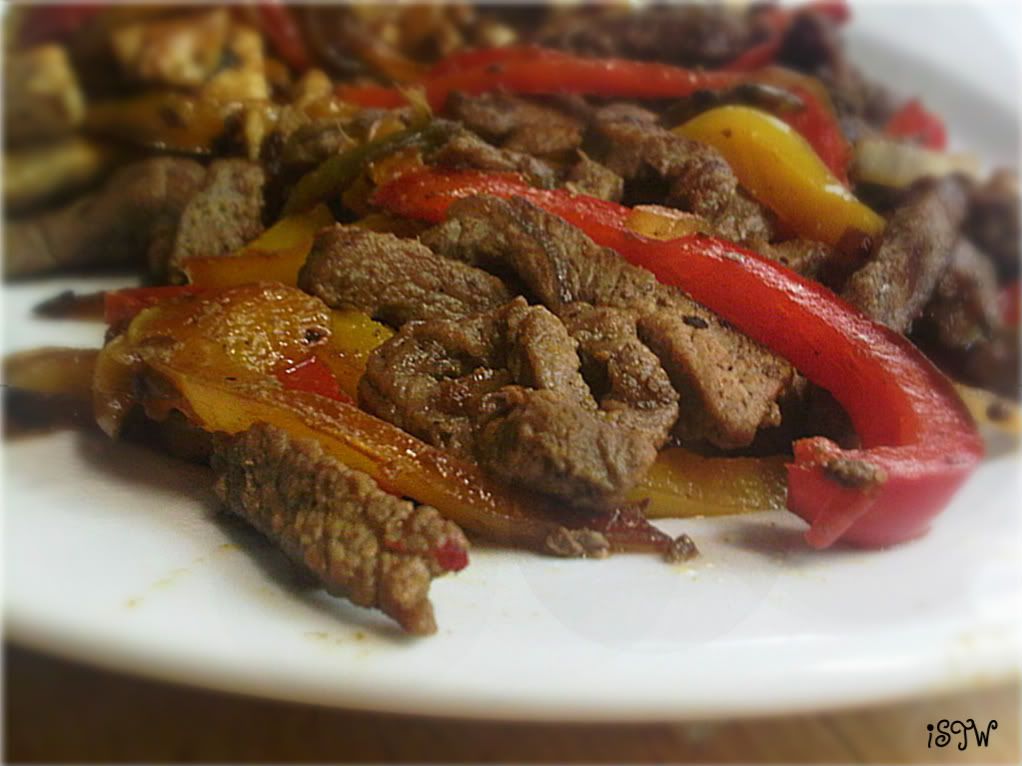
She cooked the beef in no time at all.

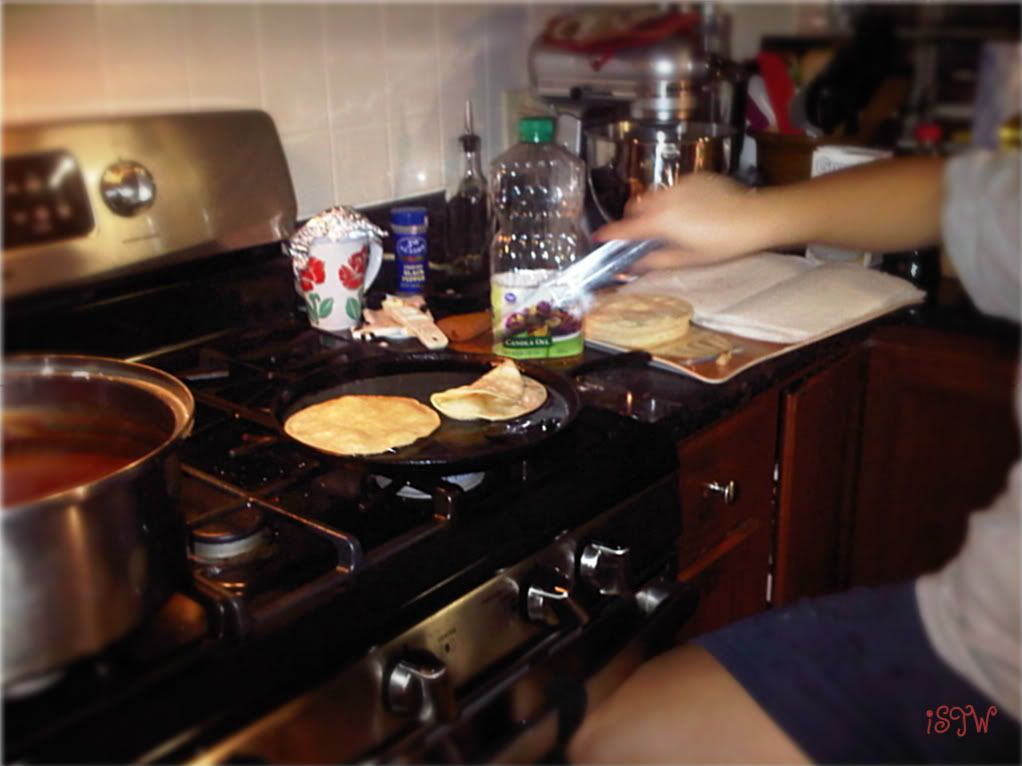
Lightly frying the corn tortillas

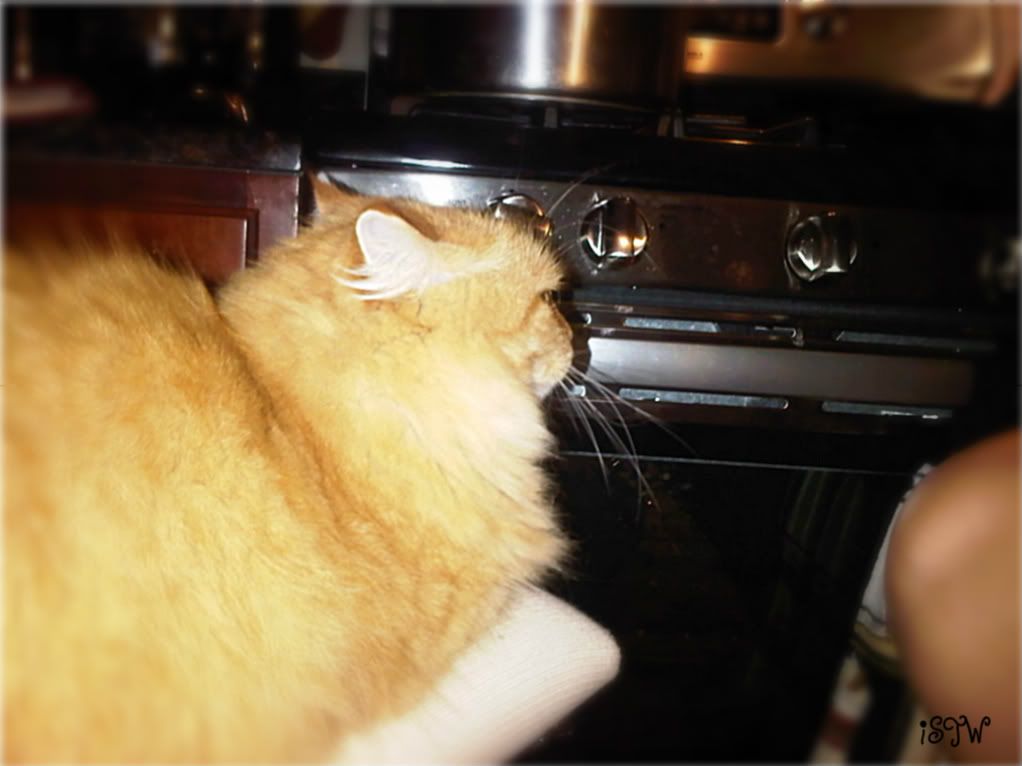
with Asha supervising.  Elise pulled up a chair as frying the tortillas can be a lengthy process.  Asha thought the chair was for her, so Elise had to pull up another one.

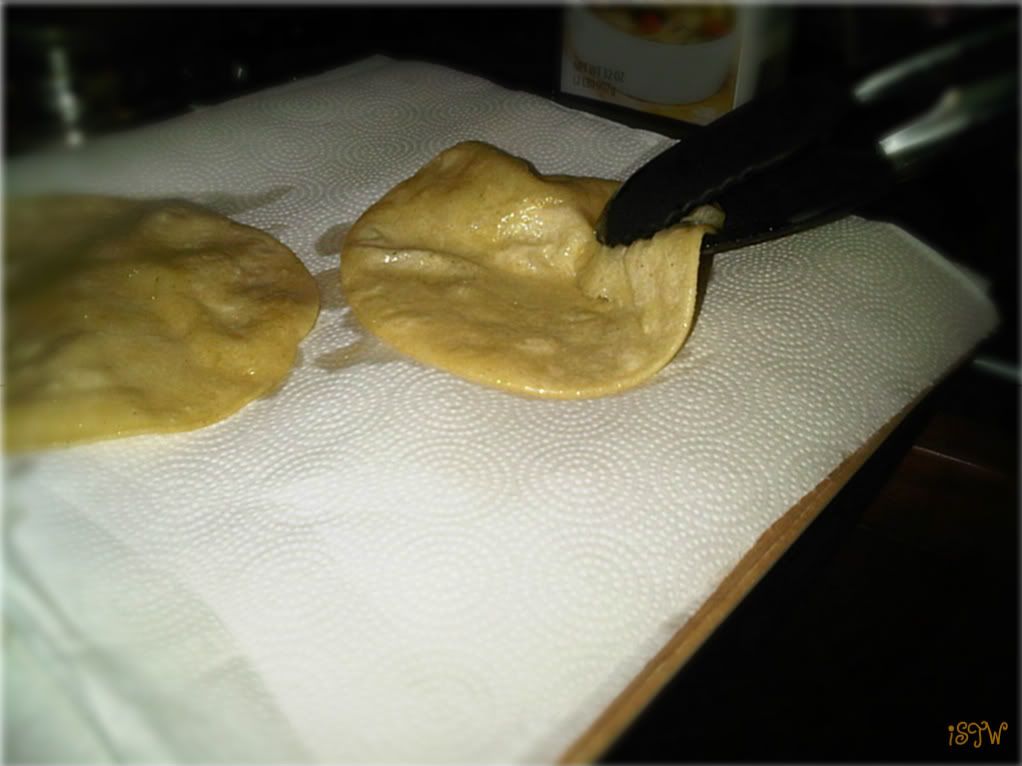
After frying the tortillas, Elise laid them on some paper towels to soak up the excess oil

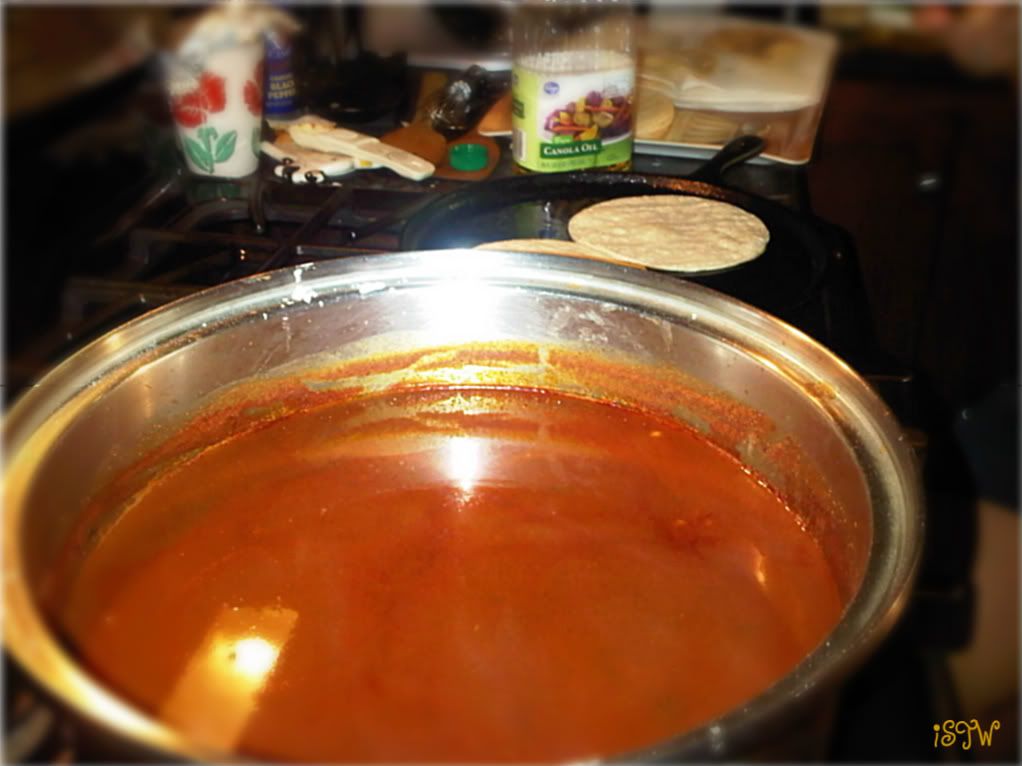
The pot of the red chili sauce simmers as Elise works on the tortillas

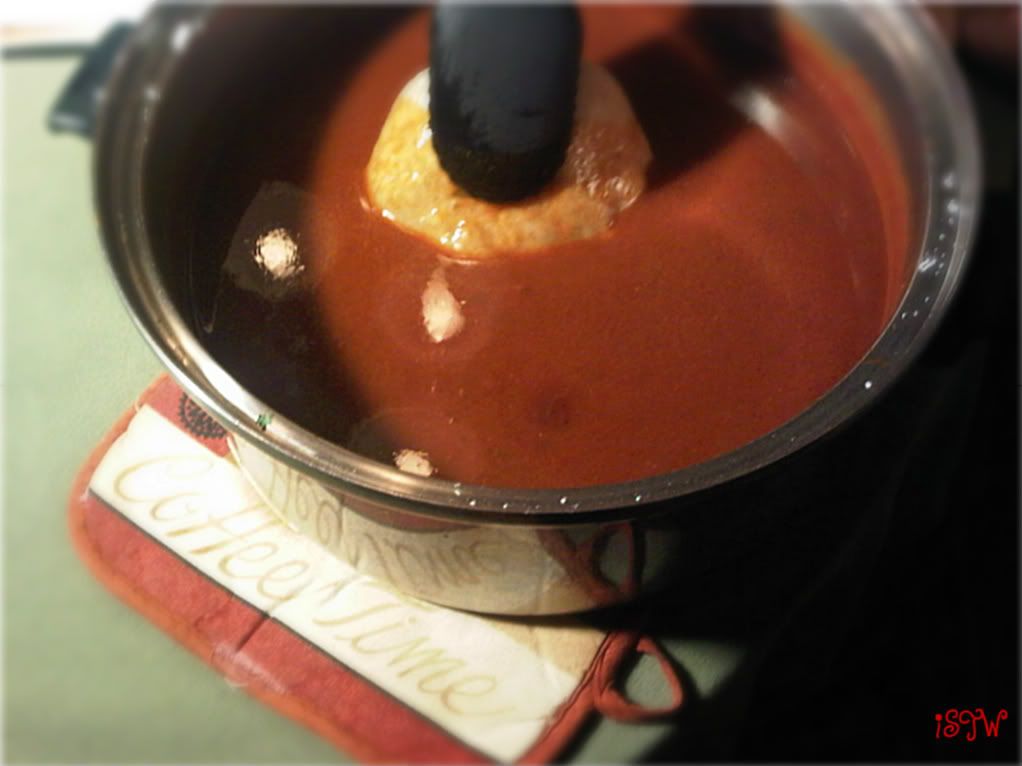
Once the tortillas are done, Elise soaks them in the sauce one by one

Take a soaked tortilla and start filling it first with the meat
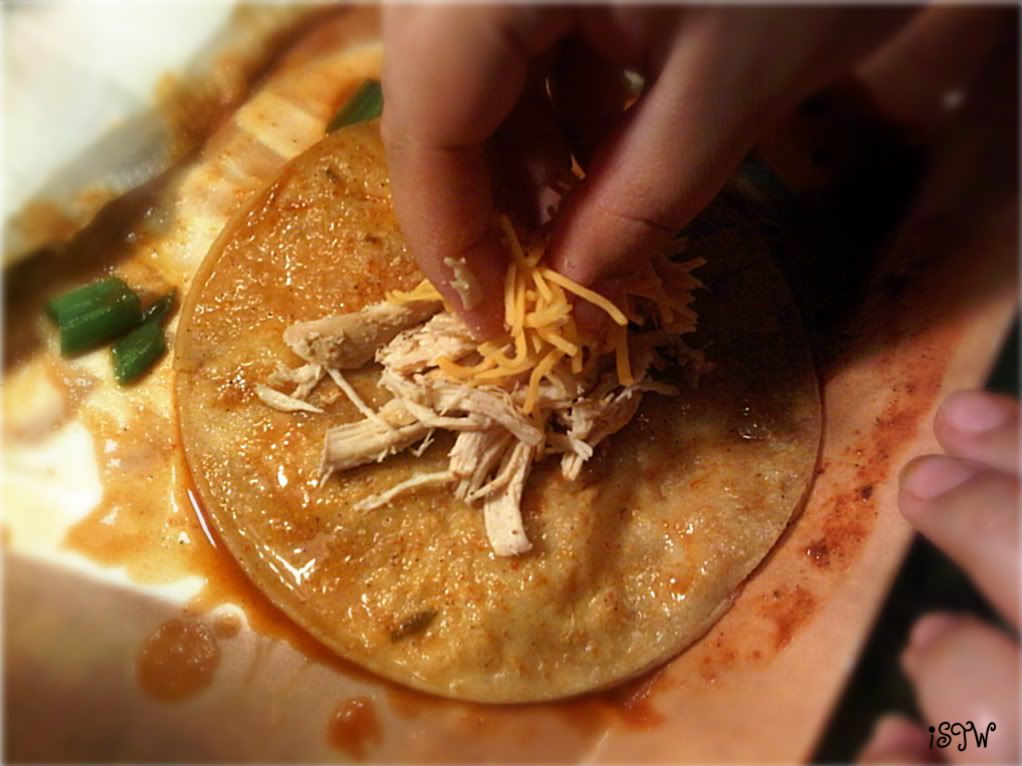
and then the cheese

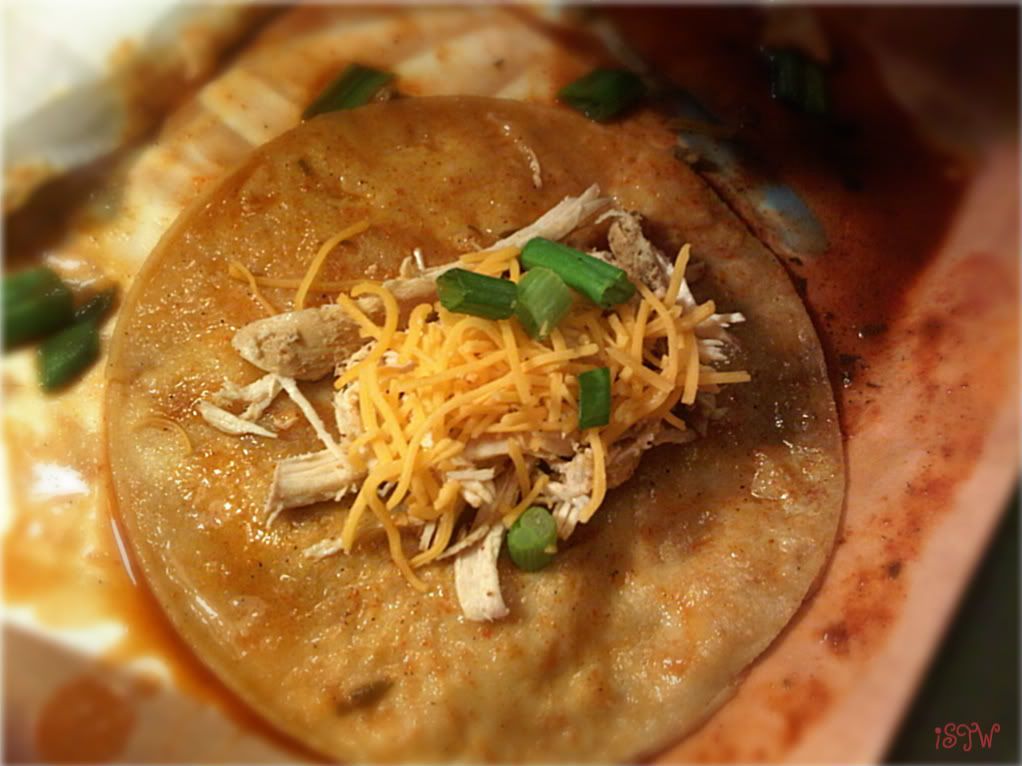
and finally with some green onions

fold over like so

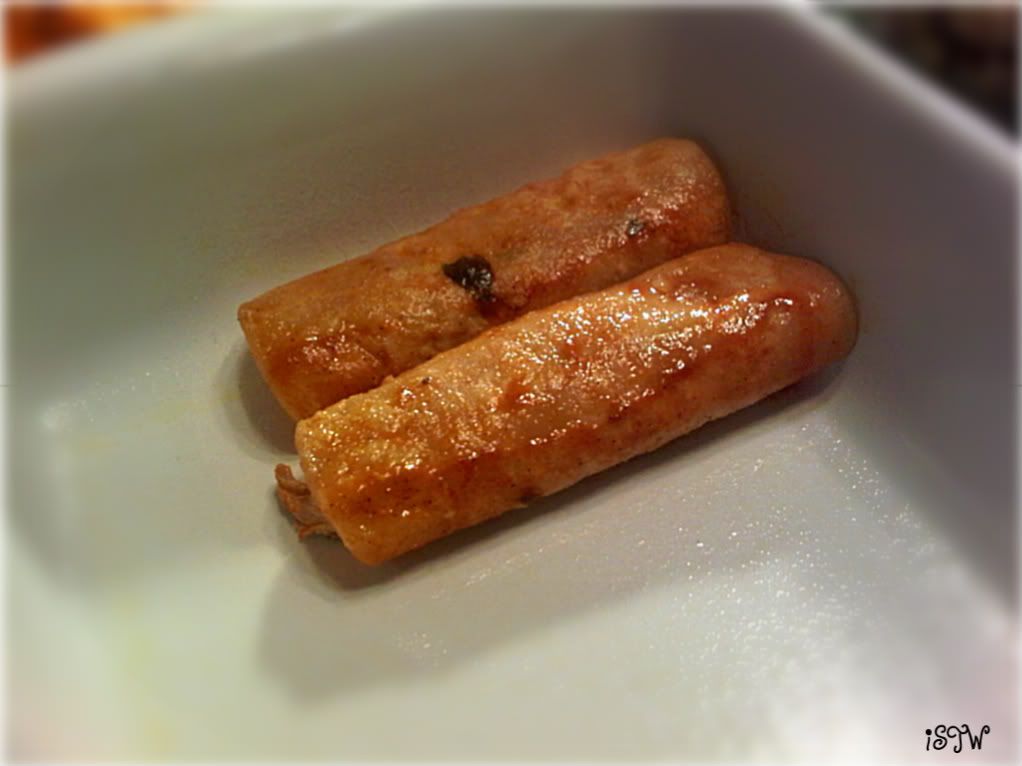
With seam side down, place on prepared pan (sprayed with some PAM)

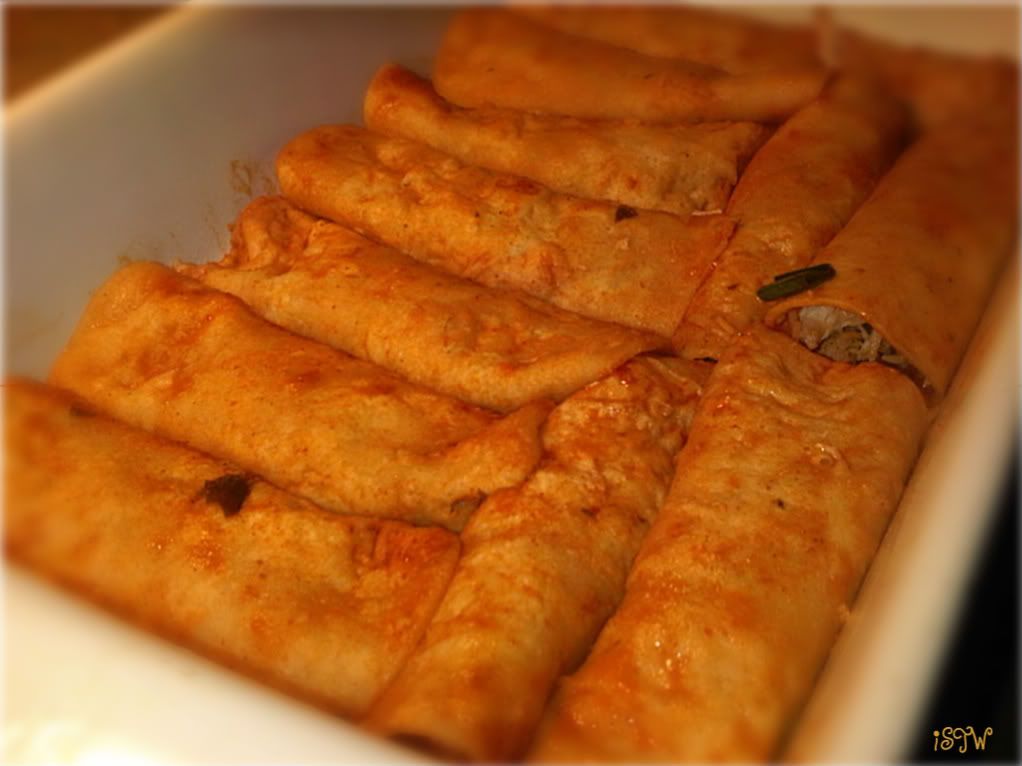
Fill the pan with the enchiladas until it's packed.  Elise prepared these the night before she baked them.  The following day (when I wasn't around to take pictures) she poured some sauce over this pan of enchiladas and sprinkled on some cheese and then baked it

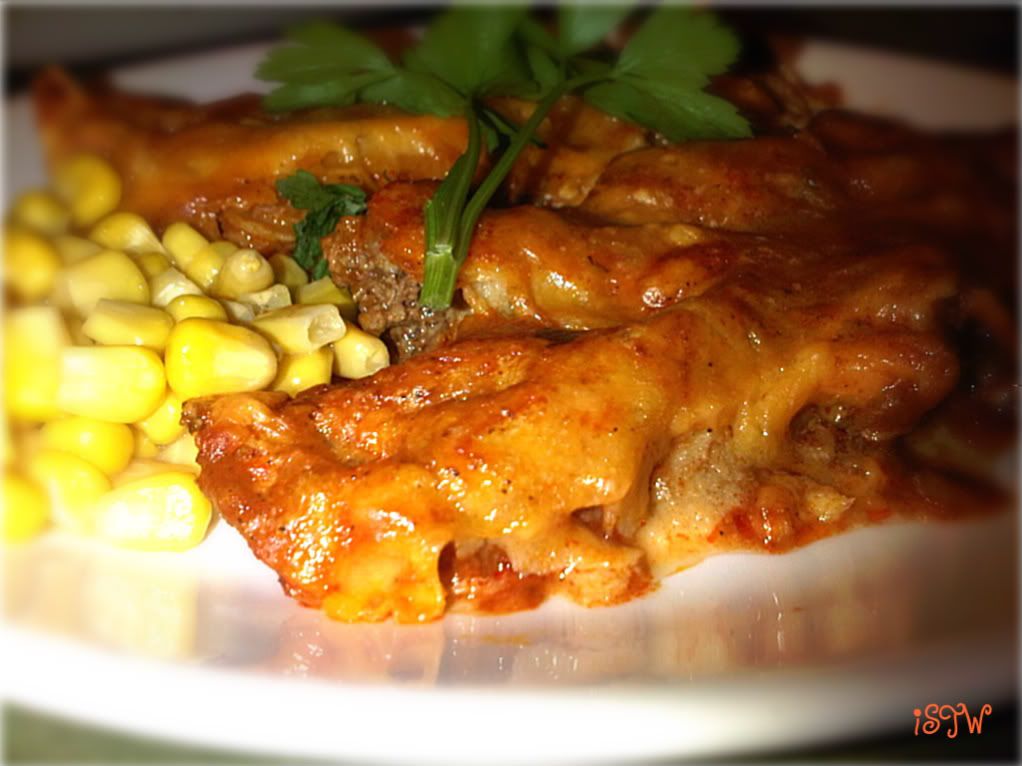
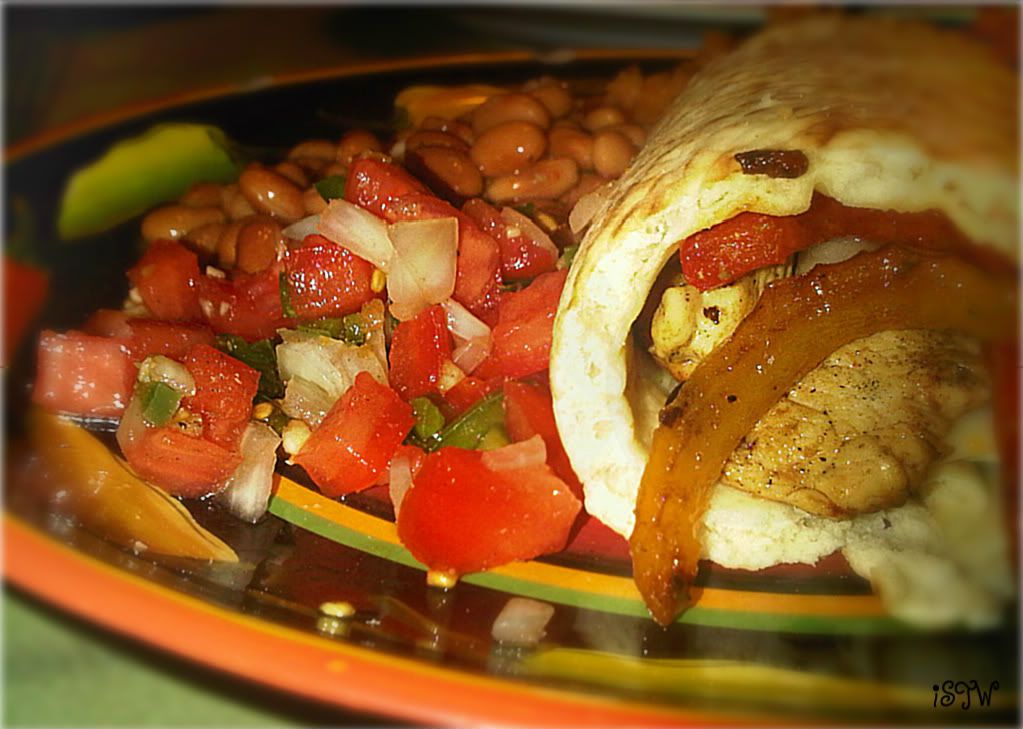
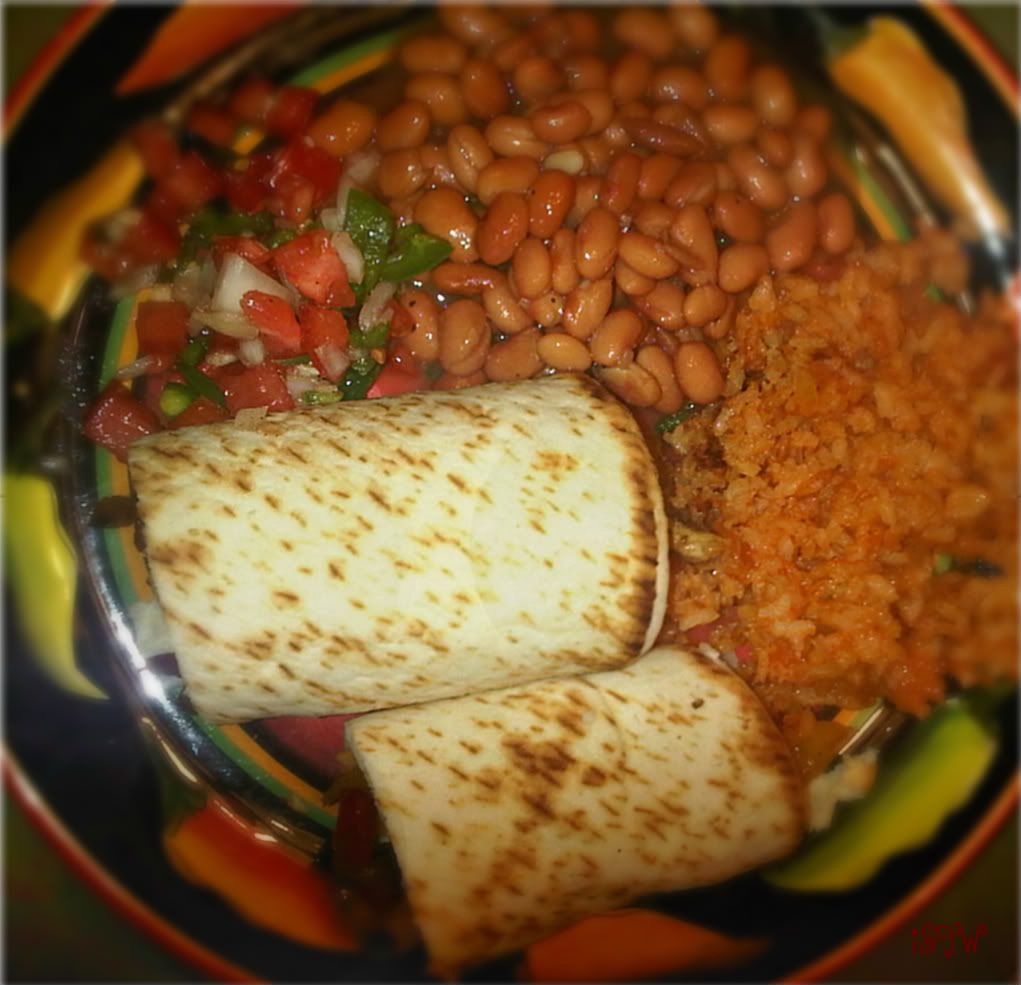
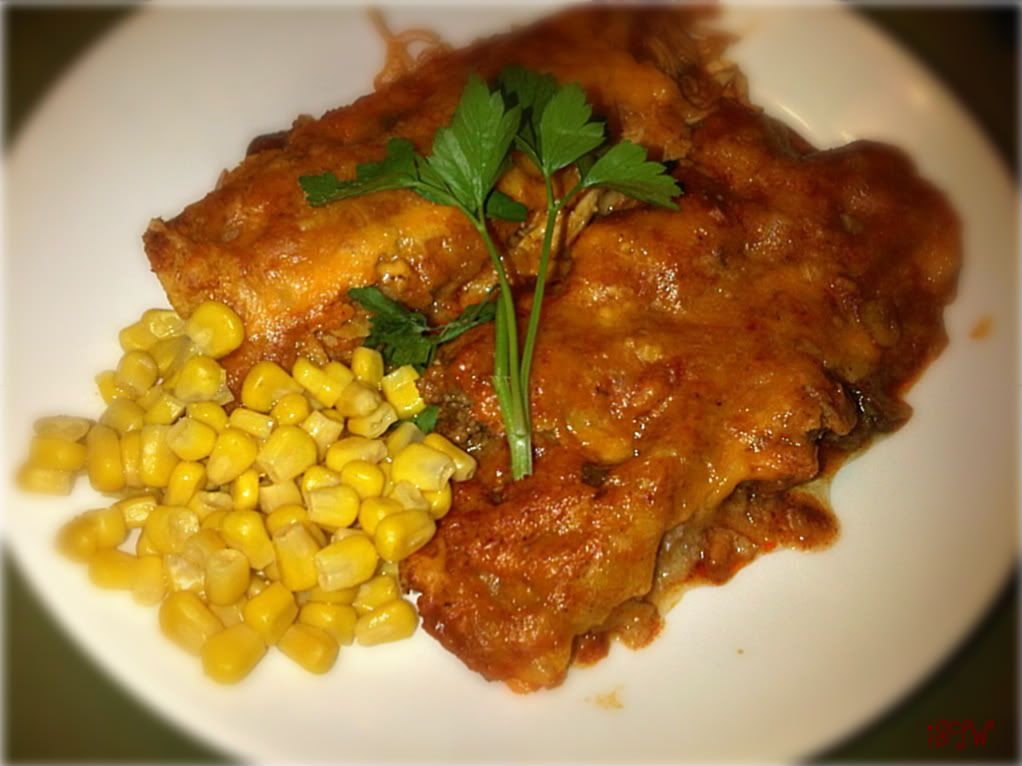
This is what we had for dinner :)  There's nothing like coming home to some homemade Enchiladas.  Gracias Elise!!  Grandma Cruz would be so proud of you!!  :)

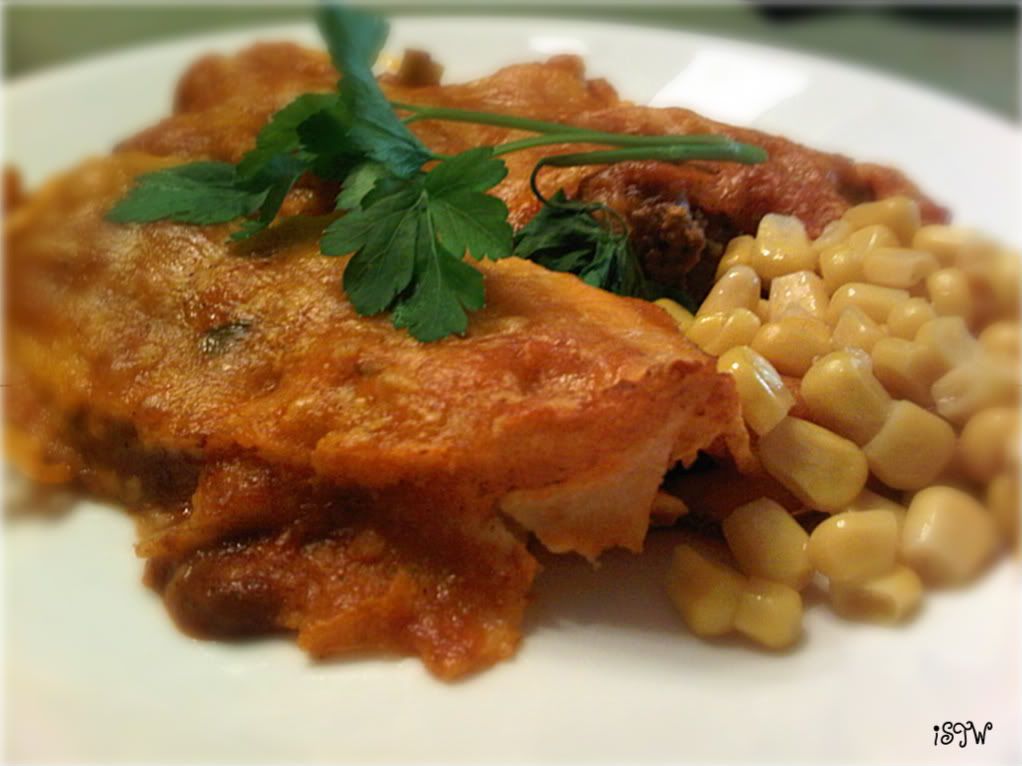
Sabrozo y delicioso!!

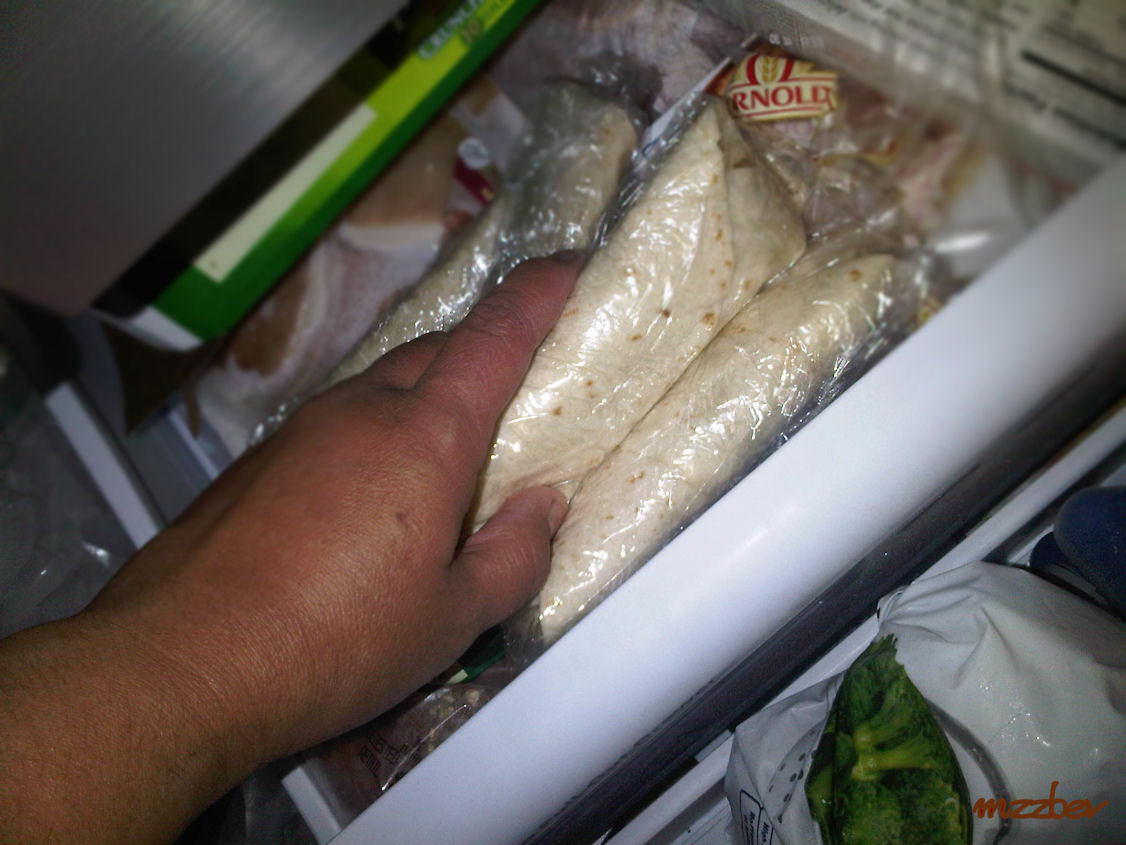
There was a co-worker where Elise works who was leaving so they planned a little going away party and as usual, they asked Elise to bring her Enchiladas.  She's getting really good at making these without any help at all.  We always know that when she makes Enchiladas to take to work, there will be plenty leftover for her to make a batch for us here at home.  Thanks again Elise!!

Following the Crowd

So I'm following the crowd.  I've seen this candle posted on at least three other blogs so I decided to do the same, and share my picture. It's from Bath & Body Works, in the mall and I NEVER go to the mall, don't like going there anymore but that's another story.  This is when it's worth it though, this candle is called LEAVES and like another blogger said, it does not smell like leaves so don't let that stop you.  It's smells so wonderful, just like Autumn and it's really strong and powerful.   Hubby literally thought I was baking something in the oven and was let down big time when he saw that it was the candle.  So, go get yours and share your picture!

Sunday, September 25, 2011

No Fuss Beef and Chicken Fajitas

No fuss, no bells and whistles, actually a non-traditional fajita recipe.  Celebrating National Hispanic Heritage Month.

2 chicken breasts
1 lb. beef round steak
1 red bell pepper
1 yellow bell pepper
1 poblano or pasilla pepper (green bell pepper will do too)
1 onion
1 tbsp. Adobe seasoning
2 tsps. cumin seasoning
1 tbsp. kosher salt
2 tsps. pepper
Canola oil
1 pkg. of flour tortillas or Indian flat bread which is what I ended up using
1 cup shredded colby jack or cheddar cheese

Take both meats and cut into 2"-3" strips, 1/3" wide

Heat poblano pepper in a hot iron skillet until blackened on all sides.  Click here to see how to grill and cut a pepper.

Season meats with Adobe, cumin, salt & pepper seasonings.  Use your hands and blend the seasonings into the meats

In another skillet, heat about a 1/4 cup oil.  Cook both meats separately so add the chicken first to the skillet and brown, stir occasionally

While the meat is browning, start slicing the peppers and onions

Once the chicken is done, remove from the pan and set aside, cover with foil.  Heat some more oil then add the beef and brown for about 10 minutes

Once the beef is browned, remove from the pan, set aside and cover.  Heat some more oil set and medium-high, then add the sliced peppers and onion.  Stir constantly until blackened just a little bit yet translucent, about 10 minutes.

Now since we have two different types of meat, I took out half of the cooked peppers and onions and set them aside.  To the others left in the pan, I added the chicken first. Stir and blend well, heat for about 5 minutes

Remove  from pan, place on one side of serving platter

Repeat the same with the beef by adding the reserved cooked peppers and onions and beef to pan.  Stir until well blended for about 5 minutes, remove from pan and place on the other side of the same serving platter.

Heat the flat bread or tortillas either on a hot skillet or in the microwave.  With the flat bread I was hoping that I could use it like a pocket but for some reason, it wouldn't open up into a pocket *sad face*.  So, I went ahead and cut the round flat bread in half to give me a moon shape.  I then place the fixings (peppers, onions and cheese) in the middle and rolled it up, see picture above.

I then served my unconventional yet delicious fajitas with the usual Mexican side accompaniments, beans,  rice and homemade salsa.  (Click on the side dishes to get their recipe)


I shared this recipe with:
StoneGable's ON THE MENU MONDAY

Somewhat Simple

Simple Egg Burritos

When I was growing up, this was one of my mom's favorite breakfast food to make for us.  They were also called "egg burritos" and not "wraps".  She would make a lot of them, freeze them and we were able to enjoy them the rest of the week for breakfast.  Hubby enjoys having them to eat during the week too.  I first posted this back in April 2011.  


Simple because yes, they're very easy to make
Simple because that's what they are - simple, nothing fancy but yet so tasty


5 bacon strips, cooked and chopped into bits
5 sausage links, cooked and sliced into small bits
1 medium size yellow onion, chopped
5 eggs
1/4 cup heavy cream or whole milk
2 tbsps. butter
1 cup of shredded cheese
20 fajita size flour tortillas
Salt and pepper


In a large plate or medium size bowl, cut cooked bacon and sausage into small pieces and combine.  Set aside.


In the same pan where you fried your bacon and sausage (I used my 12" skillet), add a tbsp. of butter if needed, saute and brown the onion.


 Turn the heat down to medium low, add the bacon and sausage bits, stir and combine.

In a medium bowl, scramble the eggs along with the cream.  Salt and pepper.  Melt another tbsp. of butter to frying pan and meats then pour in the egg mixture.  I like to let mine set for about 15 seconds then gently move around to mix but if you like to scramble non-stop then go ahead - there's no wrong way here.

Once the eggs and meat are combined to your liking, turn the heat off.  Sprinkle on the cheese, cover to let the cheese melt and set aside.

Wrap the stack of flour tortillas in two paper towel sheets.  Heat in microwave between 20-30 seconds.  Do NOT overheat.

Remove tortillas from microwave oven and place a spoonful of the egg mixture onto each tortilla towards one side.

Fold over and keep rolling.  As you noticed, I did not fold up the ends first and THAT'S OKAY.  I'm folding them over the way my mom did.

Place burritos seam side down.  Serve with your favorite sauce, in my case guess which one's mine? ;)

Plain and simple egg burritos only because I really didn't have anything else to add.  You can add just about anything you like, such as green onions, mushrooms, red & green peppers, the possibilities are endless.

Furthermore, what's so wonderful about these that if you have any leftover, you can always freeze them..

Simply wrap each one individually in plastic wrap and store in your freezer.  When you're ready to eat one, pop it in the microwave for 30-45 seconds more or less and enjoy!!  I like the idea of having leftovers because my hubby gets to enjoy them anytime he wants.

Friday, September 23, 2011

Homecoming Mum Making Shindig

So some ladies came by this evening and one gentleman I might add.  There weren't as many as expected but we still had fun and were able to crank out 9 complete corsage mums, in just two hours if even that.  We're 1/4th way done and I'm sure the next time we get together, we'll crank out even more now that we're experts.

A special big shout out to Christine Kinney, Christian Kinney and Morgaine Godwin for coming over and helping out.  These guys were the BEST and caught on real quick and started cranking out those mums like nobody's business.    They had so much fun they want to come over again on Sunday!!  How cool is that??!!  Thank you ladies and gent, I couldn't have done it without you!!!  The mums came out exactly the way I wanted if not BETTER!!  Look what happens when creative minds get together! :)

A few of the mums we completed

Morgaine took care of the red, white and blue ribbon backing

I'm so thrilled that our colors are Red, White and Blue.  So patriotic!

Christine and Christian took care of the hanging ribbons, gold trim and the trinkets.  Christian had fun and did an awesome job with the glue gun!!

I absolutely love the way the football helmet looks all snuggly in the middle of the mum

Didn't these ladies and gent do an awesome job?!!

I told the ladies that they had to wait until homecoming to wear these......now I don't know if I can wait, they are too cute!!

Thanks again Morgaine, Christine and Christian!!!  You're the BEST!!!
Here are the step by step directions on making this Mini-Homecoming Mum

FIVE DAYS LATER.......
I don't have anyplace to store them so I hung them around the football jersey and window in our Chick Cave.  We're a little more than halfway done.

This creation was shared at:
Thursday at Kristen's Creations
Related Posts Plugin for WordPress, Blogger...