Showing posts with label Spring. Show all posts

Saturday, April 7, 2012

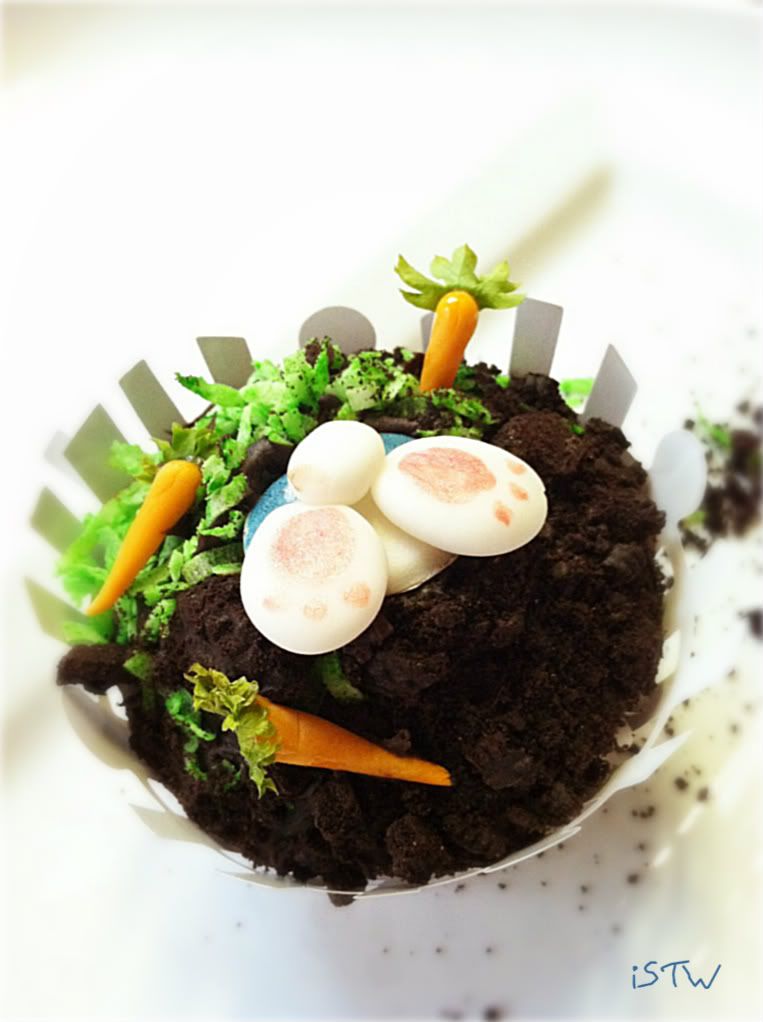
Bad Bunny Cupcakes


20-24 chocolate cupcakes
1 pkg. Wilton cupcake wraps - white picket fence style
1 tub of dark chocolate frosting (must be dark in order to blend in with the "dirt")
1 large bag of shredded coconut
1/2 block, of fondant divided in half
3 tbsps. corn syrup
Orange gel food coloring (I had to mix yellow and red)
1/2 tsp. of pink shimmer powder food paint
Almond extract
Green gel food coloring
Blue food coloring
One pkg. Oreo cookies with the middle removed, and crushed down to look like potting soil
1 bunch of curly Parsley

I bought these wraps in February just because they were so cute, not knowing then what exactly I was going to do with them.

Using 1/2 tsp of the orange food coloring add it to half a fondant block,  Keep rolling until most of it is distributed throughout the fondant and finally to a 1/8" sheet.  Cut 1 cm. thick long strips like picture above.  Then cut the strips into about 10 - 3/4" pieces.  Take each 3/4" piece and roll between your forefinger and thumb and shape into a carrot.  Make around 60-75.  Enough for each cupcake to get three carrots.  Set the carrots aside for about an hour to harden and dry.

Now. . . . hmmm. . . . what should I use to top each carrot with?  Yes, Parsley!!  Cut a sprig small enough to top each carrot.

Dip the tip of each carrot top into the corn syrup
(yes, one bit the dust)

quickly attach to a sprig of Parsley.

Place all the carrots on parchment paper and set aside. . . . aren't they adorable?

Take the package of coconut and pour it into a mixing bowl, add a tsp. of green gel food coloring and with the paddle attachment, mix on low until the coconut is completely green.  I tried at first mixing it it with a spoon but I was having trouble trying to make the coconut a  uniform color so using the mixer ended up being a good idea.  It didn't ruin the shape of the coconut shreds at all.  Set aside.

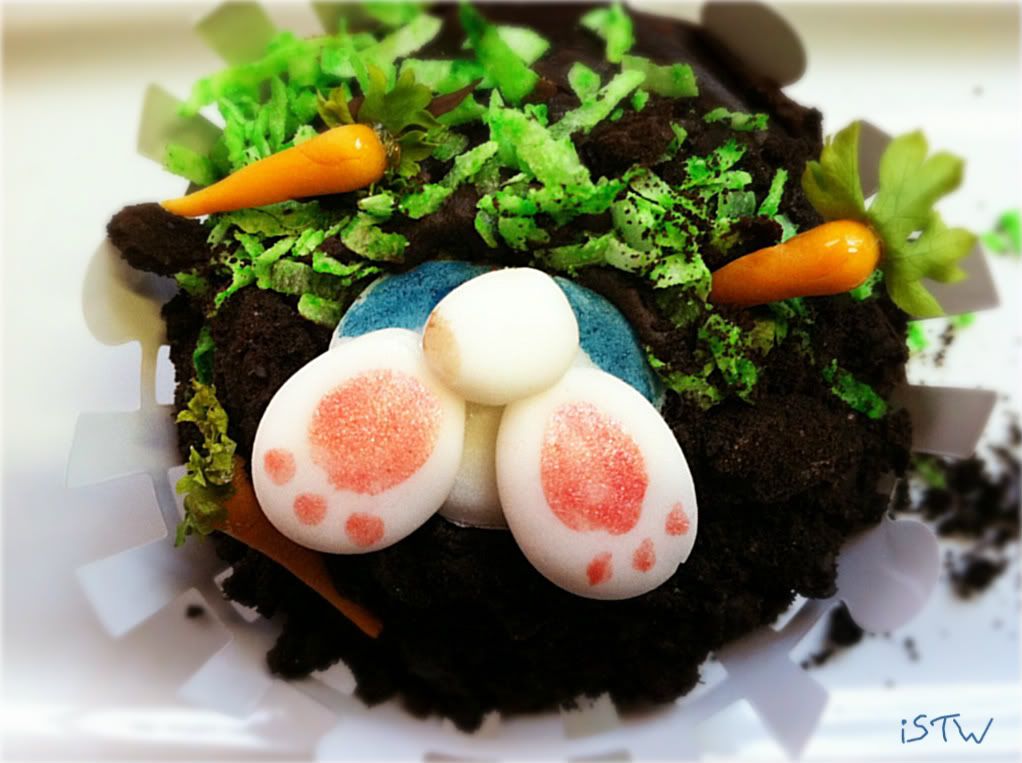
Roll out the other half of fondant about 1/8" thick.  For the Bunny "bottom", cut out 1" or 2" circles, one for each cupcake, flatten the top edge of each "bottom".  For the feet,  I rolled up a small ball, flattened it into an oval shape, make two for each cupcake.  Lastly,  for the tail, pinch off a small piece of fondant, roll into a small ball.  With a small brush, stroke a smidgen of corn syrup to attach the feet and the tails to the "bottoms" like picture above.  Set aside to dry for about an hour.

Mix the pink shimmer powder food paint with a drop of Almond extract, use more if needed.
With a small paint brush, paint on the heels and toes on each foot.  I used this same method with my Bunny Cookies from last year.  
 I also added some blue paint to make it look like the bunny was wearing a blue jacket. . . .
Set the Bunny bottoms and feet aside, give them time to dry (about 1/2 hour).

Frost each cupcake with the dark chocolate frosting then take each cupcake and dip one side into green shredded coconut.

Now dip the other side into the Oreo cookie crumbs.

So one side looks grassy and the other side looks like the dirt has been dug up. . . . hmmmmmm, I wonder who could have dug up the dirt?
I got this idea to use the Oreo cookies from a cake some friends who were visiting from out of town (the Ennis Family) brought me.  They brought it in a clay pot too and it looked so real I couldn't believe it was a cake.  They even put gummy worms in it too.  So cute, can't remember what they called it,...possibly "Dirt Cake"?

 Take each Bunny bottom (the pink paint should be dry by now) and turn it around.  Add a smidgen of chocolate frosting to the back side

Then place right side up and gently press it into the top of the cupcake with the feet over the "dirt" like picture above

Start adding the carrots, any which way you want.  If you poke them into the cupcake, make a hole for it first so that you don't break the carrot.  I used the tip of a metal skewer, worked perfectly.  Don't the carrots look real??


Now wrap each cupcake with the Wilson cupcake wraps.  Doesn't the "dirt" look like real potting soil?


These cupcakes came out really cute I decided to place them with some of my Peter Rabbit vignette I had used on the mantel.

Too many bad bunnies to keep up with.  They're digging up all the carrots in the garden!!

Looks like Mr. MacGregor is after one already!!  Run Peter, run!!

 Use the left over "grass" and "dirt" for decoration around a platter where the cupcakes will be placed.


The End. . . .
No pun intended

These cupcakes took me probably a total of eight hours to make.  From baking the cupcakes from scratch to placing the last fence around the cupcake.  Whew! so I advise you take two days to make these.  As much fun as I had making them, I was pooped by evening time yet very satisfied and content.

I pray you have a blessed Easter and may the reason of new life, new growth, new beginnings remind you about the new life Christ gives.
Therefore if any man be in Christ, he is a new creature:  old things are passed away; behold all things are become new.  -2 Corinthians 5:17

R.I.P Thomas Kinkade, "Painter of Light"

I'm sharing this with:


Share Your Creations


Mixitup 


Create & Inspire Linky Party

Thursday, March 29, 2012

Some Bunny Loves Me

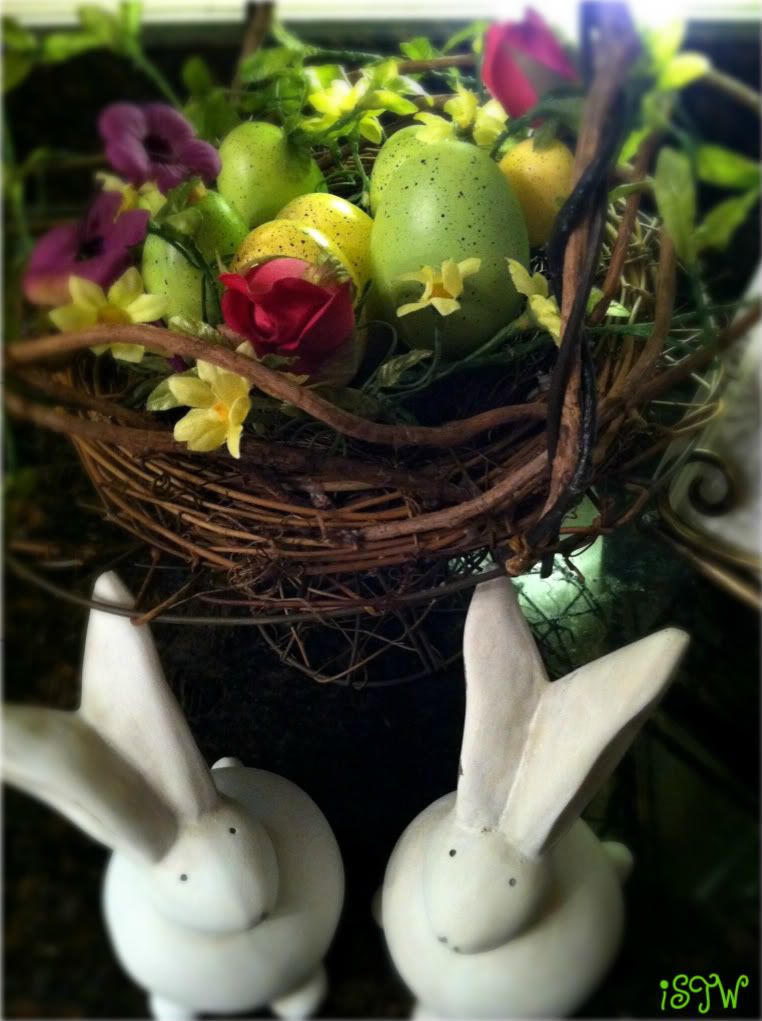
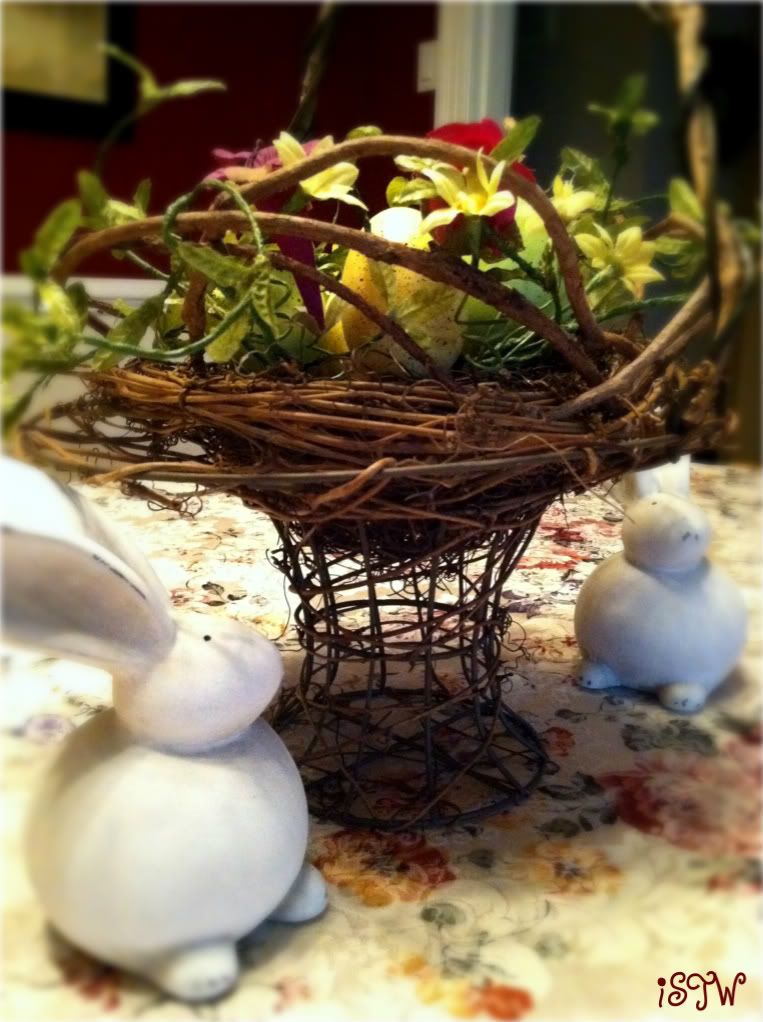
I bought these bunnies a few weeks ago from Pier1.  The more I see them, the more I fall in love with them.  They are so adorable and oh so photogenic.  They posed for the watercolor painting I painted and posted at the top of my blog

I love their pudgy little tummies

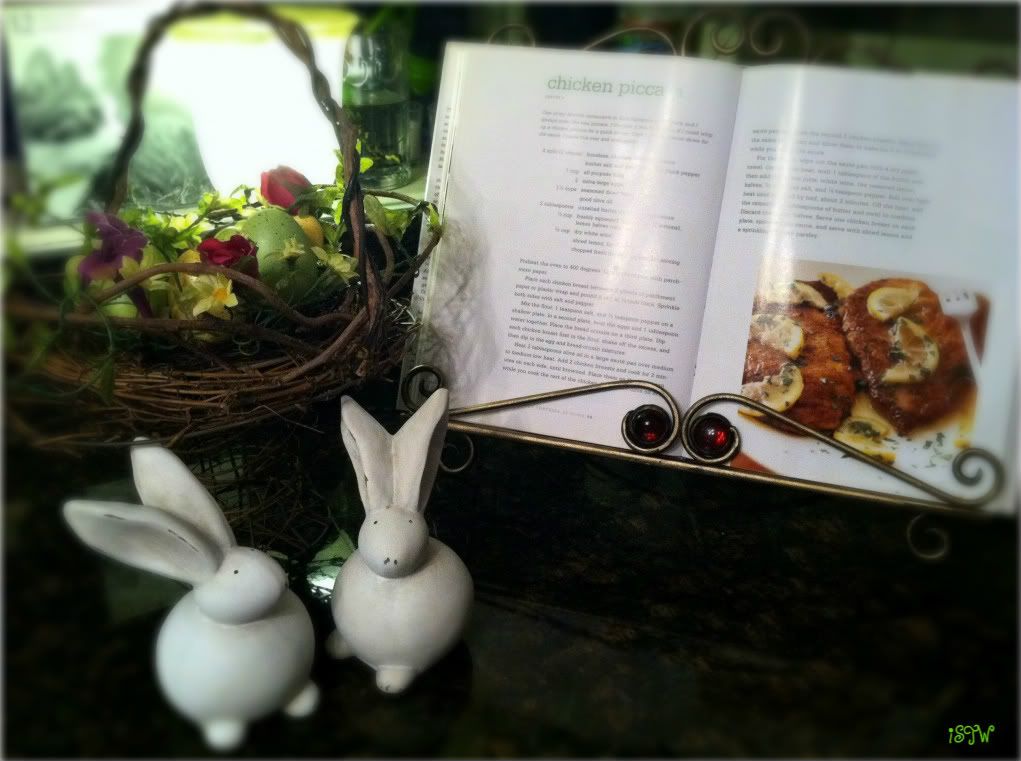
I placed them for awhile on my kitchen counter along with the rustic Easter basket  and cookbook holder I also bought at Pier1

I'm also in love with these rustic Easter eggs and grapevine basket

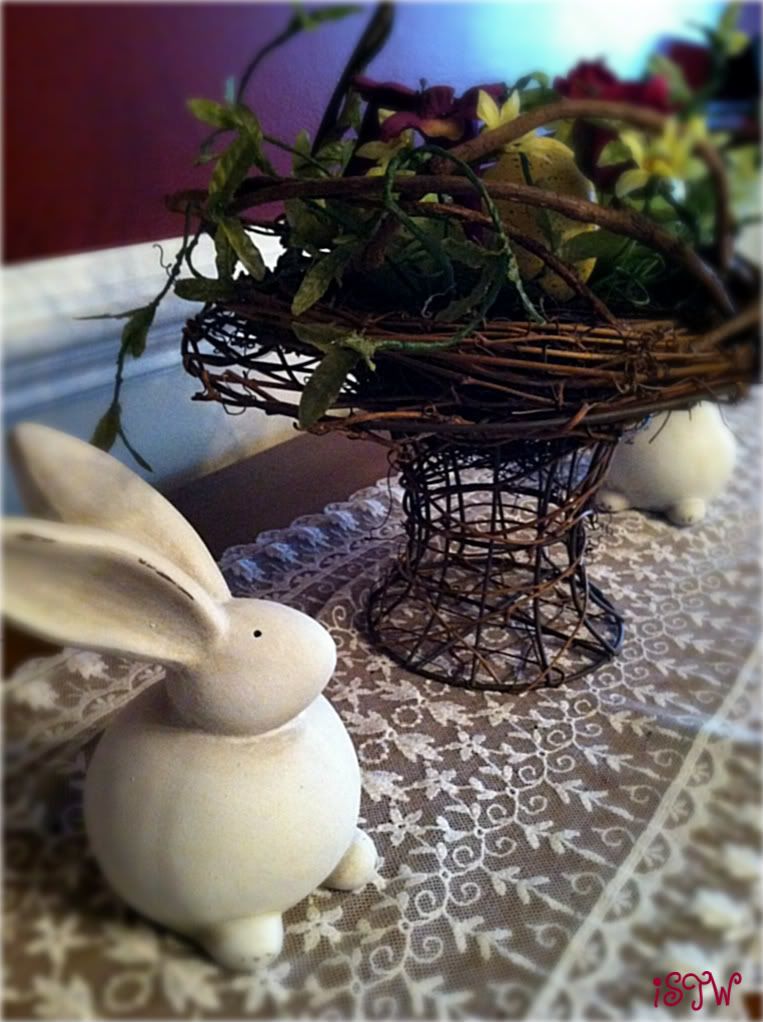
I moved them last week to the buffet in the dining room.  The table runner belonged to my mom.  There's no telling how long she had it before she passed away in '95 but it's something I will treasure forever.

 
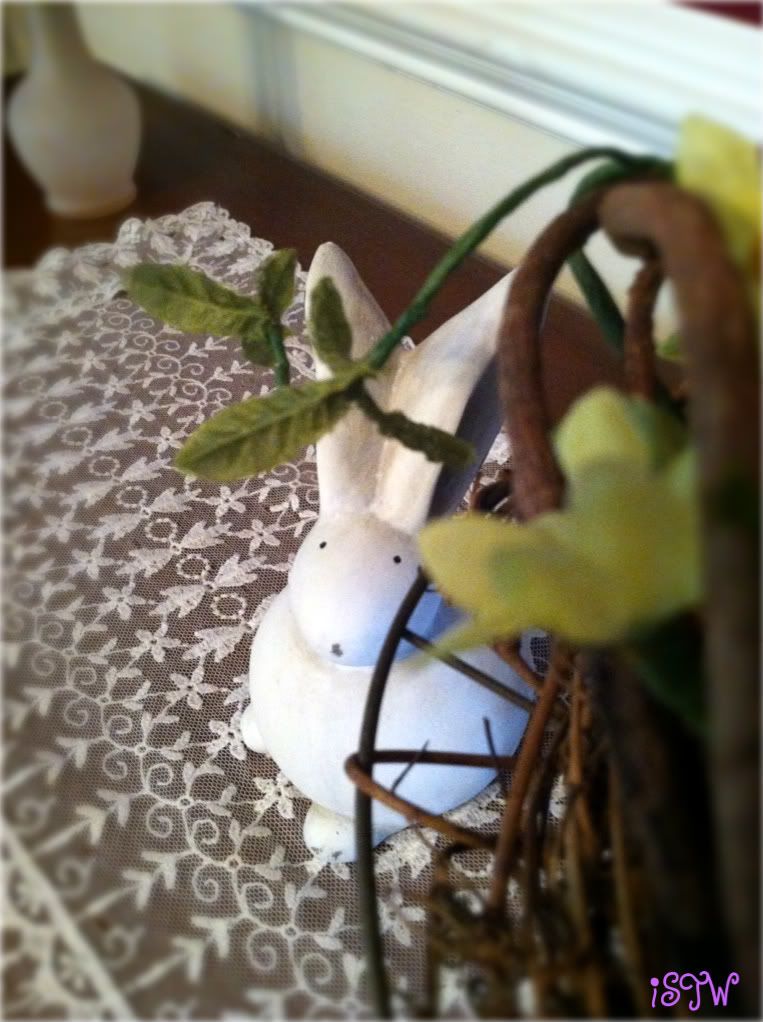
 This is my favorite picture.  Looks like he's looking straight up at the camera

 
I have them placed on the center of my dining room table on my favorite Spring tablecloth that I've been using for probably a decade now.  I'm always excited to pull it out to place on the table.  That means it's Springtime and Easter

As you can see, I don't have a lot of bunnies and Easter decorations around my house.  Just never got around to it.  I just might change my mind next year though after seeing "Be Book Bound's" blog.  I've been smitten by her Peter Rabbit mantel and just may end up copying it for next year.  Take a look at it HERE and you'll see what I mean.  While you're at it, take a look at her whole series on Beatrix Potter posts.  They are adorable and I've been spending a lot of time over there lately.

Have a great weekend as it's just around the corner and don't forget to savor every moment.


Song_1_Title

Sunday, March 11, 2012

Adios Winter Welcome Spring

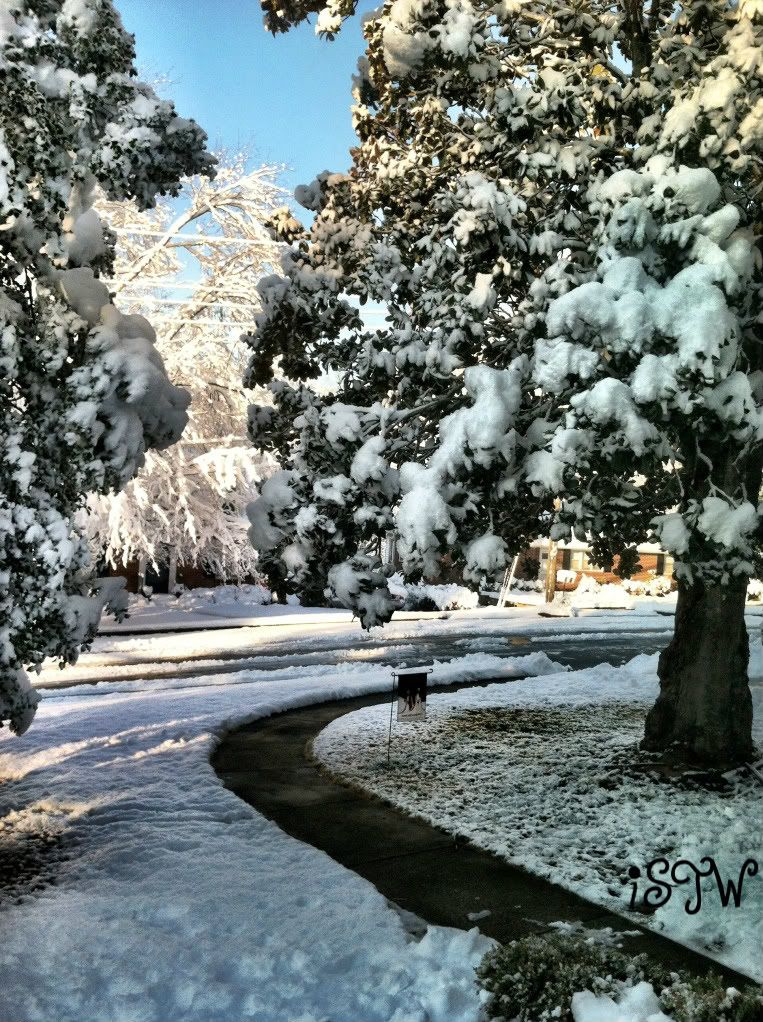
This was the seen outside grandma's (my MIL) picture window two weeks ago.  Beautiful picture perfect scene.  Would have loved it more at Christmas time but I'm not bitter (wink, wink).  Fast forward two weeks and it feels like late Spring and it's not even Spring yet, 10 more days??  I came so very close to "unwinterizing" my home this weekend but because I'm still under the weather, I don't have the energy.  It's Spring Break where I work and I have Thursday and Friday off and the weatherman predicts it to be in the high 60's possibly low 70's.  I'm sure I'll be feeling better by then and I'll have the energy to get my home ready for spring.  Just thinking about it gets me so excited.

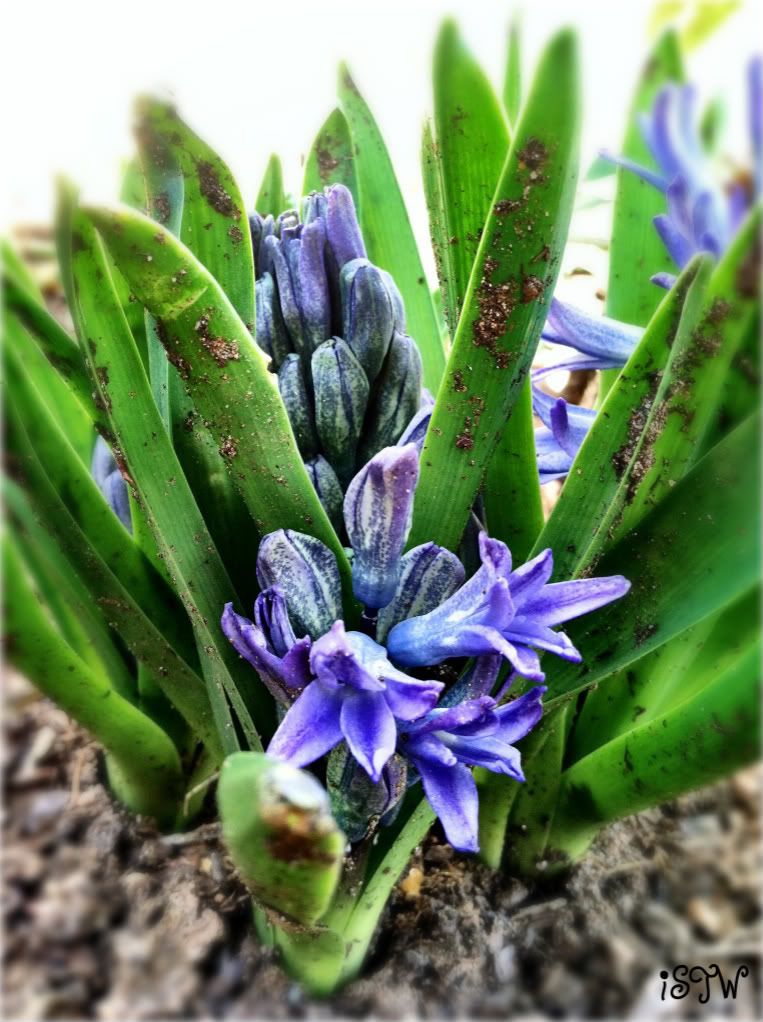
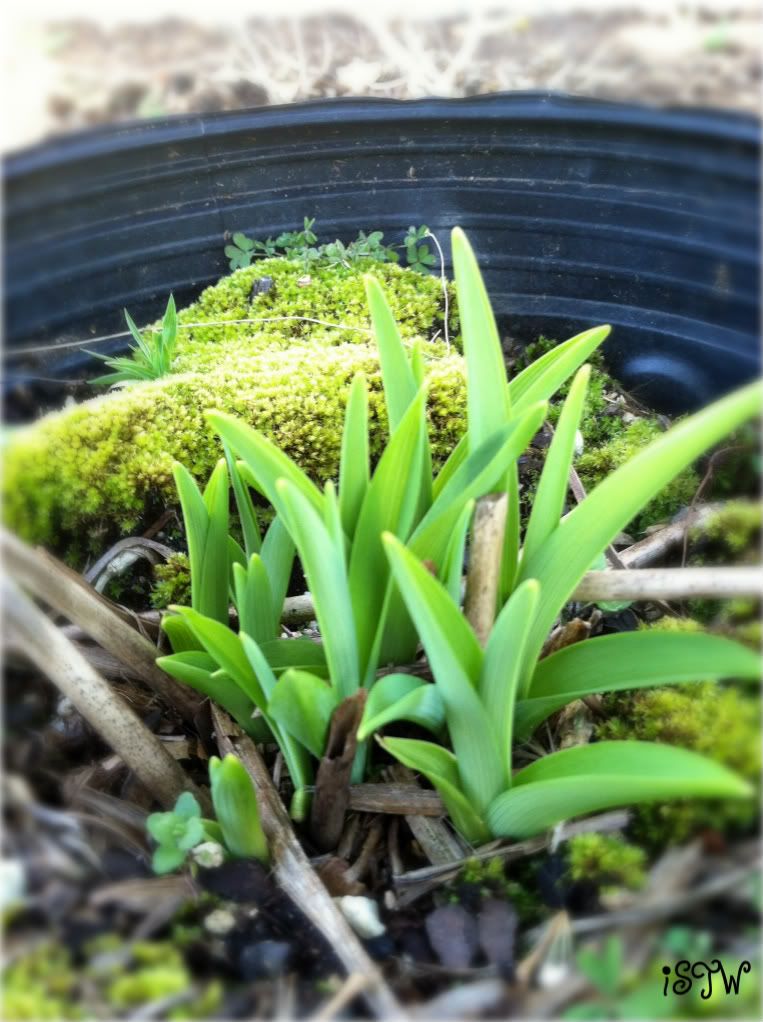
 I transplanted these Hyacinths from last year.  Click here to see what it looked like a year ago.  I'm told deer love these but so far so good.

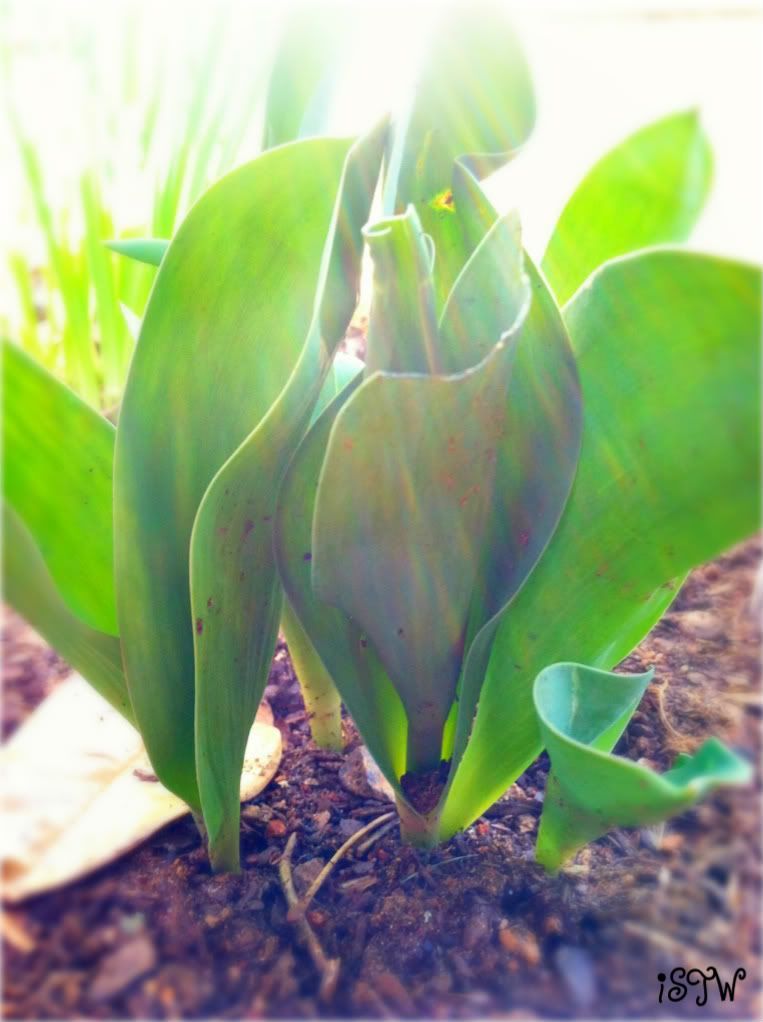
These Tulips were also transplanted from a pot at the same time my Hyacinths were.  I've also heard these are a feast for deer - BOOO!  Stay away deer!!!

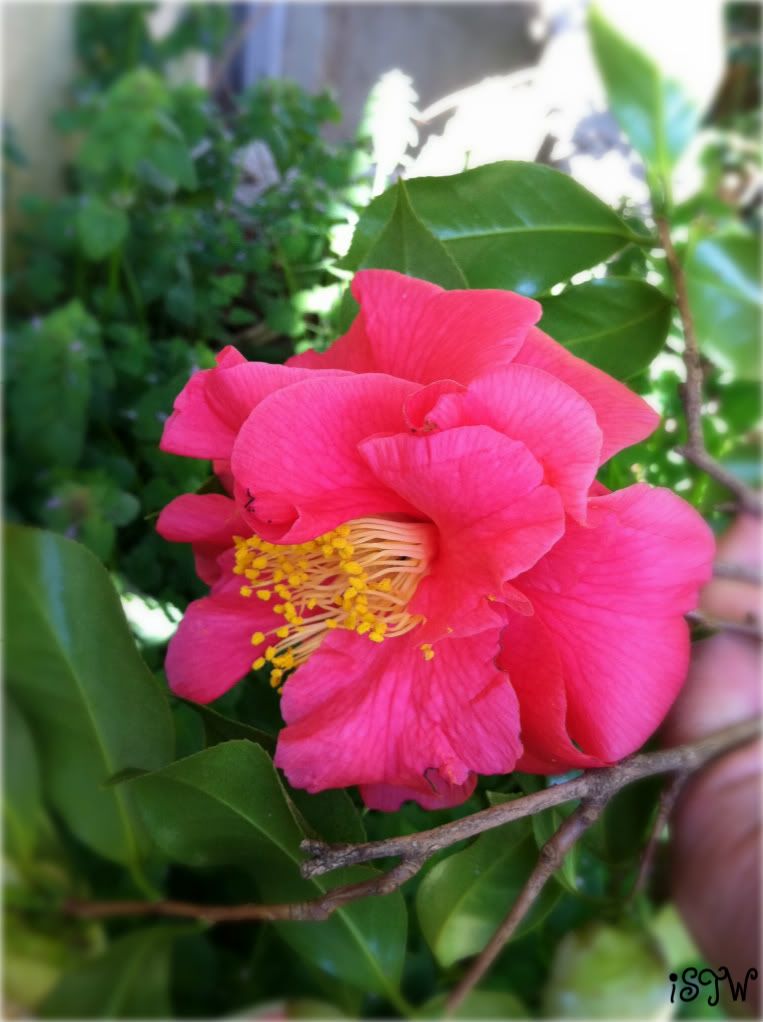
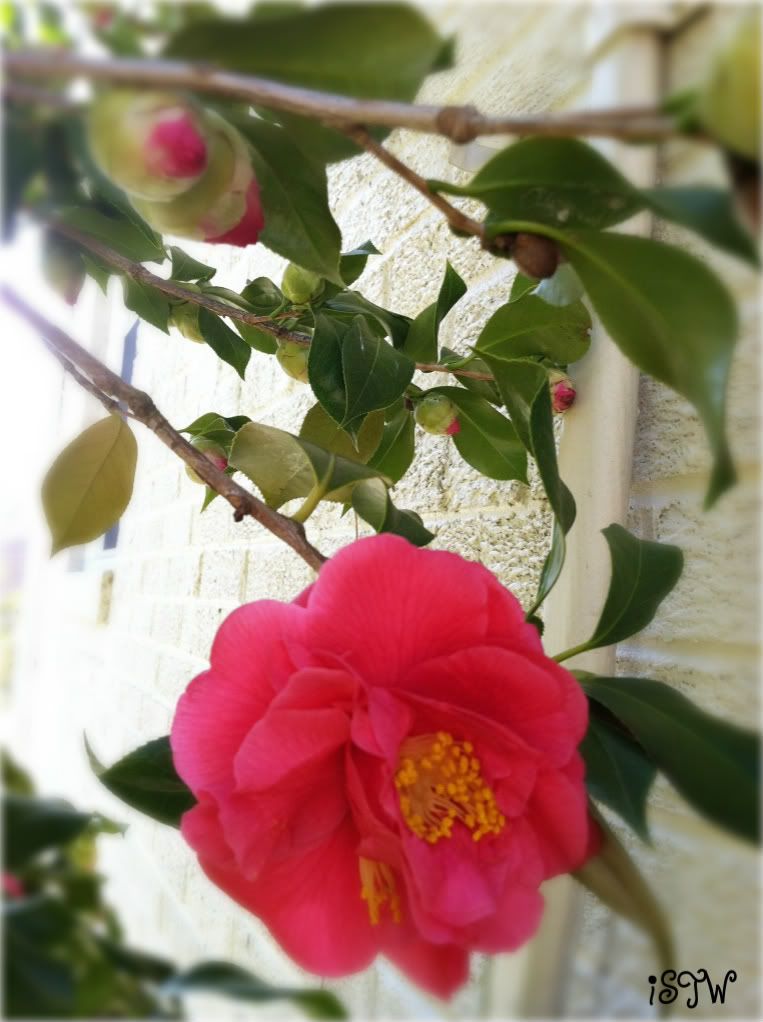
This bush is blooming like crazy.  It's on the northeast side of the house and I wish I had more of these.  Seemed like last year it had a beautiful scent to it but I don't smell it this year, or maybe it's because my smelling senses are out of whack due to the bad cold I'm trying to recover from.  As I was taking these pictures though, I had a bee buzzing around me, he wasn't too happy.

Can anyone tell me what kind of bush this is??  Somebody help this West Texas gal out, wontcha?! ;)

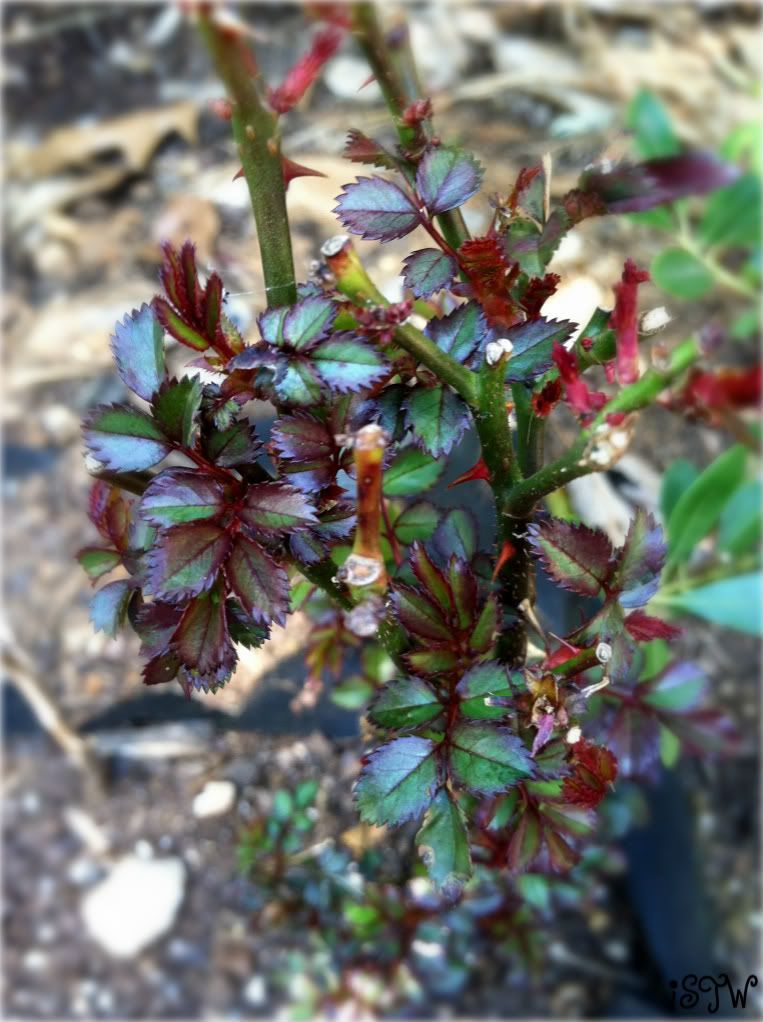
Grandma's Rose bush is starting to show some life.

I couldn't tell you what this plant is even if my life depended on it.  I bought it last Summer and once again, the deer made a feast of it.  I never knew deer could be quite a nuisance until we moved to Spottswood Place. :(

My yard needs plenty TLC, I've never been much of a gardener.  More of one with big hopes and dreams for my yard but when it comes down to it, I lose interest because I don't know what I'm doing and it becomes overwhelming.  Growing up in Texas we didn't have much of a yard but my mom was able to grow rose bushes and that's about it.  I did not grow up tilling the soil and getting my hands dirty.  On the other hand, my mother-in-law is a green thumb.  For as long as my hubby and I have been married, almost 30 years, my MIL has always had a flourishing flower garden wherever she lived.  Everything she touched bloomed like crazy, she still hasn't taught me her secret.....

Well, my son and his family are here.   Gotta run!!!


Sunday, May 1, 2011

Spring Planting and Pool

I'm not a gardener, I do not have a green thumb but instead a brown thumb but I, like most everyone, love flowers, love all kinds of plants in and around my house.  I am very fortunate though to live with someone who does have a green thumb (my mother-in-law - MIL) and I go as far as to say that everything she touches, turns to ........green.  I joke around with her to please go around all my plants and flowers and just give them a gentle touch and that will insure a full healthy life with plenty of new growth and many blossoms to come :)

This is what I've planted so far . . . . .
Silhouette Pink Double Impatiens and Nonstop Fire Tuberous Begonia
I have these on my patio, in the shade.

My "twin" geraniums located out by the front entrance to our house

Purple Petunias
My MIL planted these beautiful purple Petunias by the front of the house, just below the living room picture window

Miniature Rose Bush
MIL's transplanted rose bush.  She brought from her apt. where she lived before.  I took this picture a week ago and it now has one beautiful red rose blossom.

Geranium
My MIL's geranium plant and I believe this one is also a transplant.  This geranium is planted some where near the rose and the petunias she planted.


Tulips and Hyacinth
I planted these Tulips and Hyacinth plants in the front of the house, just below the sunroom windows.  These were my indoor Easter plants but once Easter was over, I decided to transfer them into the ground.  I listened to Martha Stewart on her radio show the other day and she said she never had any good luck in transplanting these forced bulb plants from the pot to the ground so I'm a little worried if these are going to survive or not.  I mean if MS can't do it then who can?  I'll make sure my MIL touches & "blesses" them. :) and pray they multiply for next year since they are perennials.  I LOVE perennials.  

Gerbera
I have these two Gerbera plants on our table on the patio.

Herbs
The start of my new herb row.  I still need to find a nice pot for my Rosemary though.

Herb row continues
Don't ask me why I have so many Oregano plants, I couldn't tell you.

Purple Pansies
I could have my lawn filled with these, I love them so.

Blue Star Creeper - 
the perfect ground cover- I still can't find where I want to put it, so it stays in its pot until then.

Parsley
Two kinds of Parsley - flat leaf and curly

Sorry, I can't remember what these are named but they look like some kind of a daisy.  We have yet to buy some mulch but soon and very soon we will.

Clover
Just below the "Daisies" I transplanted this green Clover from the pot.  I bought the pot just before St. Patrick's Day and since it's been doing so well, I just figured I'd try to transplant it to see how it does.  It's been in the ground for almost two weeks and it's still going strong.

Creeping Phlox
This is one of my favorite plants in this area.  It's a perennial so not only does it return every year, it spreads. It's a ground cover and I can't wait to see what it looks like in a couple of years.  This picture makes the blossoms look much bigger than they appear.  They're normally the size of my thumbnail but when bunched together with many more, this plant is a perfect Spring decorative plant.  I have these planted on each corner wall by the pool.

Marigolds
MIL planted these Marigolds next to the gazebo by the pool.

Once again, I don't know what kind these are.  I just saw them and fell in love them and had to bring them home.  Hubby had not taken the top off the pool yet until just a couple of days ago but not when I took this picture.

Japanese Maple
This bush is in the patio by the pool, a very beautiful bush and as I do some research on it, it will turn green for the Summer and then a vibrant reddish/orangey color in the Fall.  I will make sure to take pictures of it as it changes color.

Sweet Violet
I still have them in the pots and need to find a spot for them.  I bought two pots and I believe they're supposed to bloom all Summer long.

Hubby opened the pool this past week.  He all of sudden had the itching to open it since we had a nice week of warm weather and sunshine.  


With this being our first Spring and first Summer here, I'm excited to see what plants and bushes are already here but I'm equally excited about doing our own planting and gardening and beautifying Spottswood Place. 

Happy Spring. . . . . Summer is just around the corner ~isavortheweekend
Related Posts Plugin for WordPress, Blogger...