3rd and final in Coffee Creamer Upcycled Bin
What a fun project this was, once I got the hang of it. I painted two coffee creamer bins in a beachy coastal theme. I then looked on Pinterest to get ideas to see what I could do with it next. When I found this site and the instructions on how to make a Fish Net, I knew I could do it, especially since I had plenty of jute string. Here is the tutorial on how to make a Fish Net: CRAFTBERRY BUSH. Scroll down a couple of times until you get to the tutorial.
Doesn't it look cool??
Thus ends the "coffee creamer bin" series. Upcycle people! Your community will love you, the earth will love you but most of all, you will love you! :)
Here are my links to the other two:
Rusty Business
Upcycled Plastic Creamer Bins
Have a great weekend and remember to savor every moment!
Sunday, March 16, 2014
Saturday, March 15, 2014
Upcycled Plastic Creamer Bins
#2 of 3 in my series of coffee creamer upcycled bins.
I'm on a roll now. Making something out of my plastic creamer and coffee bins has got me really excited and in a crafty frenzy! I used the same bins yesterday to make them look "junky/rusty" with a chalk label painted in the front. So much fun! Check out my rusty bins here.
I printed some French writing, a French wreath with a bee and a French label for cacao. I found all these print outs at this awesome website: The Graphics Fairy. Check it out! The only Mod-Podge glue I found was this one that gives a Fine Crackle effect. It's not the effect I was looking for but I'll still use it and see what happens.
With a sponge brush spread the Mod-Podge throughout the back of the torn print out. Make sure to cover the whole surface.
Place it carefully on the bin and gently smooth out towards the edges. Spread a layer of Mod-Podge over the top of the piece and spread it past the edges.
I repeated the same with the picture of the French Wreath with a Bee and the French Cacao label. Once it dries, spray with the Matte Finish for protection.
The French script writing looks so good, I love it!!
So far these past two days I have upcycled and painted nine plastic bins. There are two others bins I painted in a beach them and I will post those tomorrow. Told ya I was on a roll!
I added flowers to both bins. Don't they look so much prettier?!
Here's the link to my Beach Coastal ones (wait 'til you see what I did with these ones): Don't Get Tied Up
Have a great weekend and savor every moment!
I'm on a roll now. Making something out of my plastic creamer and coffee bins has got me really excited and in a crafty frenzy! I used the same bins yesterday to make them look "junky/rusty" with a chalk label painted in the front. So much fun! Check out my rusty bins here.
- Two plastic coffee creamer bins
- Rust-Oleum spray primer
- White acrylic paint
- Paint brush
- Sponge brush
- Clip art print outs
- Mod Podge glue
- KRYLON Matte finish sealer
I printed some French writing, a French wreath with a bee and a French label for cacao. I found all these print outs at this awesome website: The Graphics Fairy. Check it out! The only Mod-Podge glue I found was this one that gives a Fine Crackle effect. It's not the effect I was looking for but I'll still use it and see what happens.
With a sponge brush spread the Mod-Podge throughout the back of the torn print out. Make sure to cover the whole surface.
Place it carefully on the bin and gently smooth out towards the edges. Spread a layer of Mod-Podge over the top of the piece and spread it past the edges.
I repeated the same with the picture of the French Wreath with a Bee and the French Cacao label. Once it dries, spray with the Matte Finish for protection.
The French script writing looks so good, I love it!!
So far these past two days I have upcycled and painted nine plastic bins. There are two others bins I painted in a beach them and I will post those tomorrow. Told ya I was on a roll!
**UPDATE 3/16/14**
I added flowers to both bins. Don't they look so much prettier?!
Here's the link to my Beach Coastal ones (wait 'til you see what I did with these ones): Don't Get Tied Up
Have a great weekend and savor every moment!
Friday, March 14, 2014
Rusty Business
#1 of 3 in my series of coffee creamer upcycled bins.
Are you like us. . . . ?
For one, I love the handles. One on the left. . . .
. . . and another one on the right. Makes it so easy to carry whatever you have stored in them, they're also very sturdy.
Hubby uses them to store his nuts and bolts and the like. I use them to hold my markers, pens and paint brushes. Obviously, I didn't like the original pictures and text and didn't know what to do until I recently ran into this blog: How to-Paint Faux Rust by Colleen Jorgensen, a life saver in my opinion. In Colleen's blog post, she was able to turn wood, plastic and cardboard paper into rusty items! I was intrigued and had to continue reading and eventually I copied. Here is my project:
This is the real stuff. Fortunately I found it out in the garage, studied it and used it as a reference.
So, to transform my plastic bins into rusty looking cans, I needed all this:
First, I spray painted the bin with the Rust-oleum Rusty Primer
Since I didn't have a sea sponge I used a stencil sponge brush for all the paint applications. I then sprayed it with the Matte sealer.
This bin ended up being my favorite one of all the ones I painted. Closest to it being realistic as I could get.
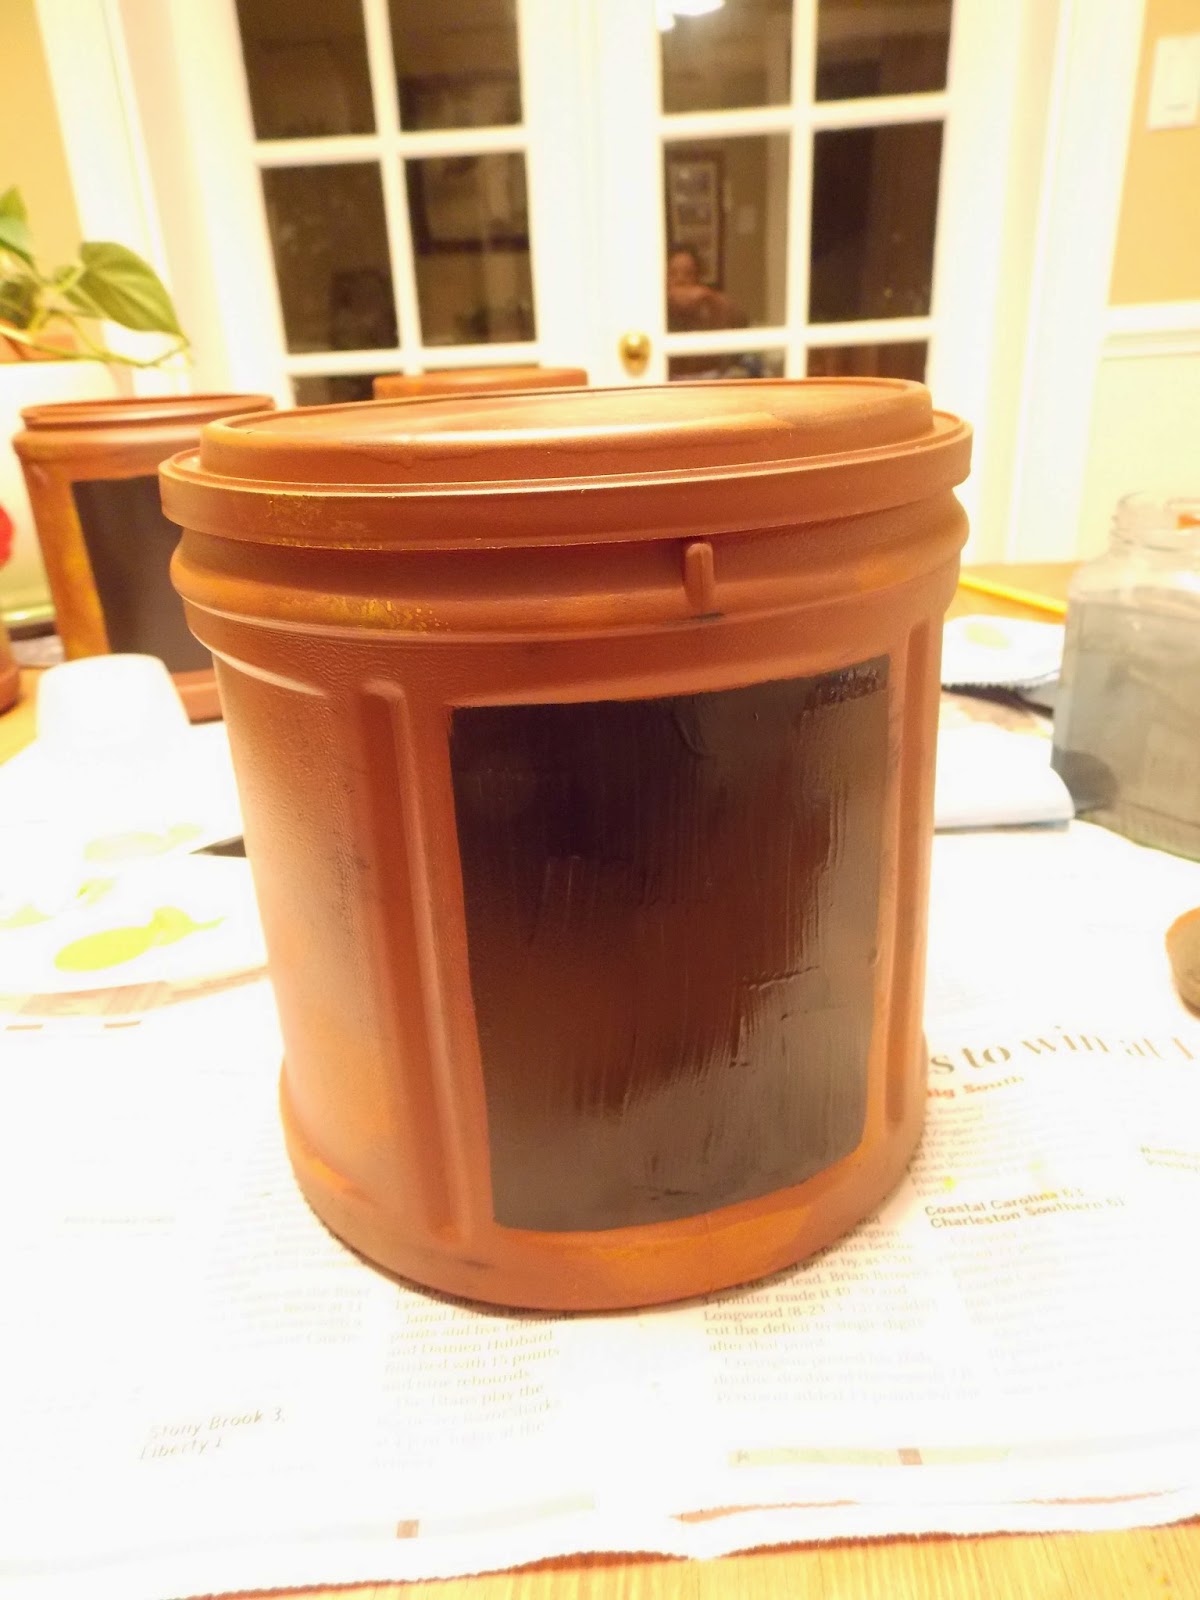
Once the sealer dried (in about 15 minutes) I took an extra step and added a square of chalk paint in the front. The Folgers coffee bin again was my favorite, it has a grooved frame in the front to paint an almost perfect square, depending on how shaky your hand is.
I repeated the process with all the other bins.
Since the black chalk paint was still too fresh to write on, I super-imposed the lettering using PicMonkey.
Don't they look cool?? I am very happy with the turnout. Thank you Colleen :)
Have a great weekend and remember to savor every moment!
Are you like us. . . . ?
Do you have a ton of these hanging around the house?? This is just the tip of the iceberg for us.
Why do we save them??
For one, I love the handles. One on the left. . . .
. . . and another one on the right. Makes it so easy to carry whatever you have stored in them, they're also very sturdy.
Hubby uses them to store his nuts and bolts and the like. I use them to hold my markers, pens and paint brushes. Obviously, I didn't like the original pictures and text and didn't know what to do until I recently ran into this blog: How to-Paint Faux Rust by Colleen Jorgensen, a life saver in my opinion. In Colleen's blog post, she was able to turn wood, plastic and cardboard paper into rusty items! I was intrigued and had to continue reading and eventually I copied. Here is my project:
This is the real stuff. Fortunately I found it out in the garage, studied it and used it as a reference.
So, to transform my plastic bins into rusty looking cans, I needed all this:
- RUST-OLEUM Rusty Metal PRIMER
- Acrylic Paints:
- Craft Smart Orange Spice
- Americana Terra Cotta
- Apple Barrel Yellow
- Apple Barrel White
- Apple Barrel Black
- KRYLON Matte Sealer
- Craft Smart Chalk Paint, Black
- One stencil sponge brush, size of a nickel
- One regular paint brush
First, I spray painted the bin with the Rust-oleum Rusty Primer
This bin ended up being my favorite one of all the ones I painted. Closest to it being realistic as I could get.
Once the sealer dried (in about 15 minutes) I took an extra step and added a square of chalk paint in the front. The Folgers coffee bin again was my favorite, it has a grooved frame in the front to paint an almost perfect square, depending on how shaky your hand is.
I repeated the process with all the other bins.
Since the black chalk paint was still too fresh to write on, I super-imposed the lettering using PicMonkey.
Don't they look cool?? I am very happy with the turnout. Thank you Colleen :)
Have a great weekend and remember to savor every moment!
SHARED WITH:
Monday, March 10, 2014
I'm on Kickstarter
I'm on Kickstarter!
Kickstarter is one of a number of crowdfunding platforms for gathering money from the public by entering a project of yours you need help funded.
My project? It's my Native Americana Folkart. I want to create awareness of my Native American roots and what better way than to draw my ancestors/culture through Folkart. If Grandma Moses could do it, so can I! I've been creating my drawings with my Wacom Intous Pen Tablet, the high tech way to draw this day and age. Here's a sample of one of my drawings:
My Kickstarter project went live on March 4th so as of this writing I only have 25 days to go to reach my goal of $500, that's the bad news. The good news is that I have more than half of it pledged. If you're interested in helping out, I would forever be so grateful from the bottom of my heart. Here's the link to my project, go check it out for the fun of it too. While you're at it, check out the multitude of other great projects. There are a lot of creative and talented people out there!
Native American Folkart by Beverly DeVerney Cole
Thank you!
Beverly DeVerney Cole
Kickstarter is one of a number of crowdfunding platforms for gathering money from the public by entering a project of yours you need help funded.
My project? It's my Native Americana Folkart. I want to create awareness of my Native American roots and what better way than to draw my ancestors/culture through Folkart. If Grandma Moses could do it, so can I! I've been creating my drawings with my Wacom Intous Pen Tablet, the high tech way to draw this day and age. Here's a sample of one of my drawings:
Native American Folkart by Beverly DeVerney Cole
Thank you!
Beverly DeVerney Cole
Subscribe to:
Comments (Atom)


