I baked these cookies a few days ago. It's good to start a couple of days ahead so that they have time to "age"....dry good and hard.
Royal icing. This icing is more like a glaze. It's very difficult to spread, that's why the cookie is dipped into it. I use this icing more for painting a design on the cookie as oppose to using Sprinkles to decorate it. I followed this recipe to the "t" and found the icing to be WAY too tough to stir. I added a little more milk, a wee little more corn syrup one teaspoon at a time until it was pliable. If anything, add more milk than corn syrup other wise it won't harden as fast and you'll be waiting days for the icing to dry enough to decorate.
I then put my icing in a 9" pie plate just so that it would be easier to dip the cookie in and out. Place cookie face down.
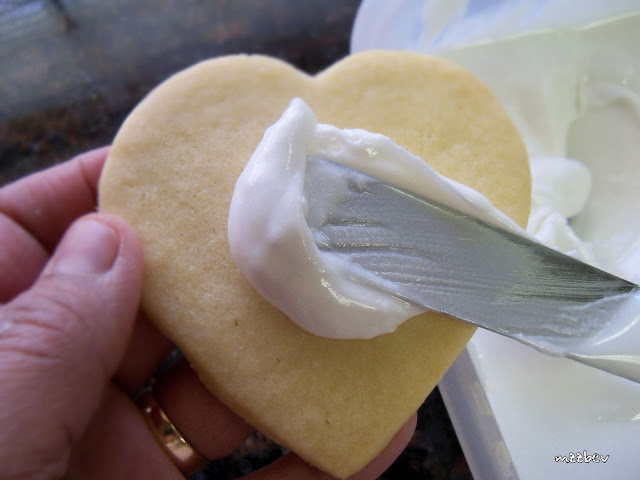
Very carefully pull the cookie off, one side first and then the other. Let the excess drip off. As soon as you turn it right side up, grab an offset spatula, spread the icing but don't spend too much time on it as the icing should smooth itself out.
Set the cookies on a drying rack to dry over night. Since it's winter, it's very cold, so I was able to take my cookies drying on the rack out to my garage and leave them there to dry and harden in time for me to decorate them the following day. Cool dry air is the best.
Colored gel for icing. Green, black and red. I don't know the names of each brush, I just used a small flat tip brush for thick lines, a small long haired tip brush for thin lines and a short narrow tip brush for writing. I also have a container of water for each color to rinse the brush when needed. Have plenty of paper towels to blot.
Shimmery pink pearl dust for the cookie edges. I really like this stuff. It's so silky and shimmery. I feel like Tinkerbell with my pixie dust. You can find all these food products at Michaels in the Wilton Cake section.
When the icing is good and dry, it's time to decorate. Slightly wet the flat tip brush, dip it into a little bit of the pink pearl dust and paint the edges of each cookie heart
With the long narrow tip brush, dip it in a little bit of green gel and a little bit of water. Paint squiggly lines in shape of the heart. Also paint little green leaves..yeah, I know they look like hearts but that's okay. It's a Valentine cookie, whatchu 'spect?
With the same long narrow tip brush, rinse it real good first and blot. Dip in the red gel and water and paint little hearts to your heart's desire ;) To get the lighter and darker effects, just water down the gel a bit.
I got the idea to paint these cookies this way from a French food blogger that I follow. Her blog's name is La Table De Nana. She's quickly becoming a favorite of mine like Pioneer Woman.
This is what I'll use to decorate these next cookies.
My second frosting is more of creamy frosting, easy to spread. Sprinkles work well with this frosting.
Sprinkles. My grownup daughter loves Sprinkles to this day.
Sprinkle decorative red sugar for an added effect
Set on drying rack in a cool place.
There's plenty of love to go around.
Love never fails
1 Corinthians 13:8
Love never fails
1 Corinthians 13:8
The recipes for these cookies/icings are the same ones I used on my football helmet cookies I made for Super Bowl XLV.
RECIPES:
Royal Icing or Glaze
Antonia's74 Royal Icing or Creamy Frosting


Bev, you need to open up a bakery girl! You got it goin on with all your cooking and beautiful bakes :)!Donna
ReplyDeleteThank you so much Donna. That's so sweet. I love making these, they're like a hobby for me but if I open up a bakery, I'm afraid I'll lose my love for baking cookies :\ but maybe I'll take it up as a side job......someday. :)
ReplyDelete