So, this is my first attempt at making a wreath with mesh ribbon. I finally found it at A.C. Moores. Michaels didn't have it and I never checked at JoAnns. I'm a little skeptical of it and am so afraid that I didn't make it right. I was inspired to make one of these by Liz at Savvy Seasons by Liz. She is an amazing home decorator and oh what a beautiful job she does with every season. Go take a look at her blog, click here.
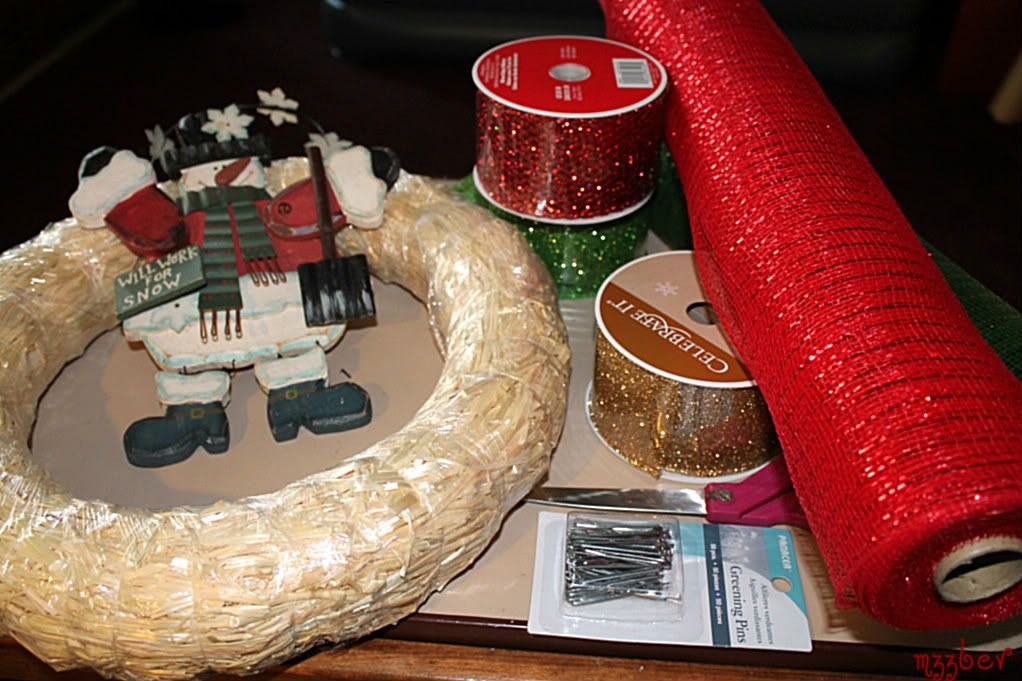
Cast of Characters
1 wreath ring ( I couldn't find the foam ones Liz suggested so this is all the stores had but it worked out great)
2 rolls of decorative ribbon, different colors/pattern, 3-5" wide
2 different color metallic mesh fabric (21" x 10')
1 box greenery pins (U shape)
Scissors
1 decoration for the center of wreath
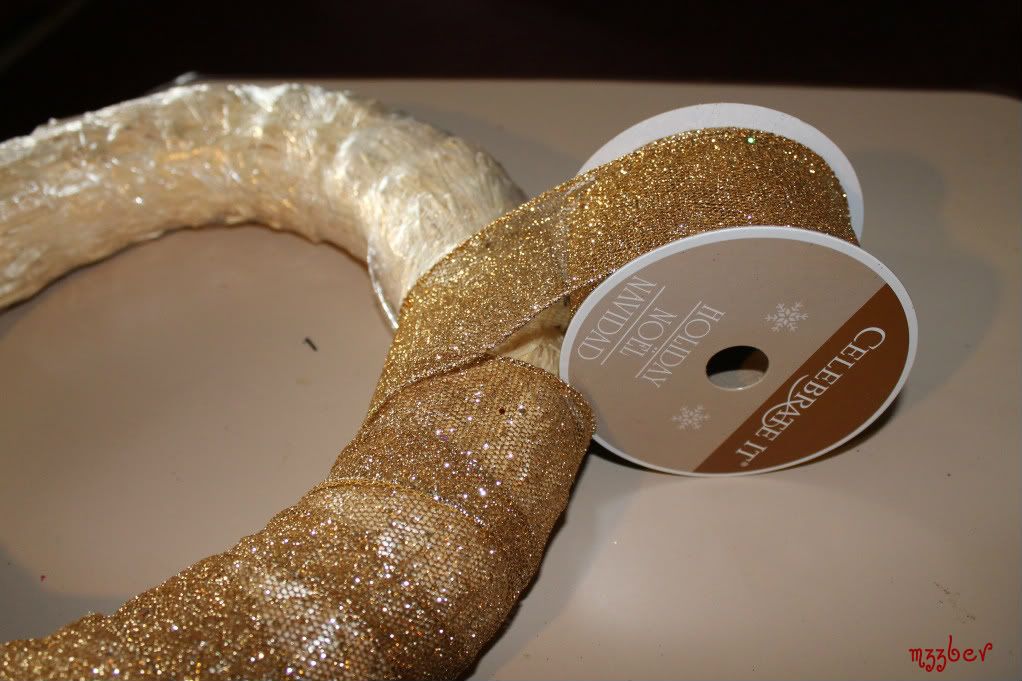
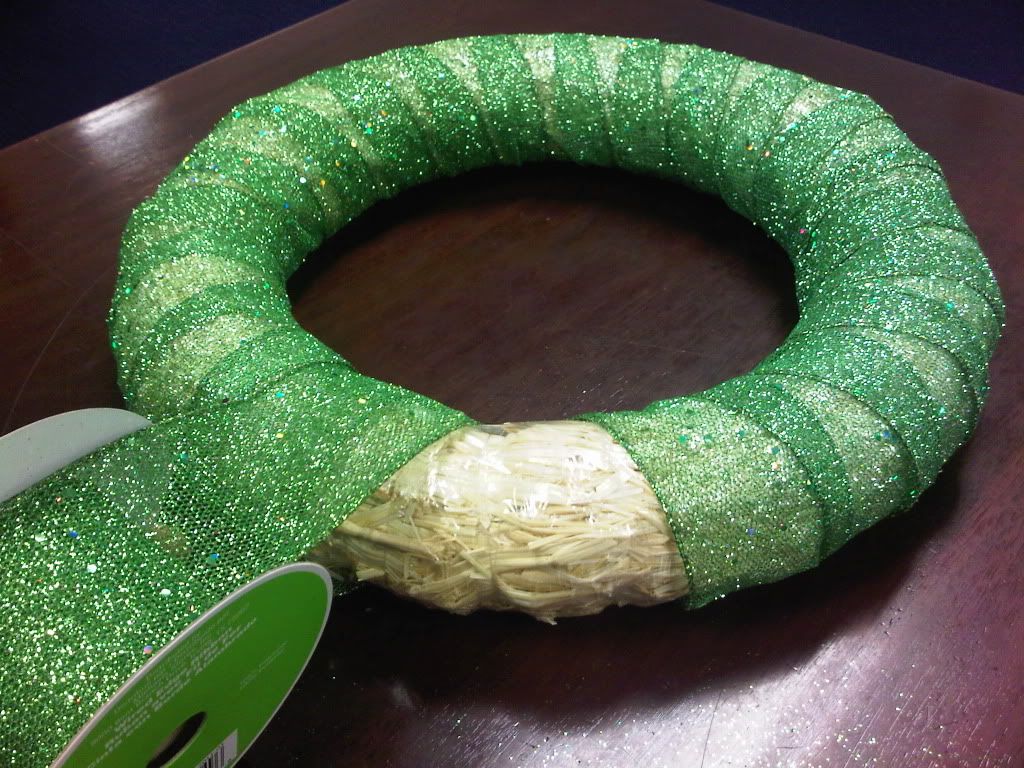
Take one of the 3" rolls of decorative ribbon and roll it around the wreath. Note: I did not take the plastic wrap off the wreath, I just went ahead and kept it on only because I knew the if I had, the straw would be prickly and get in the way of the ribbon and those two just wouldn't get a long and would make life miserable. Keeping the plastic on made life smooth and easy and it wasn't at all in the way.

All wrapped up. It's so much prettier in person, I was almost tempted just to leave it as is.
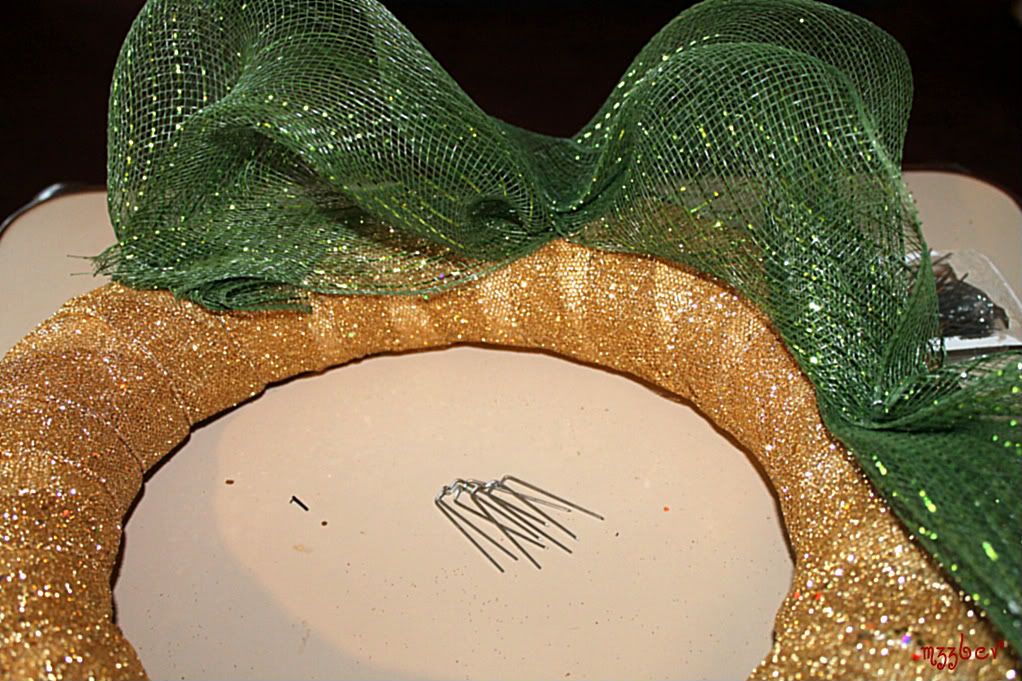
This part made me very nervous. I just didn't know what I was doing so I studied Liz' tutorial very, very close and hard. This mesh stuff tends to be stubborn and has a mind of it's own. It's very stiff yet pliable, and once it was pinned, it wasn't going anywhere, like a beehive hairdo. So anyway, I bunched the end altogether, folded it over one time and pinned it! Voila! That was it. Proceeded to do the same every 4" inches.
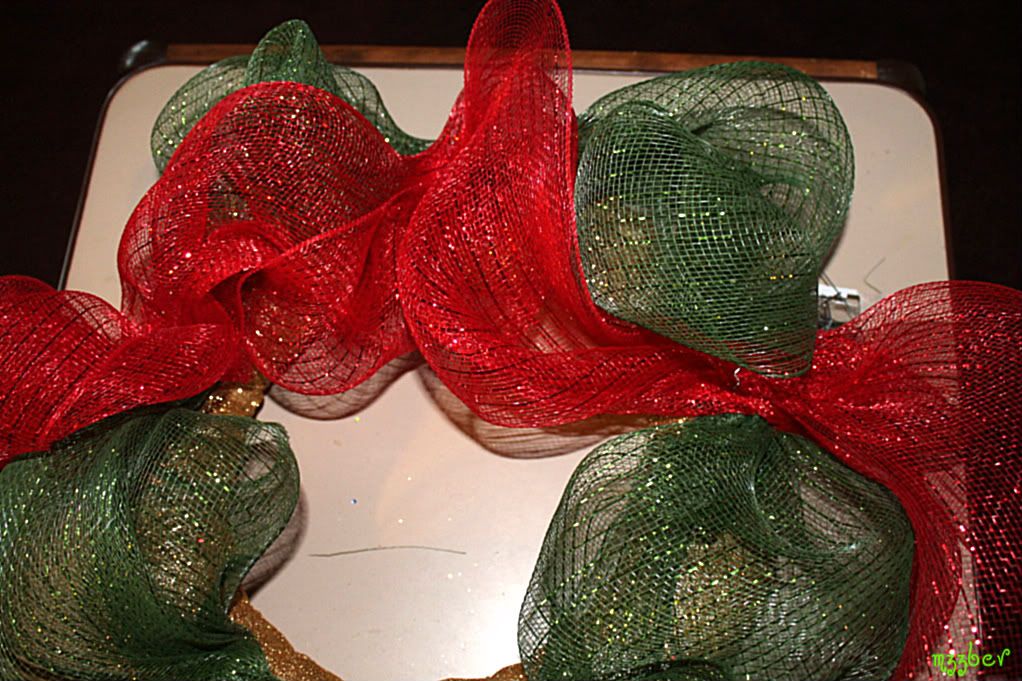
I then took the other mesh ribbon roll and did the same. Once again I was a little apprehensive as to where to start and where to pin but this project seriously ended up being a "can't fail" project. So easy.

Continue with the second ribbon until it looks something like this.
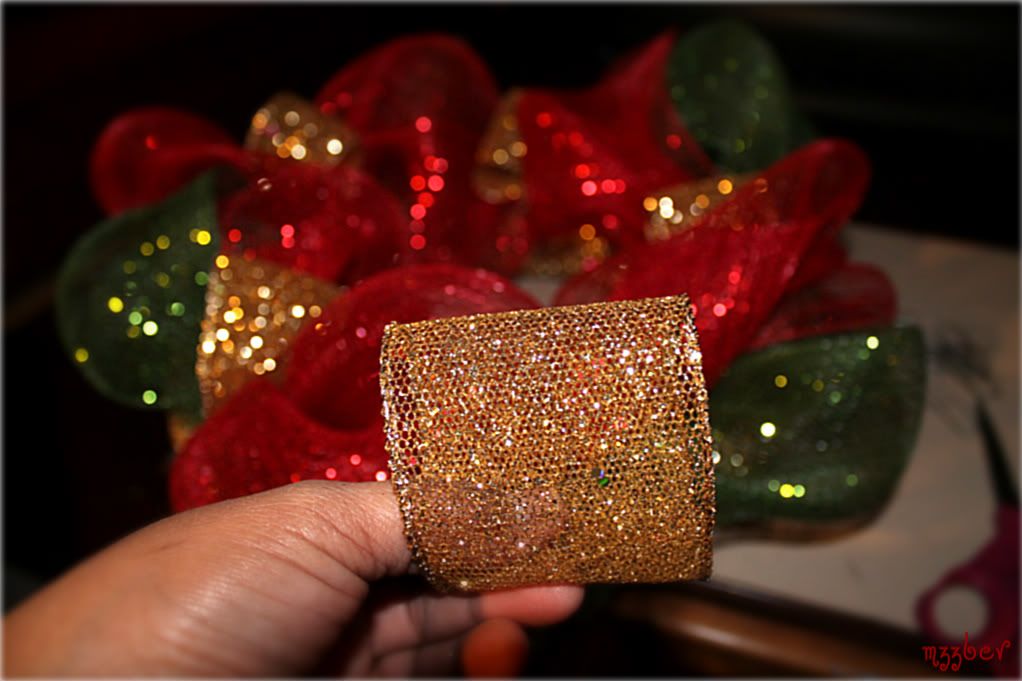
I took the original ribbon I used to wrap the wreath at first and cut a couple of 6"inch strips, folded it over like so and pin it to the wreath to use as not only as an added decoration but also a filler.
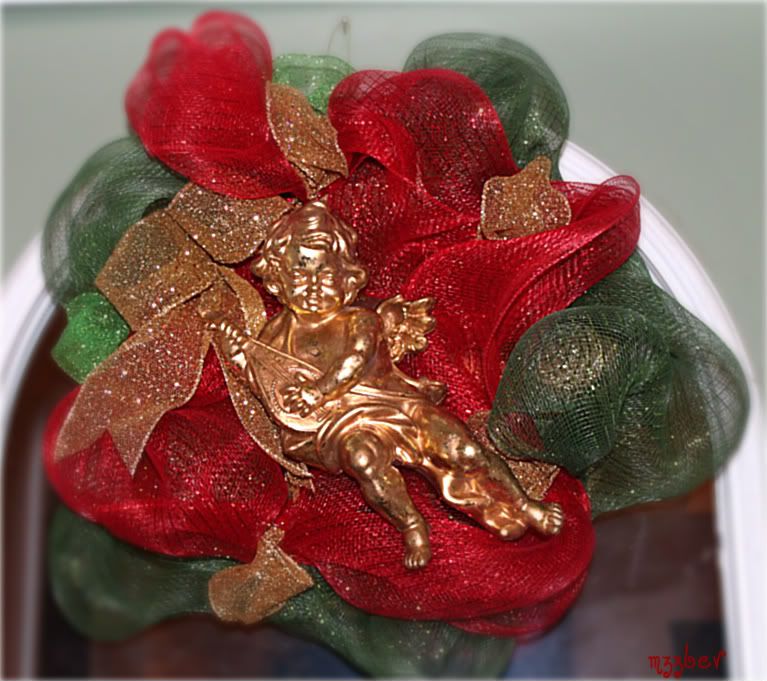
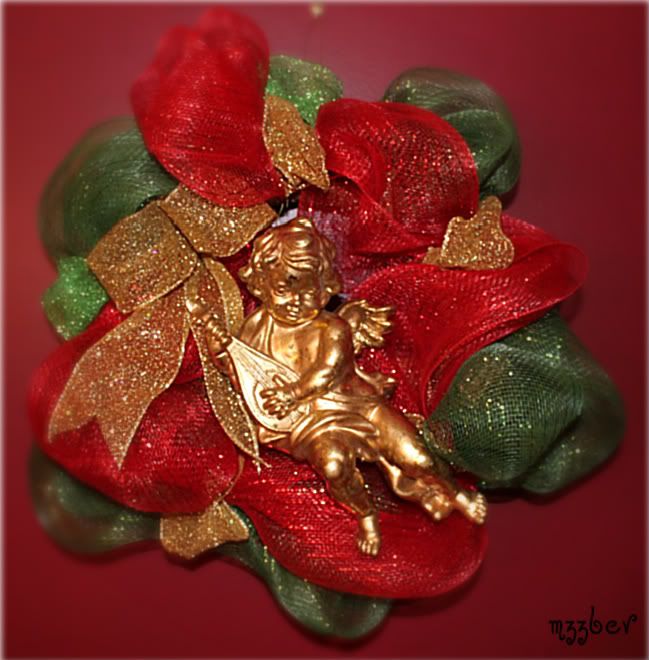
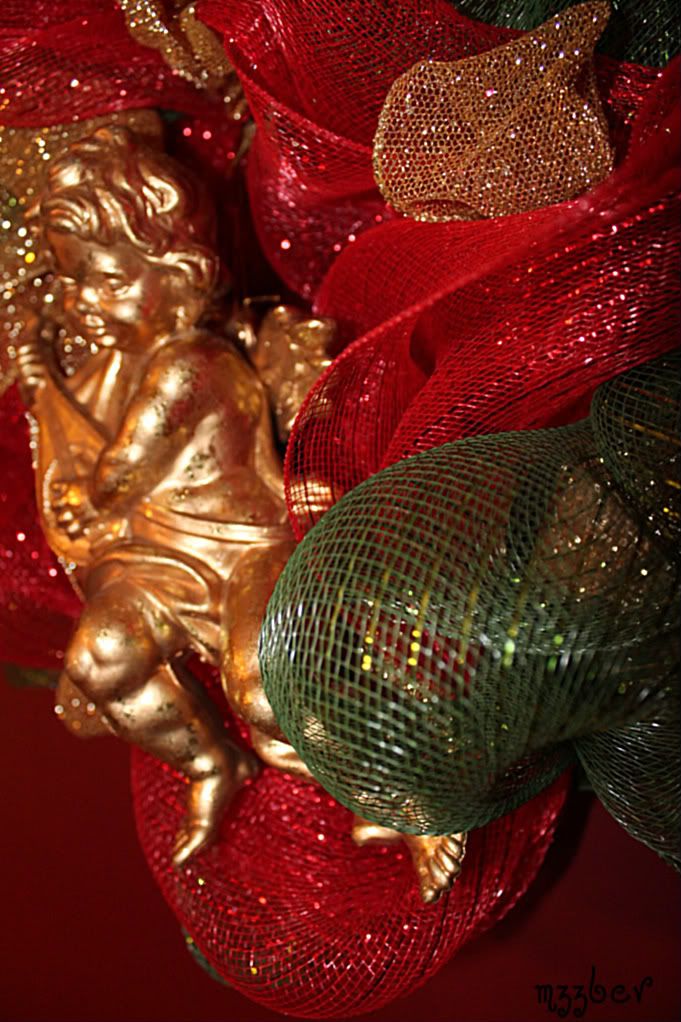
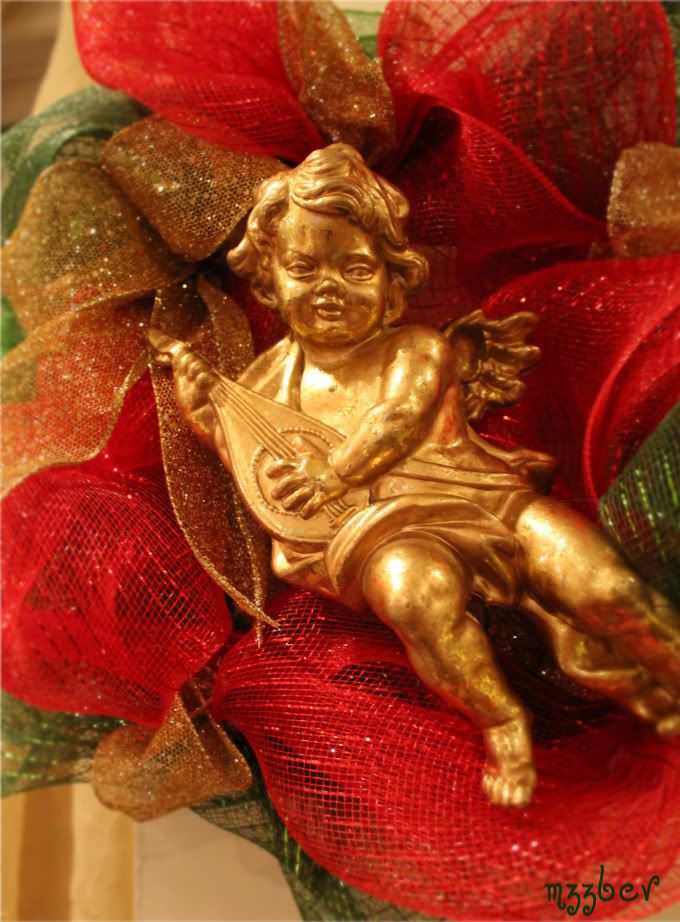
This angel has seen many a Christmas but on a different wreath. What great timing to pull it out and place it on a new wreath, in our new home
I moved it to my sunroom, by this time it was already dark outside so I had to turn the lights on inside and whaddya know? a different kind of lighting effect!
This wreath was so much fun to make and it took no time. Best of all, no glue, no mess involved (except glitter). I have plenty of ribbons left and can probably make at least two more wreaths. I think I will for gifts. I love these wreaths, great idea and thanks for the inspiration Liz, you're truly gifted and amazing!
**UPDATE**
11/15/11
I made this one today (at work during my lunch hour) as I had a friend ask if I could make one for her group who will be putting them up for auction and funds benefit local non profit organizations. It will be on display/auction at the River Ridge Mall in Lynchburg, VA so any of you locals, go support this festive and worthy cause.
I used green metallic ribbon this time. Not as pretty as the gold but still pretty.
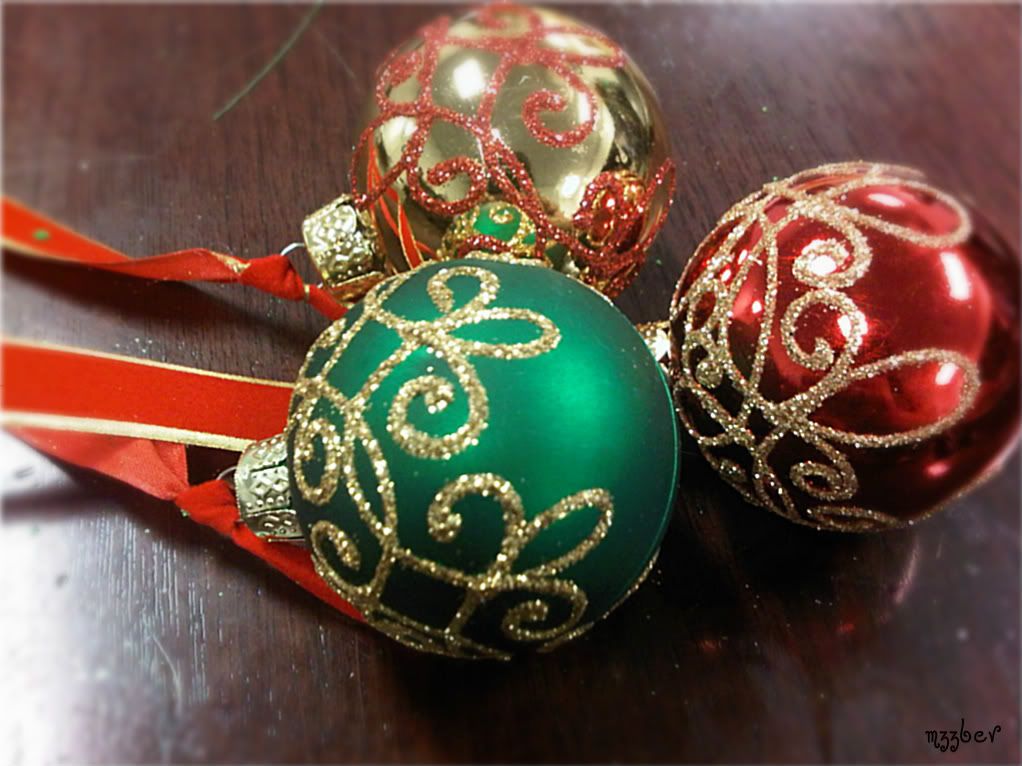
I took three small ornaments and tied a ribbon of different lengths, to fit in the center of the wreath.
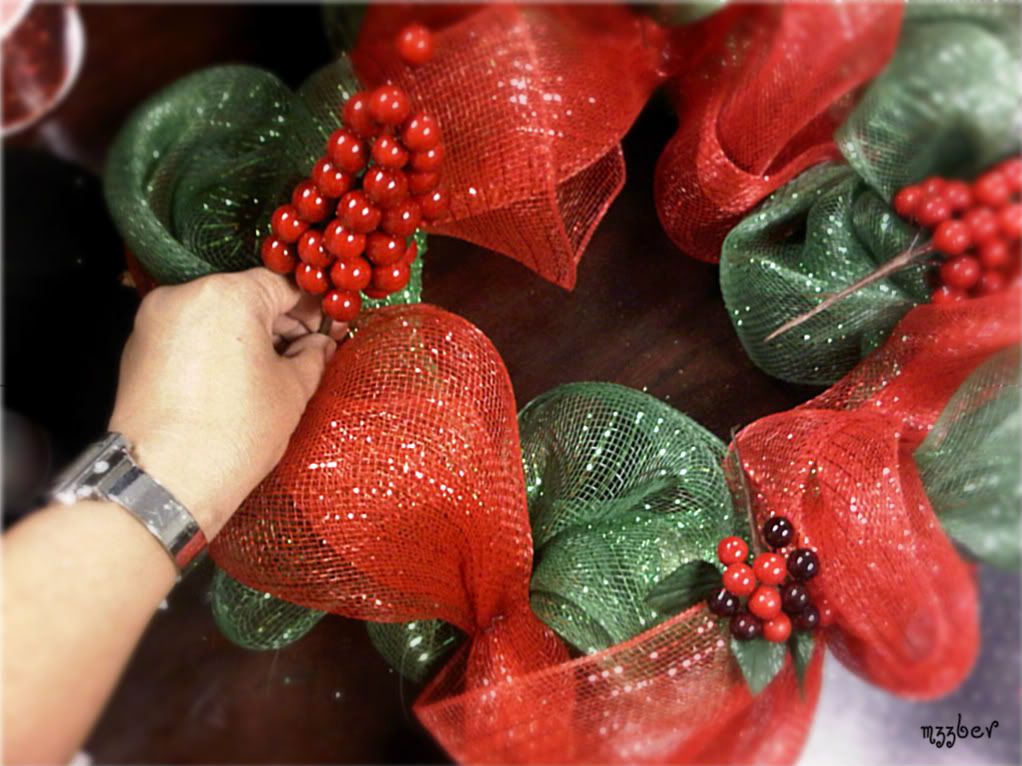
After I added the both color mesh fabrics, I added some embellishments, berries in this case.
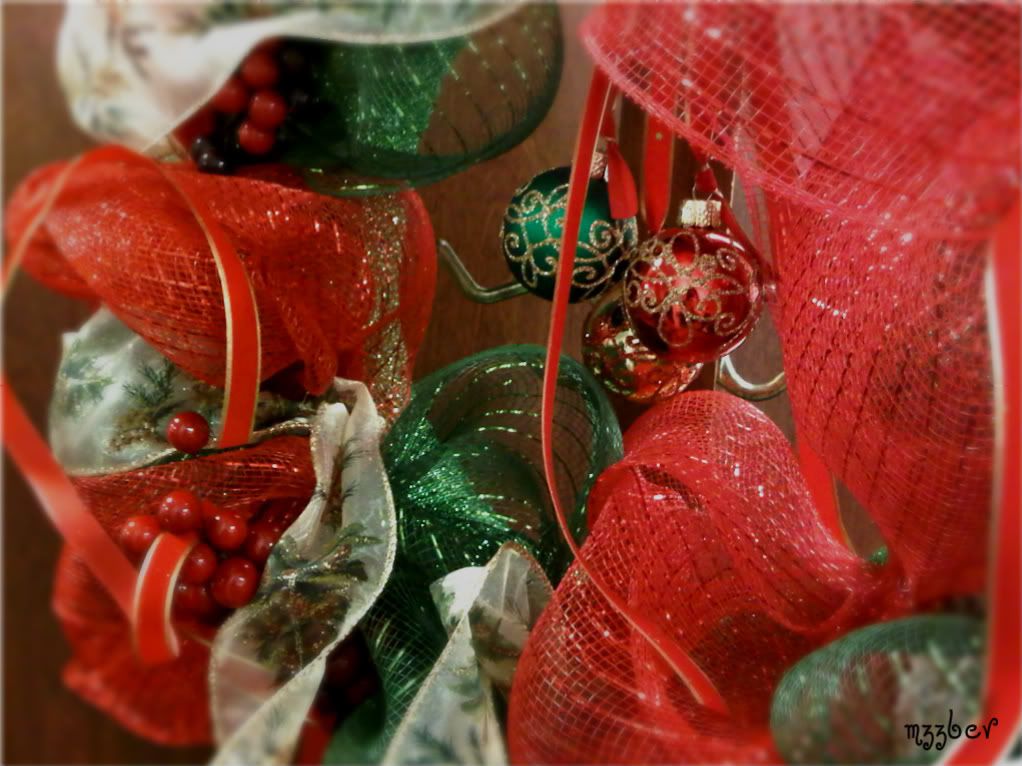
I then added a thin ribbon, a decorative thicker ribbon, some green mesh ribbon in the back and then the ornaments in the center
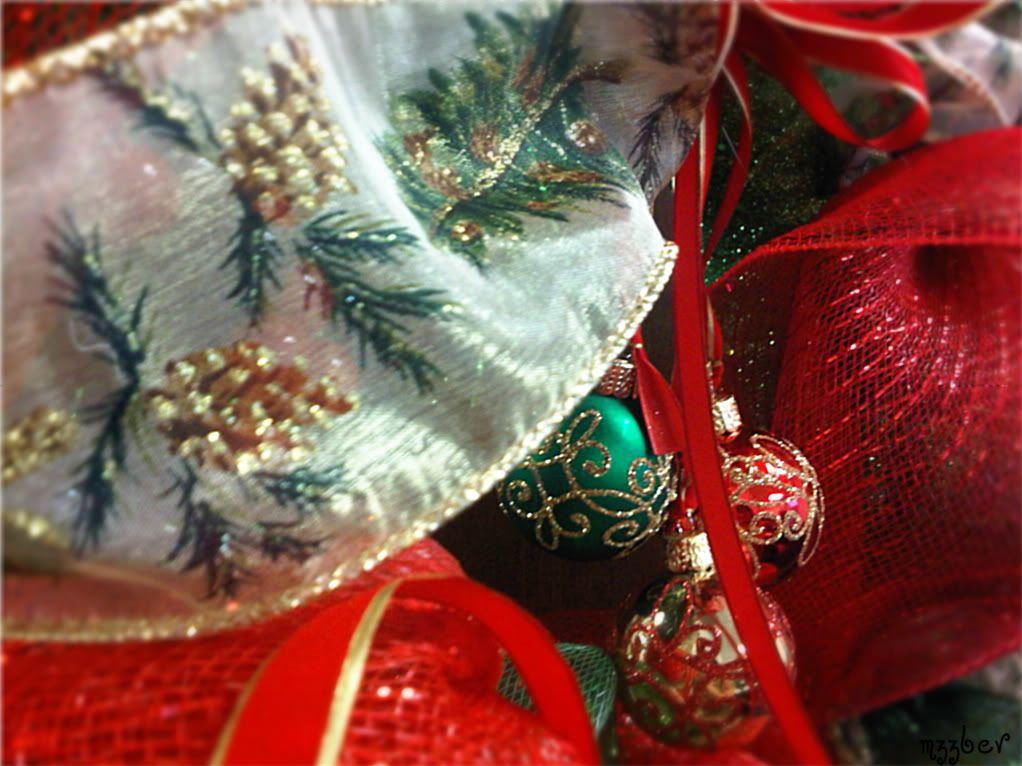
A closer view of the thicker, decorative ribbon


It's still nowhere close to the way Liz makes them but I guess practice makes perfect.
**UPDATE 11/19/11**
My Rustic Wreath

My third "mesh" wreath and once again, I still have the same mesh fabric leftover, probably enough to make a fourth wreath. This will be going on our front door on Sunday.

I shared this with:


oh my this is beyond gorgeous!
ReplyDeleteWould luv for my readers to discover your blog, will you please join our weekly party at
http://www.passionatelyartistic.com/2011/11/thanksgiving-showcase-tutorial-with.html
have a great crafting week!
Maggie
http://passionatelyartistic.com
It's lovely and I think the angel is just the perfect finishing touch for it. I've always wanted to try this project and never have. I know that you are so excited for this Christmas in your new home!
ReplyDeleteYou did an awesome job!
ReplyDeleteLove the style of the wreath. Soft, and kind-of wispy.
You have a wonderful time ahead of you....decorating that new home of yours !
awww, thanks ladies! Hubby took his "office" out of our formal living room to leave room for the Christmas tree. If things go as planned, we will get the tree on our daughter's day off and start decorating by the end of the week :) I've never had a tree up on Thanksgiving, this will be a first. I'm so excited! :)
ReplyDeleteYour wreath turned out so pretty. Love the angel.
ReplyDeletePretty wreaths and I am especially fond of the angel one, great job!
ReplyDeletexo ~ Liz
Very sweet wreaths. Couldn't tell they were your first ones!
ReplyDeleteLove the angle one and hope the charity one brings a high dollar for your efforts! :)
Visiting from Savvy Southern Style's WOW linky party :)
Smiles,
Suzanne in NW Illinois
Gorgeous wreath!
ReplyDeleteCame over from Wow us Wednesdays.
:)
Alison