Get a head start on holiday baking with this versatile recipe. Make this one delicious dough, in this case an almond flavored one, that serves as the base for the three different and delicious cookies I will be featuring in this post along with the next two. These recipes were taken from the 2009 Holiday Edition of Fine Cooking Magazine. Sooo, let's get started!
MASTER RECIPE - ALMOND COOKIE DOUGH
1/2 cup granulated sugar
1/2 tsp. table salt
3/4 cup whole almonds (I used slivered)
1 1/2 cups unsalted butter, cut in large chunks and slightly softened
4 tsps. pure vanilla extract
1/4 tsp. pure almond extract (I used 1/2 tsp)
3 cups bleached all-purpose flour
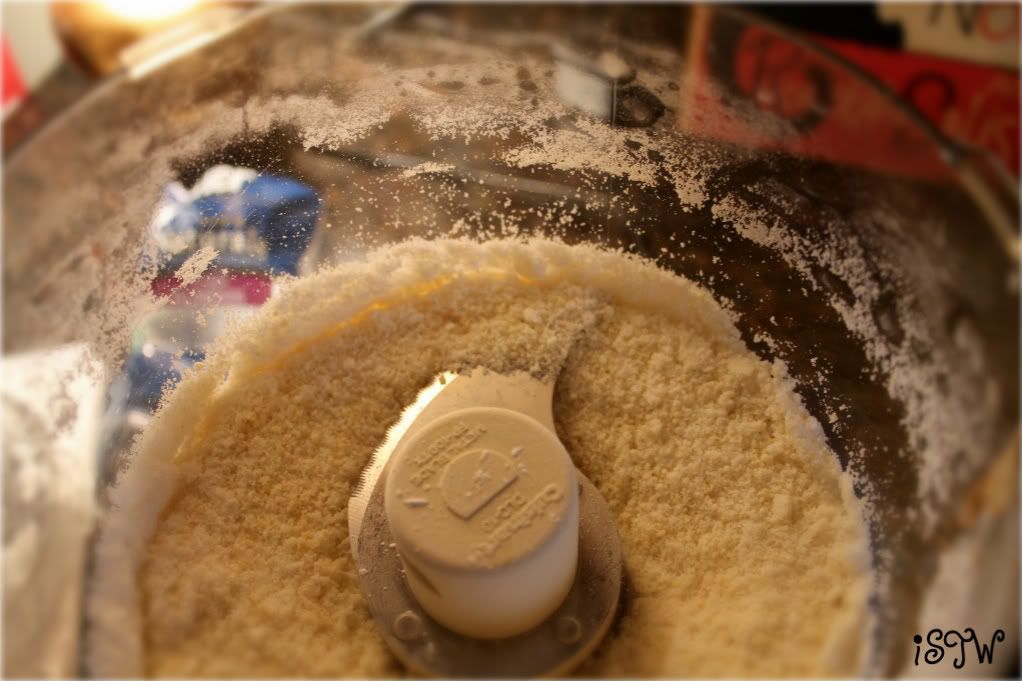
Process the sugar and salt in a food processor until it looks powdery and a little finer, 30 to 60 seconds. Add the almonds and process until they're finely chopped, about 20 seconds. Add the butter and the vanilla and almond extracts. Pulse until the butter is smooth, scraping the bowl as necessary.
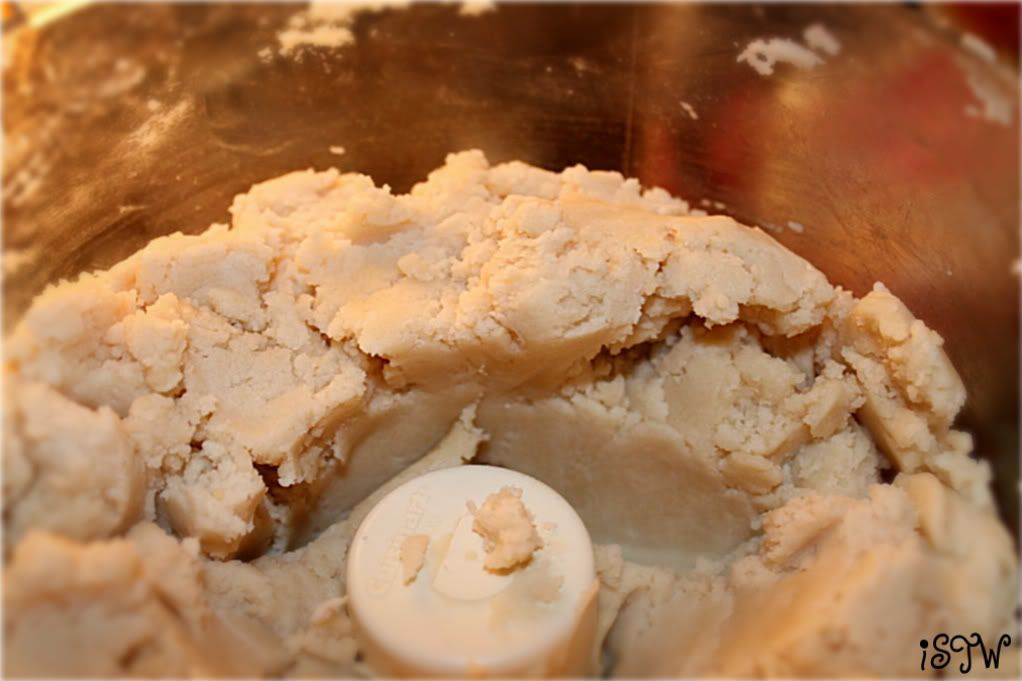
Add the flour and pulse until a soft dough begins to form around the blade.
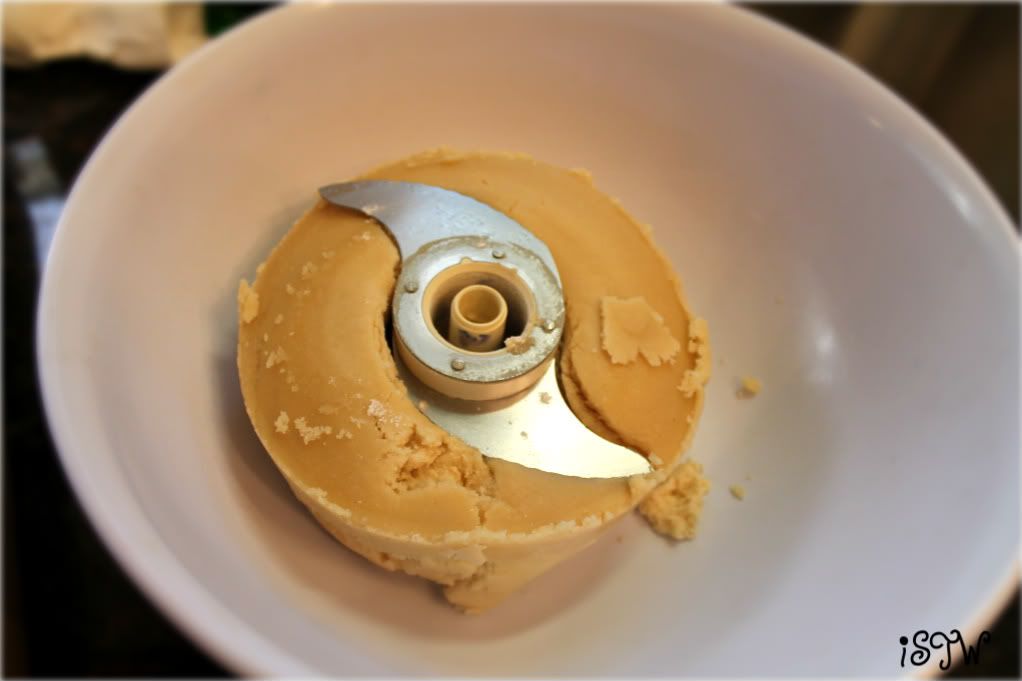
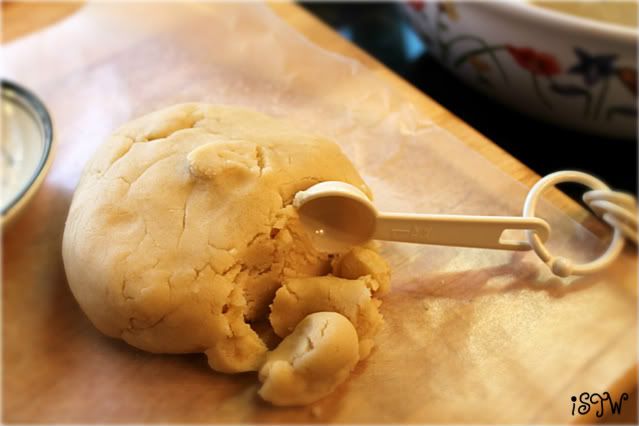
Transfer the dough to a large bowl and stir briefly with a rubber spatula to be sure it's evenly mixed. As you can see, I just dumped it into the bowl from my food processor. The blades were easier to take out that way, I really hate messin' with them, they scare me.
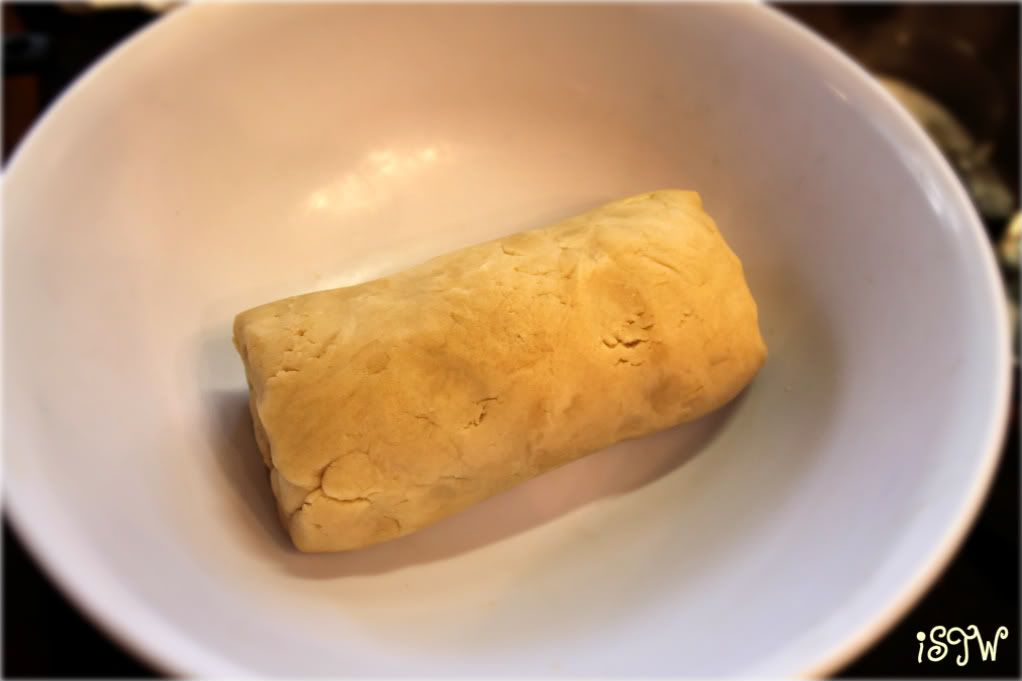
I rolled the dough into a log so that I could portion the dough into equal thirds. Take one portion for the next recipe, cover the other two and set aside.
CHOCOLATE THUMBPRINTS
One third of a batch (or 1 1/2 cups) freshly made Almond Cookie Dough (see above recipe)
1/4 cup coarse sugar, such as turbinado, demerara or sanding sugar
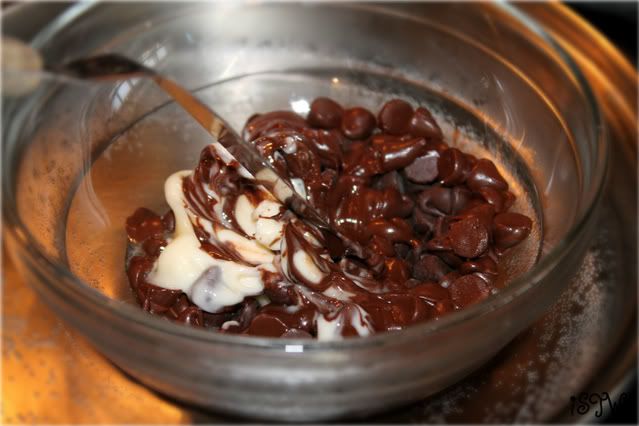
2 1/2 oz. bittersweet or semisweet chocolate, coarsely chopped
5 tsp. unsalted butter
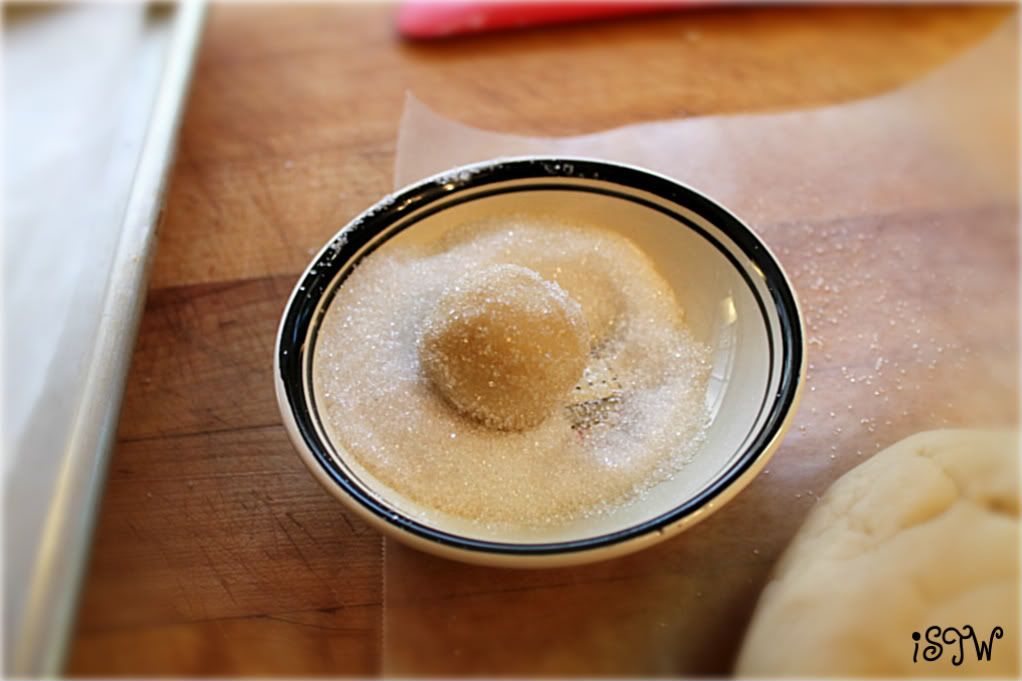
Scoop up a generous teaspoonful (2 level tsp.) of the dough.
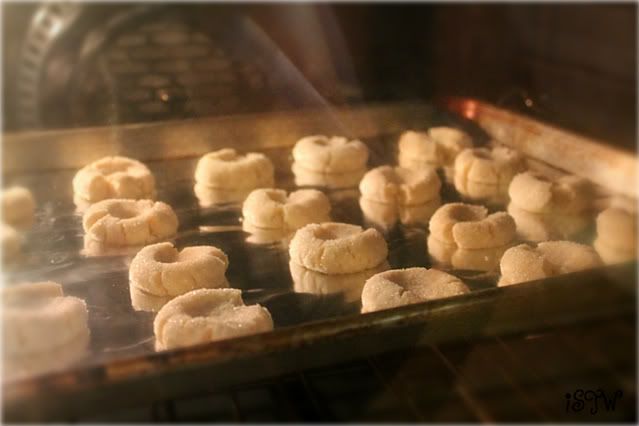
Shape into a 1-inch ball with your hands. Roll the ball in the sugar.
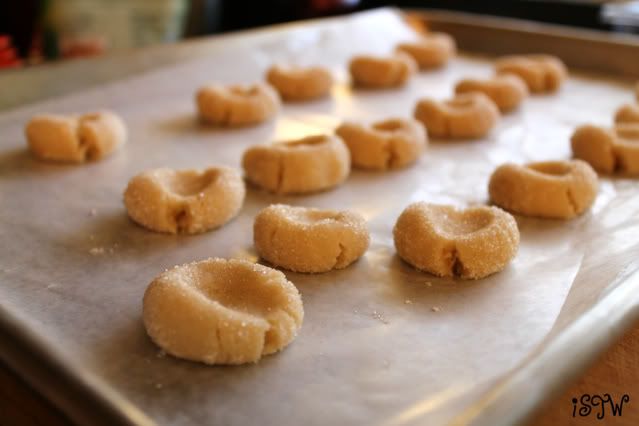
Set on tray lined with waxed paper. Repeat with the rest of the dough, setting the balls slightly apart.
Press a thumb or forefinger, dipped in flour, into each ball to create a depression.
Cover and refrigerate the cookies for at least 2 hours, but preferably overnight (I couldn't wait overnight so I went with the two hours)
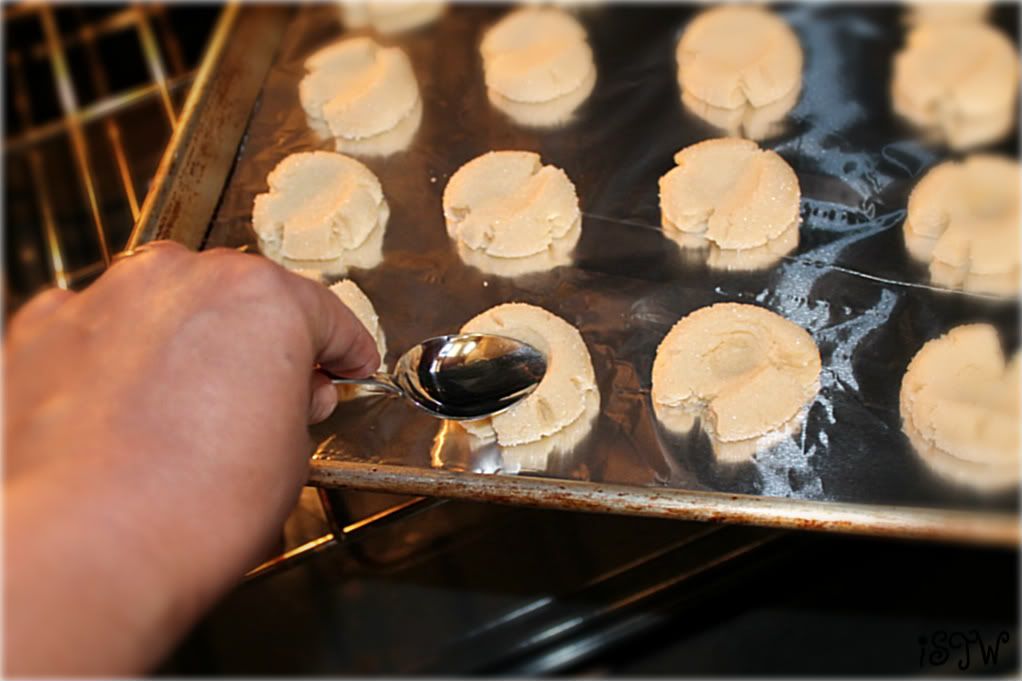
Preheat oven to 325F degrees. Remove the cookies from the refrigerator and arrange them 1 inch apart on an ungreased or foil-lined cookie sheet. Let the cookies sit at room temperature while the oven heats. Bake the cookies for 10 minutes. Gently redefine the depressions with your thumb or the tip of a wooden spoon's handle, if necessary.
Rotate the sheet and continue to bake until the tops are lightly colored and the bottoms are golden brown, another 8 to 12 minutes. Transfer cookies to a rack and let cool completely.
While the cookies cool, prepare the filling.
Put the chocolate and butter in a heafproof bowl set in a wide skillet of almost simmering water (or microwave on medium power for 1 to 2 minutes, stirring after the first minute.) When the chocolate is almost completely melted, remove the bowl from the heat and stir until completely melted and smooth.
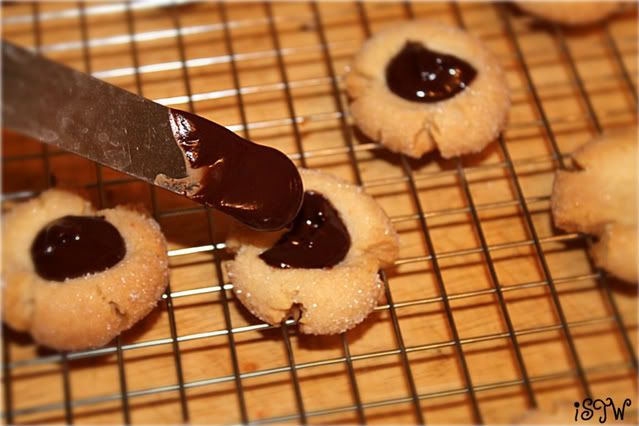
Spoon the filling into each depression.
If the filling hardens while using, reheat it in the pan of hot water.
I know it probably would have been easier to use a Hershey's kiss in place of the chocolate but I love baking things from scratch especially when I have all the ingredients and the time. Aren't they adorable??
I was very busy today, as a matter of fact, this dough and batch of cookies along with the other two batches of cookies took me most of the morning but I didn't mind. I wasn't planning to go out shopping (I never do on Black Friday). Just planned to sleep in and do some baking. My daughter is having a party here at the house next weekend and I knew this would be my only chance to have the time and strength to bake some cookies for her party. Three cookies from one dough! Now that's what I'm talking about. I will post the other two tomorrow some time tomorrow.


Talk about delicious. These look really yummy! Thanks for sharing at Throwback Thursday.
ReplyDeletexoxo
Denyse